Metabones Mark 4 Adapter- Canon EF or EF-S glass to Sony E Mount Cameras

1 Comment

Metabones Mark 4 Adapter- Canon EF or EF-S glass to Sony E Mount Cameras

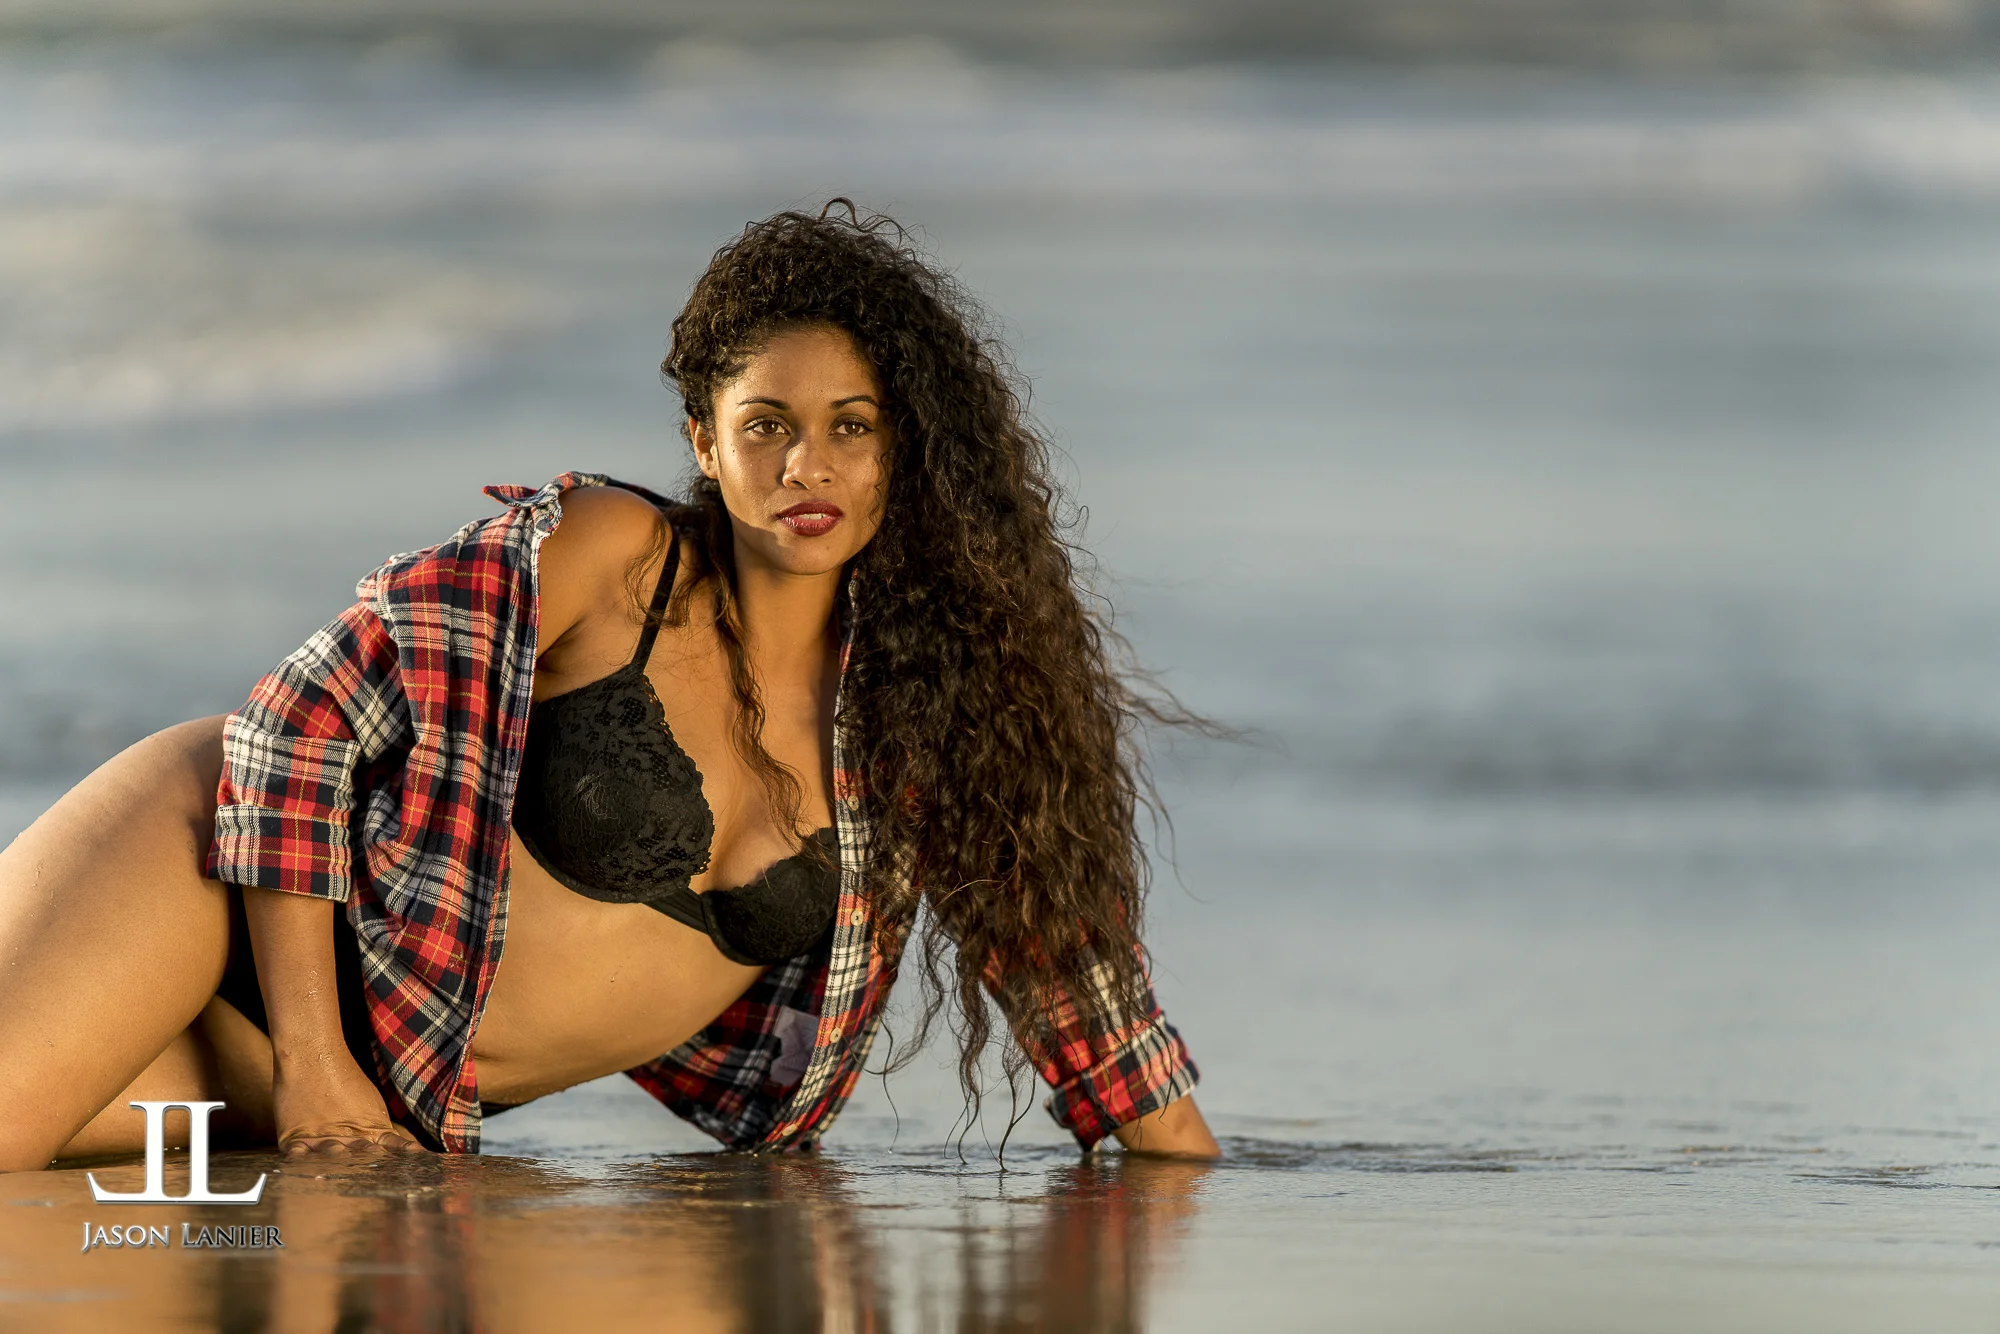
So as many of you know I REALLY love shooting with Sony because it gives me the opportunity to shoot with so many options that I never had before when shooting Nikon.  I can shoot all my awesome Sony glass (and it's good stuff) as well as a bunch of everything else.

But when it comes to autofocus performance nothing compares to how Canon glass shoots on a Sony camera using the Metabones Mark 4 Adapter.  Now back when I first started shooting Sony 2.5 years ago I said I wouldn't shoot a trash truck with the Metabones adapter that existed back then.  The adapter back then (believe it was the Mark 3) simply sucked.  It wasn't practical for any real world shooting application.

Metabones then released the Mark 4 adapter and WOW!  It made a world of difference.  One thing I really love about the adapter is that it has a USB port on the side which enables firmware updates to occur.  Since I've owned the adapter (nearly a year now) I have applied the firmware updates to the adapter and they truly do make a difference in improving performance of the adapter with the camera.  Updates have lead to enhanced auto focus performance as well as added features.

**Links to Gear:

*Metabones Mark 4 Adapter- 

*Sony A7Rii-  

*Canon 85mm f/1.2- 

Now in regards to the performance of the Metabones Adapter keep a few VERY IMPORTANT things in mind.  I really don't care what anyone else out there says.  I shoot so much with the Metabones and the Canon glass I honestly feel very comfortable making these statements and stand by them.

  1. Videography- DO NOT try and use the Metabones Mark 4 with Canon lenses and expect anything to work.  It stinks in video mode.  It tries to autofocus but it's miserable.  Now most videographers prefer manually focusing anyways.  But for those hoping to use Canon lenses on a Sony mirrorless body to record video in autofocus...it's a no go.  If you want to roll video on a Sony mirrorless body, you need a native Sony FE or E mount lens.
  2. Compatible bodies- you'll read out there that you can use all the Sony bodies with autofocus and the Metabones adapter.  While that's true, it's also misleading.  Why?  Well because it really only works at an acceptable level with the Sony A7Rii, A6500, and the A6300.  Everything else will try your patience.  If you have all the time in the world to mess around with it then have fun.  For me, I actually want to use something I can use at a professional level shoot and for me that strictly happens with the three bodies mentioned. Bodies that don't work well with the Metabones adapter include: A7R, A7S, A7Sii, A7ii, A6000.  This will disappoint some people but I don't people out there buying this adapter thinking it works with these bodies when it doesn't.
  3. Rounding f stops- on some very wide aperture lenses like my 85mm f/1.2 Canon L lens, the aperture doesn't read at f/1.2.  According to the Metabones website this is due to a rounding error and it doesn't impact performance.  From what I've been able to tell it doesn't impact performance at all but on my 85mm f/1.2 lens it will only read at f/1.3.  It will not go down to f/1.2.

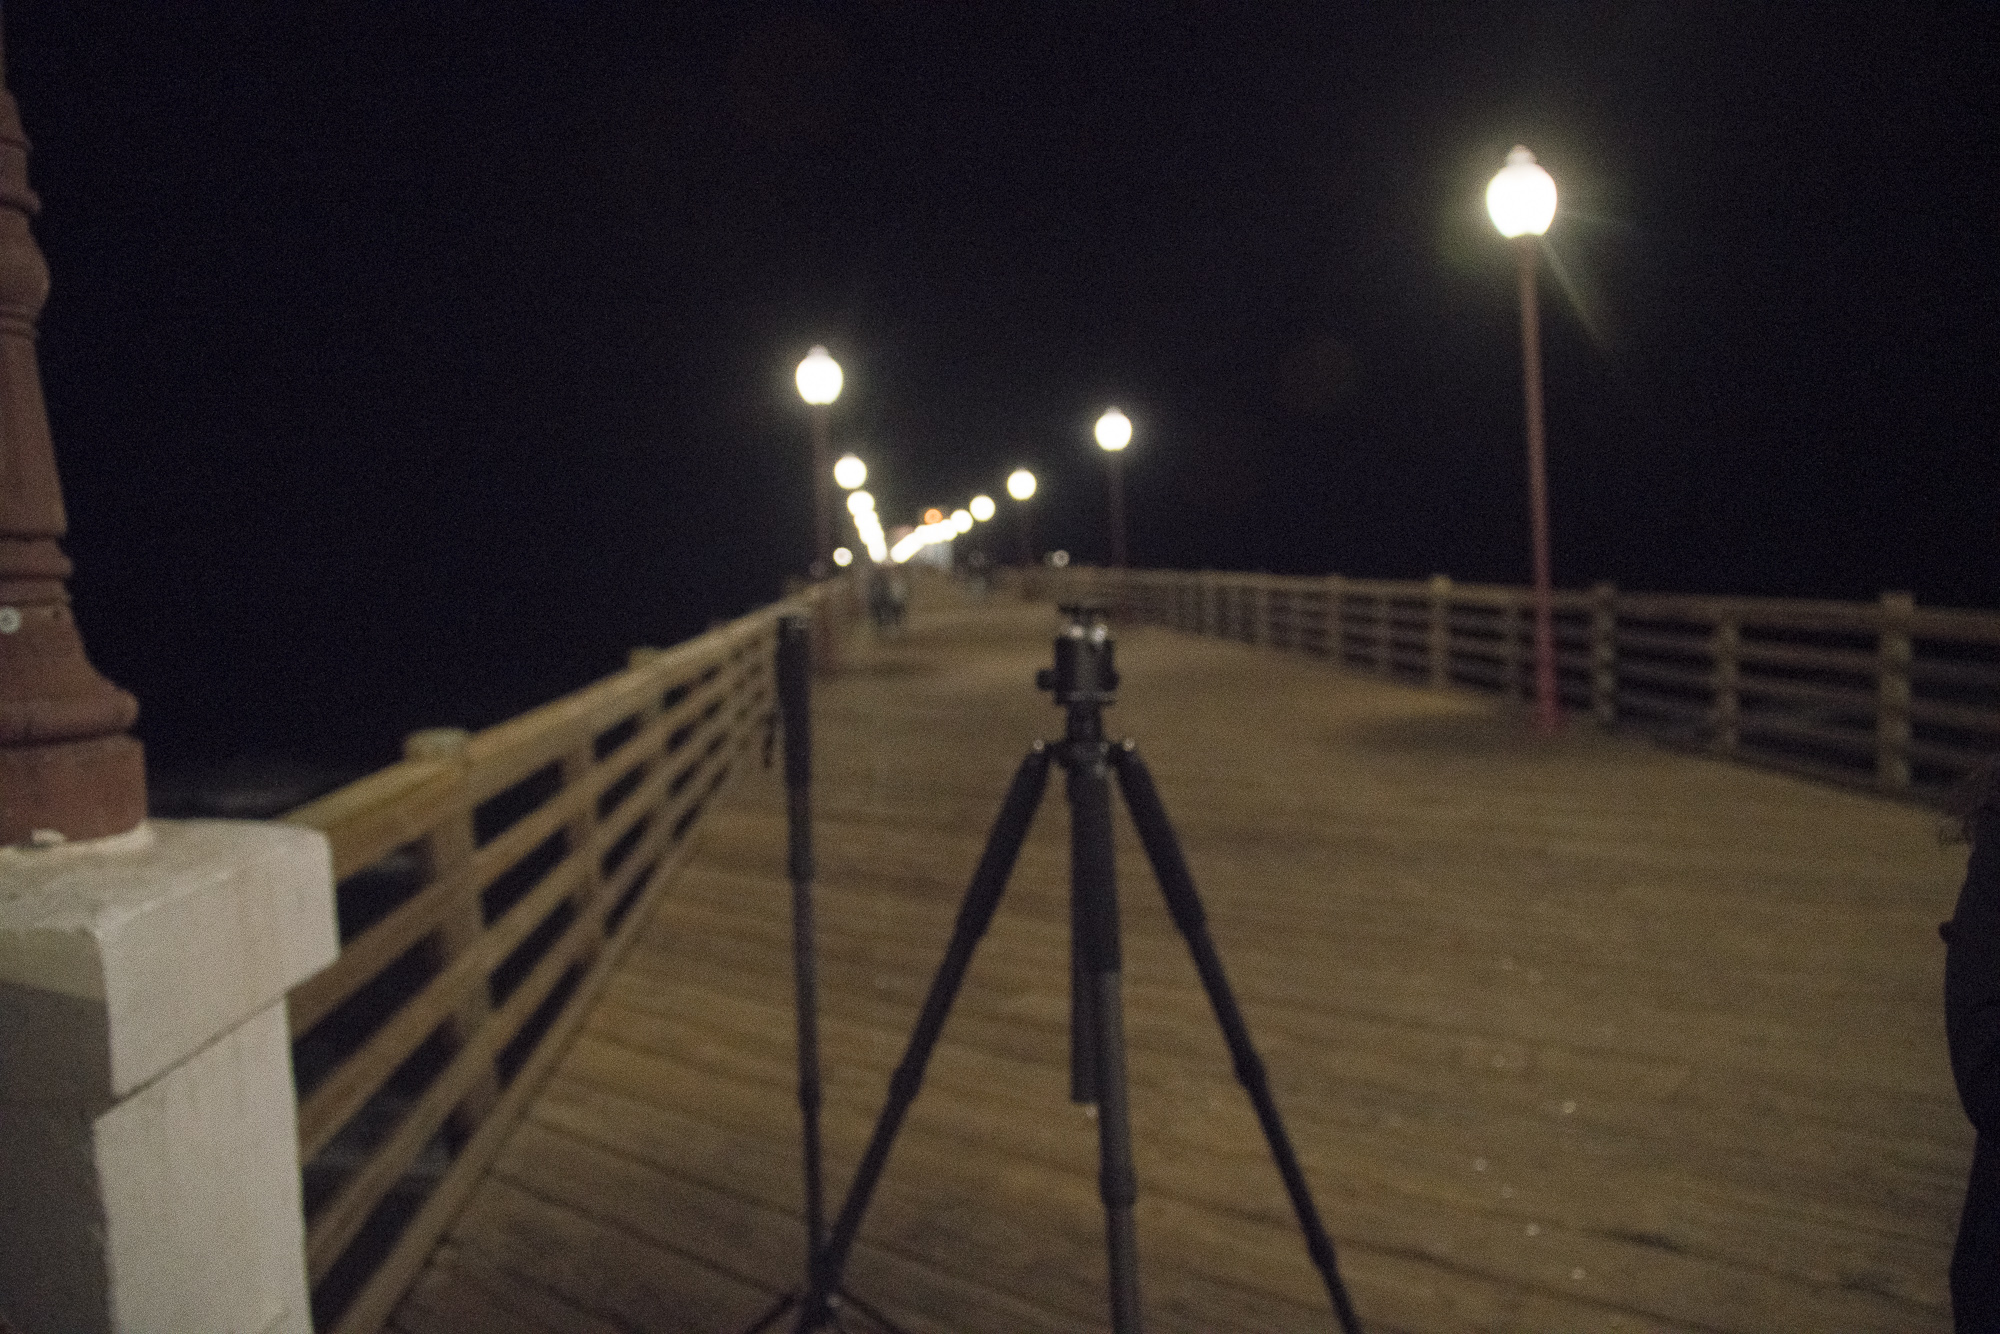
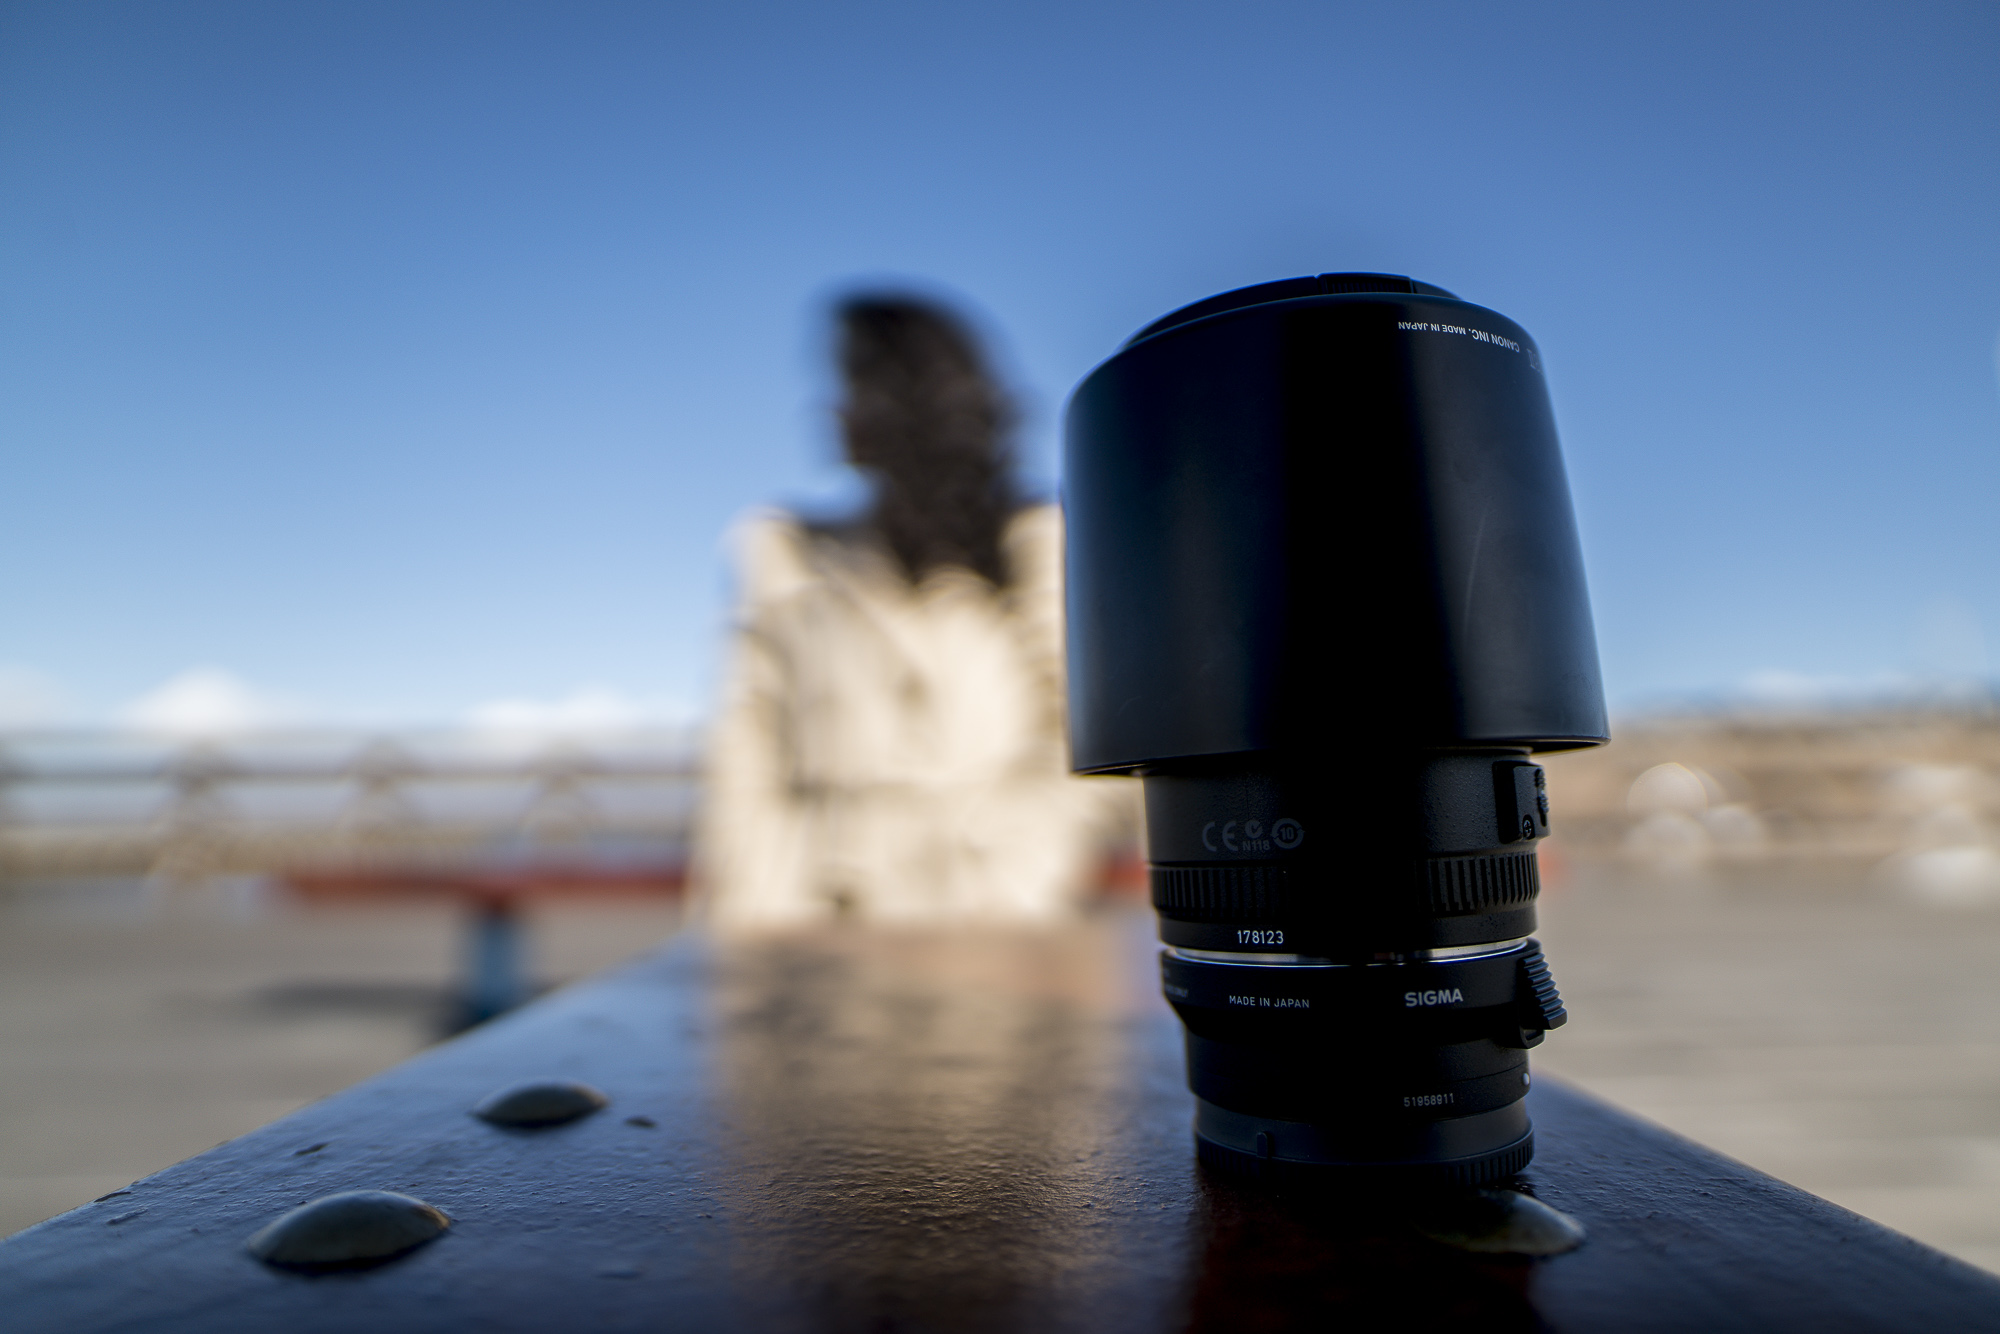
Below are images taken during the video where I reviewed the adapter.  We have many more videos, pictures and reviews coming where I will show all the different lenses I use with this adapter.  It's a game changer for me and I wholeheartedly recommend the Metabones Mark 4 Adapter as long as it's just for stills work with the camera bodies I mentioned (A7Rii, A6500, and A6300).  


I hope it helps!!

Thanks,

Jason

1 Comment

The Fotodiox Fusion Smart AF Sony to Nikon Adapter Ruined my Sony A6300 Camera

17 Comments

The Fotodiox Fusion Smart AF Sony to Nikon Adapter Ruined my Sony A6300 Camera

So as many of you know I switched from Nikon to Sony 2.5 years ago announcing the switch online to quite a deal of publicity.  Since then many people have asked me what I did with my Nikon gear.  Almost everyone is surprised to hear that I never sold a single piece of my Nikon kit.

Why?  Well, it's very simple, I was waiting for the day when I could use some of my Nikon glass on my Sony bodies.  In the 2.5 years since switching I've acquired nearly all of Sony's E mount and A mount glass.  I've shot the A mount glass on my Sony E mount bodies using either Sony LAEA4 or LAEA3 adapter.

In that time I've also acquired a very expensive Canon lens kit of glass as well to use in conjunction with my Metabones Mark 4 and Sigma MC 11 Adapter.  I own the Canon 50mm f/1.2, 85mm f/1.2, 135mm f/2, 200mm f/1.8, 200mm /2.8, and the 400mm f/2.8.  So needless to say, I LOVE having the option to adapt glass to my Sony bodies.

I also have a lot of legacy vintage glass for manual focus, but that's for another discussion.  This is related to using non-native Sony glass on my Sony body with auto focus and exif data being transmitted.

So last week the news came out that Fotodiox had a brand new adapter called the Fotodiox Fusion Smart AF Nikon to Sony Adapter with Full Automated Functions.  I was less than convinced after watching the video that Fotodiox produced using the adapter because it didn't show any results.  I was also a tad bit skeptical because the Fotodiox Canon to Sony adapter isn't as good as the Metabones....but after my followers asked me to give it a spin, I relented and took the plunge.  

I went onto the Fotodiox website, paid full price, and paid extra for 2 day shipping so I could get a review done quickly.  The adapter arrived yesterday and I was genuinely excited.  I honestly thought it would be so cool to be the first one out there to test it and confirm to the Sony and Nikon world that this thing truly was amazing and worked.

Now to set expectations.....I NEVER expected it to work like native Sony glass.  The Canon glass on the Metabones adapter hits about 85% of native glass performance which for me works out great.  That was the bar I set for the Fotodiox.  Can it perform like the Metabones performs? Being that they are so similarly priced, I think it's fair to ask for it to perform at the same level.

So I went down with my Assistant Brenda and another assistant named Quisha down to Oceanside to put this thing through a real world test.

IT FAILED.

First thing to note is that it does NOT have a USB port to update firmware.  In the world of electronic adapters this is a big deal.  Both my Metabones Mark 4 and Sigma MC11 Adapters have USB ports and the firmware updates actually do improve performance.  Fotodiox said in their video something to the effect of, "Don't worry, it comes loaded with all the latest firmware in there..."  LOL, that's great today.  How about next week, next month, or next year?  Do I have to buy new adapters just to get new firmware?  That my friends, is RIDICULOUS.

Unlike my Sony and Metabones adapters it was at first VERY finicky.  I'm used to putting on the Sony or Metabones adapters and they immediately work.  Not the case with the Fotodiox.  It required several mountings and un-mountings, and then mounting again to get it to work.  I tried several lenses including the Nikon 105mm macro lens, the 18-55 DX kit lens, the 85mm f/1.8 lens, and the 28-300mm FX lens.  I had a slew of lenses ready to test....but we couldn't get that far.

Why?  Because it simply failed to work.  When it did try to autofocus it hunted very badly to acquire a point of focus.  All of this is illustrated in the video by the way...:)

Then it got stuck on manual focus.  STUCK.  Something my Metabones or Sony adapters have never done.  I mean they've never done that once in the 2.5 years of me using adapters. That's how bad this Fotodiox Fusion adapter is.

Then the adapter started making weird noises.  

Then it started draining all of the batteries on my Sony A7Rii.  I imagine this is happening because in the video Fotodiox has out it mentions that it uses the battery from the Sony camera to power to aperture motor in the adapter.  But it didn't just use it.  It sucked it dry like Dracula would feed on a 600 pound man.  It drained the battery instantaneously.

So I then put the Fotodiox Adapter on my A6300 and the unthinkable happened.  It fried the camera.  This is a camera that I've taken all over the world.  It's survived all of my adventures and exploits....but it's poor sad end was at the hands of a freaking Fotodiox Adapter.

IT KILLED THE CAMERA.  KILLED THE A6300.  IT WILL NO LONGER POWER ON AT ALL.

Wanna see it all for yourself?  Simply watch the video my friends.  So in conclusion, I will definitely be returning the adapter and will be seeking compensation from Fotodiox for my A6300.  I'm sure they'll give me the run around and will cite some tiny print in their warranty material telling me they aren't responsible.  So that will leave me with having to try and get it repaired.  And if that doesn't work replaced.

We used a bit of humor to lighten the mood and ended up calling this adapter "Chucky" because it is truly possessed.  After it fried my A6300 we stopped putting it on any camera.  Below are the sample images taken on the shoot that are shown in the video.

I hope this sheds some light on this adapter that apparently is sold out and back ordered for a month.  Don't buy it guys.  It simply isn't a well made piece of equipment.

Please note: the images below will not make much sense if you don't watch the video.  We never even got to the point of doing a normal shoot because the adapter failed to work.  Most of these were sample images taken trying to get the adapter to work while it was on a tripod where I was showing the back of the camera.  To understand the pics, please watch the video...:)

Images taken with the Fotodiox Adapter using Nikon glass- Sony A7Rii

Images taken with the Metabones Mark 4 Adapter using the Canon 85mm f/1.2- Sony A7Rii

17 Comments

Sony 90mm f/2.8 Macro G OSS Lens Review for both portraits and close up work

2 Comments

Sony 90mm f/2.8 Macro G OSS Lens Review for both portraits and close up work

I first fell in love with macro lenses back in my Nikon days with the 105mm macro lens.  I saw it not only as a great option for close up work but also for portraits.  So when I switched to Sony I eagerly awaited the release of a macro lens.

Sony came out with the 90mm macro to rave reviews and I picked one of for myself.  Boy was I glad I did.  It lived up to all of it's reputation as one of the sharpest lenses out there.  So in November 2016 while shooting up in San Francisco, California I went out with my team and recorded a video showcasing the portraiture and close up work of this lens.

So check it out below, this lens is a true winner.  I've also included sample images from the test shoot in San Francisco as well as a few macro shot of wedding rings taken earlier this year.  For Sony users, this is one lens you won't regret getting as it serves two purposes for both portraits and macro work.  I hope it helps!

Links to Gear

*Sony 90mm Macro

*Sony A7Rii

*Lastolite Tri Flip 8 in 1 reflector

2 Comments

Sigma Art Lens 20mm f/1.4 Lens Review Canon Mount using the Sigma MC11 Adapter and the Sony A7Rii

Comment

Sigma Art Lens 20mm f/1.4 Lens Review Canon Mount using the Sigma MC11 Adapter and the Sony A7Rii

One of the best things about shooting Sony is I get to use so many awesome adapted lenses.  I've used Minolta, Canon, Nikon alongside my native Sony glass for years now.  But recently Sigma announced a new adapter, the MC11, and this adapter opened up the Sigma Canon mount glass to the Sony World.

I already owned a lot of the lenses (either Canon or Sony) in the same focal range as the Sigma Art glass available.  The one lens that nobody offers except for Sigma is the 20mm f/1.4.  I had to give it a go.  So I bought it and started using it.

Simply put, it's a magnificent piece of glass for the price.  On the MC11 adapter it focuses very well and gives some fantastic results.  Shooting wide open it delivers very sharp results on the area of focus and creates some great separation between your subject and background, very reminiscent of that Zeiss pop that I'm used to with my Zeiss Batis and Sony Zeiss lenses.

Below are links to the gear used in the video I created to show you all what I think of this lens. There are also sample images taken.  I hope you enjoy and also hope it really helps you all out there!!

Links to Gear:

**Sony A7Rii

**Sigma 20mm f/1.4 lens

**Sigma MC11 Adapter

Comment

200mm Lens Aperture Challenge- f/1.8 vs. f/2.8 using Canon L glass.  Does it make a difference?

3 Comments

200mm Lens Aperture Challenge- f/1.8 vs. f/2.8 using Canon L glass. Does it make a difference?

So I've been lens hunting lately...quite a bit actually.  I own a ton of Sony native glass and since I'm a big believer in adapting glass to my Sony mirrorless system, I've been adding Canon L glass to my cupboard so to speak.

I picked up the Canon 200mm f/2.8 about a month ago and really loved it from the start.  For a 200mm it's light, easy to use, performs very well, and cranks out some KILLER shots.  I was in love.

I then found out about the Holy Grail lens.  The big boy.  The one we've nicknamed as "Jaws" because it's a great big white shark of a lens.  I already had the Canon 200mm f/2.8, so spending the money on "Jaws" was difficult to justify.  Do I spend thousands of dollars just to get that tiny difference between f/1.8 and f/2.8?

I searched online and couldn't find any videos that showed the difference between the two lenses. I looked at countless pictures that the two lenses rendered looking for the subtle differences between the two.  I still was a little hesitant.

But then I put it out to my followers on my Facebook Group and I asked my Canon shooters what their thoughts were....well, they told me the Holy Grails lens (F/1.8) was indeed a legendary lens.

So I got it.  I went up to San Francisco and did a shoot at the ruins of the Sutro Baths.  I wanted to put out the information to the photography world that I couldn't find.  I wanted to show them what I was searching for...and had to spend a LOT of money to find out.  Was the difference in the background rendering between f/1.8 and f/2.8 really that much?  Did it really make a difference int the shots?

Hell Yeah it did!  If I'd never used the f/1.8 I'd still be madly in love with the performance of the f/2.8.  But once you see the comparison between the two, it's pretty obvious that f/1.8 really does make a difference compared to f/2.8.  Especially when you combine the compression factor of a 200mm lens.

I've included a video of my experience and images below.  I hope it helps you all out there!

--Links to Gear:

*Sony A7Rii- 

*Canon 200mm f/2.8- 

*Metabones Mark 4 Adapter

*Canon 200mm f/1.8- sorry this lens is no longer sold.  The closest equivalent lens is the Canon 200mm f/2.  A link for that lens is shown below:

*Canon 200mm f/2- 

Images from "Jaws" the Canon 200mm f/1.8- all shot wide open.

Images from "La Chiquitita" the Canon 200mm f/2.8- all shot wide open.

3 Comments

Petzval Lens- 85mm f/2.2 Petzval Lens by Lomography- Swirly Bokeh Heaven

Comment

Petzval Lens- 85mm f/2.2 Petzval Lens by Lomography- Swirly Bokeh Heaven

So I read about this lens.  I watched videos about this lens and thought, "Hey, that looks pretty cool."  With a price tag of $600 it was hard to pull the trigger on a manual focus lens that is kind of a one trick pony.

For me, anytime I spend more than $500 on a lens that's starting to get closer to the pro level line of lenses.  I have many lenses in my lineup that are in the thousands of dollars.  But they all autofocus and are very sharp.  Two things the Petzval lens doesn't do particularly well.

So I happened into a local camera store a few weeks back and while just looking around, I saw a Petzval lens for Canon mount sitting in the display.  Being a Sony shooter makes it easy for me to shoot any lens mount with the wide array of adapters.  I regularly use the Metabones Mark 4 Adapter on my Sony A7Rii and had it handy when I was at the store.  So I put the Petzval on the adapter with the camera and started firing away.

I was impressed enough to give it a try knowing in the right circumstance it would give my pictures a very distinctive and unique look.  So I bought it, put it in my camera bag and a few weeks later I found myself in San Francisco and took it out for a quick shoot as part of my Gear I Use video series where I demonstrate the gear that I use for my own work.

The pics and corresponding video from that shoot are shown below.  Initial thoughts on the lens:

PROS:

*Easy to use- with the focus peaking turned on in my camera finding focus is pretty easy.  The focus knob is on the side of the lens which is a new thing for me and many photographers, but its very easy to use and has a good resistance.  Not too much, not too little.

*Very unique look- it definitely delivers on the promise of swirly bokeh.  If you're looking for a lens that turns your images into something that not many people see nowadays, this could be your answer.

CONS:

*Sharpness- It isn't the sharpest lens out there, especially wide open.  I very regularly shoot wide aperture lenses wide open.  Some of my favorite lenses are the Canon 85mm f/1.2, Sony G Master f/1.8, Canon L lens 200mm f/1.8 and more.  These lenses are all sharper than the Petzval at their widest aperture which is saying something considering the Petzval is a f/2.2 compared the the other lenses mentioned.

*Aperture Blades Fall out- this is a BIG bummer for me.  The aperture blades do not securely lock into the lens.  If you haven't watched the video and you're wondering what I'm talking about, WATCH THE VIDEO.  The blades are placed on top of the lens with an opening.  It's very easy to do, but if you turn your camera from a horizontal position they fall out.  If you are used to moving around with your camera and lens like I am, that's a problem as you'll see in the video.  We are very lucky to have found the aperture blade that fell out!

*Lens Cap- the lens cap also comes off very easily and there's no off market replacement available.  So if you lose it, good luck.

So if you have extra funds and you're looking for a lens that will give you a really distinctive look, this definitely delivers.  Don't rely on it for super sharp images, especially wide open.  But in the right circumstance it can be a real winner of a lens.  But as I always say, take a look for yourself and just decide what works best for you!!


Comment

The Holy Grail of Lenses- my first shoot ever with the Canon 200mm f/1.8 lens and the Sony A7Rii

5 Comments

The Holy Grail of Lenses- my first shoot ever with the Canon 200mm f/1.8 lens and the Sony A7Rii

WOW!  I've heard about this lens.  But as a longtime Nikon shooter that transitioned over to Sony two years ago, shooting Canon glass was just well...blasphemy.

But when Sony came out with the A7Rii, that changed everything (which will be covered in a separate blog post).  That opened the door to shooting Canon lenses with near native autofocus capability on my Sony cameras!

So recently I had the opportunity to acquire this lens and when I did, I jumped on it.  I chose the 200mm f/1.8 version over the 200mm f/2 version simply because the f/1.8 is a little wider and faster.  Why didn't I choose the lens stabilized versions of the lens with the f/2 versions?  Well, since 5 axis image stabilization is built into my camera, I simply didn't need it on the lens.

So I got my crew and a model together and went to Venice Beach to test this lens for the first time, and boy it didn't disappoint.  While the lens is used, it performed like a champ!  The autofocus was fast and it was unbelievably sharp.  Anyone who knows me knows that I love shooting wide open and I did this entire shoot at f/1.8.  All shots were edited using Lightroom only.  Below is a video of the shoot and some images as well.  I absolutely love this lens and can't wait to knock out some more shoots with it.  I hope you enjoy it!

I adapted the Canon lens to the Sony A7Rii using the Metabones Mark 4 Adapter.  It's simply the best adapter I've found for Canon lenses on Sony bodies.

**Links to Gear:

*Sony A7Rii-  

*Metabones Mark 4 Adapter-  

*Lastolite Large Rapid Kit-  

*Flashpoint Xplor 600-  

*Westcott Rapid Box XL- 

5 Comments

9 Comments

Macro Lens Challenge- Sony A6000 using the Sony 30mm vs. 105mm Nikon

One of my favorite moments during a wedding is taking ring shots for my wedding couple using macro lenses.  I've shot for years using the Nikon 105mm macro lens on all my Nikon bodies and it has delivered some outstanding results.

In July of 2014 I switched from Nikon to Sony for many reasons, some of which are articulated in this video... https://www.youtube.com/watch?v=7wM_5nROeaw  So for the sake of this blog post we will leave that subject alone.

Once I switched from Nikon to Sony I kept searching for a macro lens that would do the job as well as my 105mm Nikon macro that I've used professionally for YEARS.  While Sony is coming out with an FE macro lens later this year (2015), there isn't one available as of right now unless you use their A mount glass.

Since I typically shoot in manual focus with my macro anyways, I was in no rush to find a macro lens.  I simply would put my 105mm Nikon macro on my Sony A6000 or one of my A7 cameras using the Fotodiox or Metabones adapter and thanks to Focus Peaking on the Sony cameras, using the Nikon macro was EASY!

So last week I was looking at lenses on the Sony store and found the 30mm f/3.5 macro e mount lens.  It's priced at only $279!  It was such a relatively cheap lens that I thought, "What the heck...if I don't like it I'll just return it."

So two days ago I shot a wedding at the Queen Mary in Long Beach, CA.  This was my first opportunity to use both lenses.  I had a little extra time at the wedding so I decided to do a comparison between the lenses...and yes we video recorded it for my Youtube Channel...coming out in the near future...:)

I shot with both lenses using my Sony A6000.  And for comparison purposes I posted screen shots of both results so you can see that they are raw and completely unedited.  I was stunned that the Sony performed so well.  The other thing I noticed between the two lenses is that it was exponentially easier to use Auto Focus on the A6000 because the lens is SO much lighter.  I'm comparing this to when I used to shoot with Nikon and would try to use Auto Focus with the 105mm macro on my Nikon bodies.

Judge the results for yourselves.  I'm not bashing Nikon or lens because I love both.  But you can't deny how great the result is of the Sony lens that is approximately 1/3 the cost of the Nikon. Some would even argue it's a better capture.  I am a Sony Artisan of Imagery but that doesn't mean I'm biased.  I was perfectly content using my 105mm Nikon on my bodies for macro shots...but now that I see how well this 30mm Sony macro performs...that might just change.

Let me know what you think...:)

 Sony Macro 30mm f/3.5 e mount lens


Sony Macro 30mm f/3.5 e mount lens

Nikon 105mm f/2.8 macro lens

Nikon 105mm f/2.8 macro lens


9 Comments

Comment

The World Trade Center from the bottom up

Can a building have a soul?  Maybe it can't, but the people inside sure did.  This image was taken just 2 weeks before the attacks on 911 while I was there for a family trip.  We stood on top of the roof of the building and it was almost incomprehensible to imagine that 2 weeks later it all came down.  

That's why photography is so incredibly powerful.  It captures the moments that can never be brought back and makes them real again.  Photographers are the visual historians and as the old saying goes, "A picture tells a thousand words."

Comment

Comment

Ash from the 9-11 Site

Taken shortly after 9-11 in New York next to the make-shift memorial that had been put up with plywood with messages from visitors written on the walls.  We should never forget what happened to our country on 9-11.

Comment

Comment

In Memory of 9-11

May we never forget the innocent who perished and the evil that committed the atrocity.  Regardless of your ideaolgical beliefs you should never target the innocent to achieve your goals.  I sincerely feel for the families of those impacted by this heinous act.  I hope that they are able to find solace in our care and concern for them and in knowing that their sorrows will be heaped upon those responsible for this act by God.

This image was taken shortly after 9-11 before I was a professional photographer, when I traveled to New York to take in the gravity of what happened to our nation.  The lights are coming from the World Trade Center site and I was moved by the American flag flowing in front of it.  I hope we truly never forget.

Comment

Comment

Bridals with the Rotolight Anova

www.jasonlanierweddingphotography.com

This image was taken in Murrieta, California using the amazing Anova light from Rotolight.  The greatest thing about this light is the fact that it throws so much light in such a wide expanse.  Can't wait to share more pics!

www.jlpros.com

Camera settings: Nikon D800, 1/100 sec at f/4.5, 16mm at ISO 500, flash did not fire.  Taken at 8:06pm.

Comment

Comment

Rose in the Thorns on Driftwood Beach, Jekyll Island

www.jasonlanierweddingphotography.com

This image was taken at my wedding for Opie and Mandy on Jekyll Island, Georgia.  Driftwood Beach has a ton of huge, old trees and roots that are lining the coastline.  I shot this image through the roots of a fallen tree, using off camera flash on the bride to get the lighting that I wanted on her.  It was a terrific time, and I can't thank everyone enough who made this happen including Vanden, Missie, Crystal and more!

Next Workshop:

REAL wedding workshop South Carolina- October 4th and 5th

http://www.meetup.com/Meet-Ups-with-Jason-Lanier/events/130809762/

Camera settings: Nikon D800, 1/200 sec at f/4.0, 16mm at ISO 50, flash fired.  Taken at 3:06pm.

Comment

Comment

Wedding Couple Plantation Shoot at Jeykll Island

www.jlpros.com

This image was taken during my couple shoot before the ceremony for Opie and Mandy on Jekyll Island.  I was so enamored with this place because there are just so many places to shoot.  We received permission to shoot on the balcony of this old plantation home and it was just beautiful.  

www.jasonlanierweddingphotography.com

Camera settings: Nikon D800, 1/200 sec at f/5.0, 17mm at ISO 50, flash fired.  Taken at 3:30pm.

Comment

Comment

Queen of the World at Driftwood Beach in Jekyll Island, Georgia

www.jasonlanierweddingphotography.com

I just loved shooting at this beach.  Being a California boy I've grown up around the beach, and I've had the opportunity to travel the world and see beaches in five continents.  That being said, I've never seen a beach like Driftwood Beach on Jekyll Island in Georgia.  Just an amazing place with so many opportunities for photographers!  This was taken during the bridal session with Mandy the day before the wedding.  Great times!

Next Workshop: REAL wedding workshop October 4th and 5th in South Carolina

http://www.meetup.com/Meet-Ups-with-Jason-Lanier/events/130809762/

Camera settings: Nikon D800, 1/250 sec at f/7.1, 14mm at ISO 50, flash fired off camera.

Comment

Comment

Bridals at Jekyll Island using Off Camera Flash

www.jasonlanierweddingphotography.com

This image was taken of Mandy at Driftwood Beach on Jekyll Island, Georgia who was married there just last weekend.  We did her bridals the day before the wedding, and it's just amazing shooting on Driftwood Beach.  This wedding was done as part of my Photography Consulting Services where I come in and help another photographer to shoot their wedding.  Crystal Cherry asked me to come out and shoot this wedding with her and show her how I do what I do, and it was such a great time!  Hope you like it!

www.jlpros.com 

Comment

Comment

Jekyll Island Plantation Wedding First Look

www.jlpros.com

This image was taken at the wedding for Justin and Mandy at Jeykll Island in Georgia.  This image was one of the first that we took which was during the First Look.  We blindfolded the groom and had the bride come and remove it which of course revealed her in her beautiful wedding dress.  It was a magical moment for everyone!

www.jasonlanierweddingphotography.com

Comment

Comment

Justin and Mandy, a Jekyll Island Wedding

www.jlpros.com

Congratulations to Justin and Mandy who were married yesterday on Jekyll Island in Georgia.  It was a magical day, and getting to shoot on Driftwood Beach was just awesome.  More pics to come!

www.jasonlanierweddingphotography.com

Camera settings: Nikon D800, 1/125 sec at f/4.5, 15mm at ISO 50, flash fired.

Comment

2 Comments

Book Your Summer Special Shoot Right Now!

Click below to book your date now! Jason only does 1 shoot per day, so book your date and location BEFORE someone else takes it!

http://www.eventbrite.com/event/7451580879

Join Jason Lanier for an amazing summer special shoot! $299 gets you an amazing shoot...and it can be ANYTHING you want me to shoot! Some examples include, pregnancy, engagement, bridals, pin up, children, family, and trash the dress...but it truly can be anything that you'd like to do.

The Summer Shoot Package includes:

*90-minute shoot with award winning photographer Jason Lanier

*25 high resolution images that you can use for your own personal use to print, share and copy!

*$25 print credit via Pictage to order pictures through Jason's professional lab.

*All images developed professionally and hosted on your own private gallery online to view, share and purchase if you'd like to purchase more than the 25 included in your package.

Jason will be located in various locations throughout the summer so you can get your crazy and awesome shoot booked at many different places! Locations include Southern California, Estes Colorado, Myrtle Beach South Carolina, Savannah Georgia, Knoxville Tennessee, Morgantown West Virginia, and Washington DC.

To book a shoot click on your desired location and date on the tickets. You will be prompted to fill in a quick questionnaire that asks you about the shoot type and time you'd like to do it. Jason will then contact you and make all the final preparations for an awesome shoot!
BOOK YOUR SESSION NOW!

2 Comments

Comment

New York State of Mind

www.funphotoworkshops.com

This image was taken at my workshop in New York last year with the beautiful Megan Ward.  We were about 2 blocks from Times Square and found this construction site set up in the middle of the street.  So using some remote video lighting we simply started shooting while getting honked at, the models were getting cat-called, cars were almost crashing....etc.  Just a normal workshop with me!  Can't wait to get back there!

Camera settings: Nikon D800, 1/60 sec at f/4.5, 16mm at ISO 1600, flash fired.  Taken at 9:07pm.

Comment