Jason Lanier 1/3/19 Jason Lanier 1/3/19 Should Photographers Pay Money to Strangers when Doing Street Photography? From the Streets of Ethiopia by Jason Lanier Read More Jason Lanier 12/3/18 Jason Lanier 12/3/18 Shooting the Lightweight Beast- my shoot with the Sony 400mm f/2.8 G Master lens by Jason Lanier Read More Jason Lanier 11/7/18 Jason Lanier 11/7/18 Jason Lanier Working with Sony, Rotolight and Jessops Camera in epic 2 week trip by Jason Lanier Read More Jason Lanier 11/3/17 Jason Lanier 11/3/17 My First Shoot Ever using the Sony A7Riii- shooting in Raw at a Penthouse in NYC Read More Jason Lanier 6/12/17 Jason Lanier 6/12/17 The Shoot between Jason Lanier and Ken Wheeler the Angry Photographer using the Sony A9 and the Fuji GFX Read More Jason Lanier 5/27/17 Jason Lanier 5/27/17 Sony A9 vs. the Sony A7Rii Landscape Shoot Resolution Challenge by Jason Lanier Read More Jason Lanier 3/19/17 Jason Lanier 3/19/17 Portraits of a Cuban Tobacco Farmer using the Sony FE 100mm STF and 70-200mm G Master Lenses by Jason Lanier Read More Jason Lanier 3/3/17 Jason Lanier 3/3/17 CHEAP Lens Challenge- Shooting the Sony FE 50mm with the Sony A6500 in a train Read More Jason Lanier 3/2/17 Jason Lanier 3/2/17 Sony FE 100mm STF Auto Focus lens- my rain shoot at Balboa Park in San Diego Read More Jason Lanier 2/22/17 Jason Lanier 2/22/17 Salvation Mountain- My First Shoot with the Sony FE 85mm f/1.8 on the Sony A6500 Read More Jason Lanier 1/28/17 Jason Lanier 1/28/17 Inauguration Day Riots, Fake News, Burning Cars and more for Donald Trump's Inauguration Read More Jason Lanier 1/13/17 Jason Lanier 1/13/17 Snow Queen- studio shoot using the Broncolor MobiLED, Rotolight Neo and the Westcott Eyelighter Read More Jason Lanier 1/2/17 Jason Lanier 1/2/17 Groom Getting Ready and Groom Portraits at a REAL Indian Wedding Workshop Read More Jason Lanier 12/31/16 Jason Lanier 12/31/16 Real Indian Wedding Workshop- Bride Getting Ready at the Crowne Plaza Cherry Hill, New Jersey Read More Jason Lanier 12/23/16 Jason Lanier 12/23/16 How I Pose and Shoot Men- a Groom Shoot in the Maui Rainforest in Hawaii Read More Jason Lanier 12/19/16 Jason Lanier 12/19/16 Using the Sigma MC-11 Adapter with Sigma and Canon Lenses Read More Jason Lanier 12/15/16 Jason Lanier 12/15/16 Wedding Bridals in Balboa Park Read More Jason Lanier 12/9/16 Jason Lanier 12/9/16 First Shoot with RAW files on the Sony A6500 with wild ocean seals in La Jolla, California Read More Jason Lanier 12/7/16 Jason Lanier 12/7/16 Using Manual Focus for Fast Action Shots to get Amazing Results using the Sony A7Rii and Canon 200mm f/1.8 Read More Jason Lanier 12/3/16 Jason Lanier 12/3/16 What Pro Photographers Images Look Like Raw, Unedited or with Lightroom Edits Only Read More Older Posts
Jason Lanier 1/3/19 Jason Lanier 1/3/19 Should Photographers Pay Money to Strangers when Doing Street Photography? From the Streets of Ethiopia by Jason Lanier Read More
Jason Lanier 12/3/18 Jason Lanier 12/3/18 Shooting the Lightweight Beast- my shoot with the Sony 400mm f/2.8 G Master lens by Jason Lanier Read More
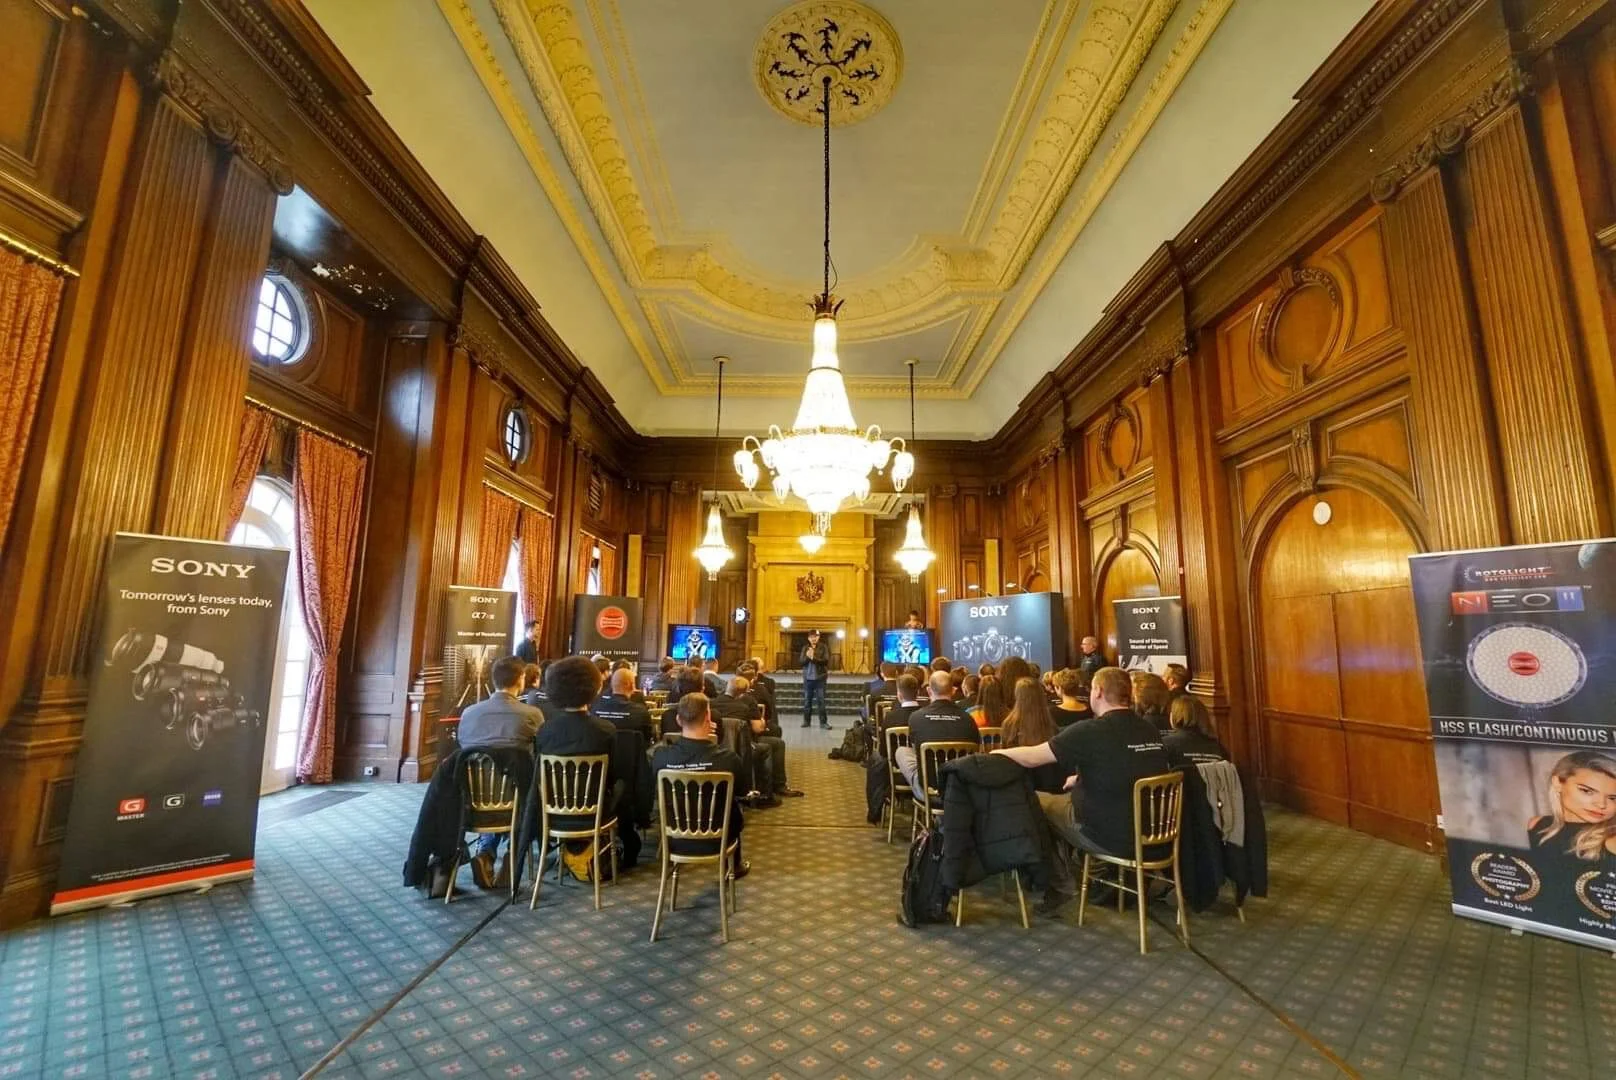
Jason Lanier 11/7/18 Jason Lanier 11/7/18 Jason Lanier Working with Sony, Rotolight and Jessops Camera in epic 2 week trip by Jason Lanier Read More
Jason Lanier 11/3/17 Jason Lanier 11/3/17 My First Shoot Ever using the Sony A7Riii- shooting in Raw at a Penthouse in NYC Read More
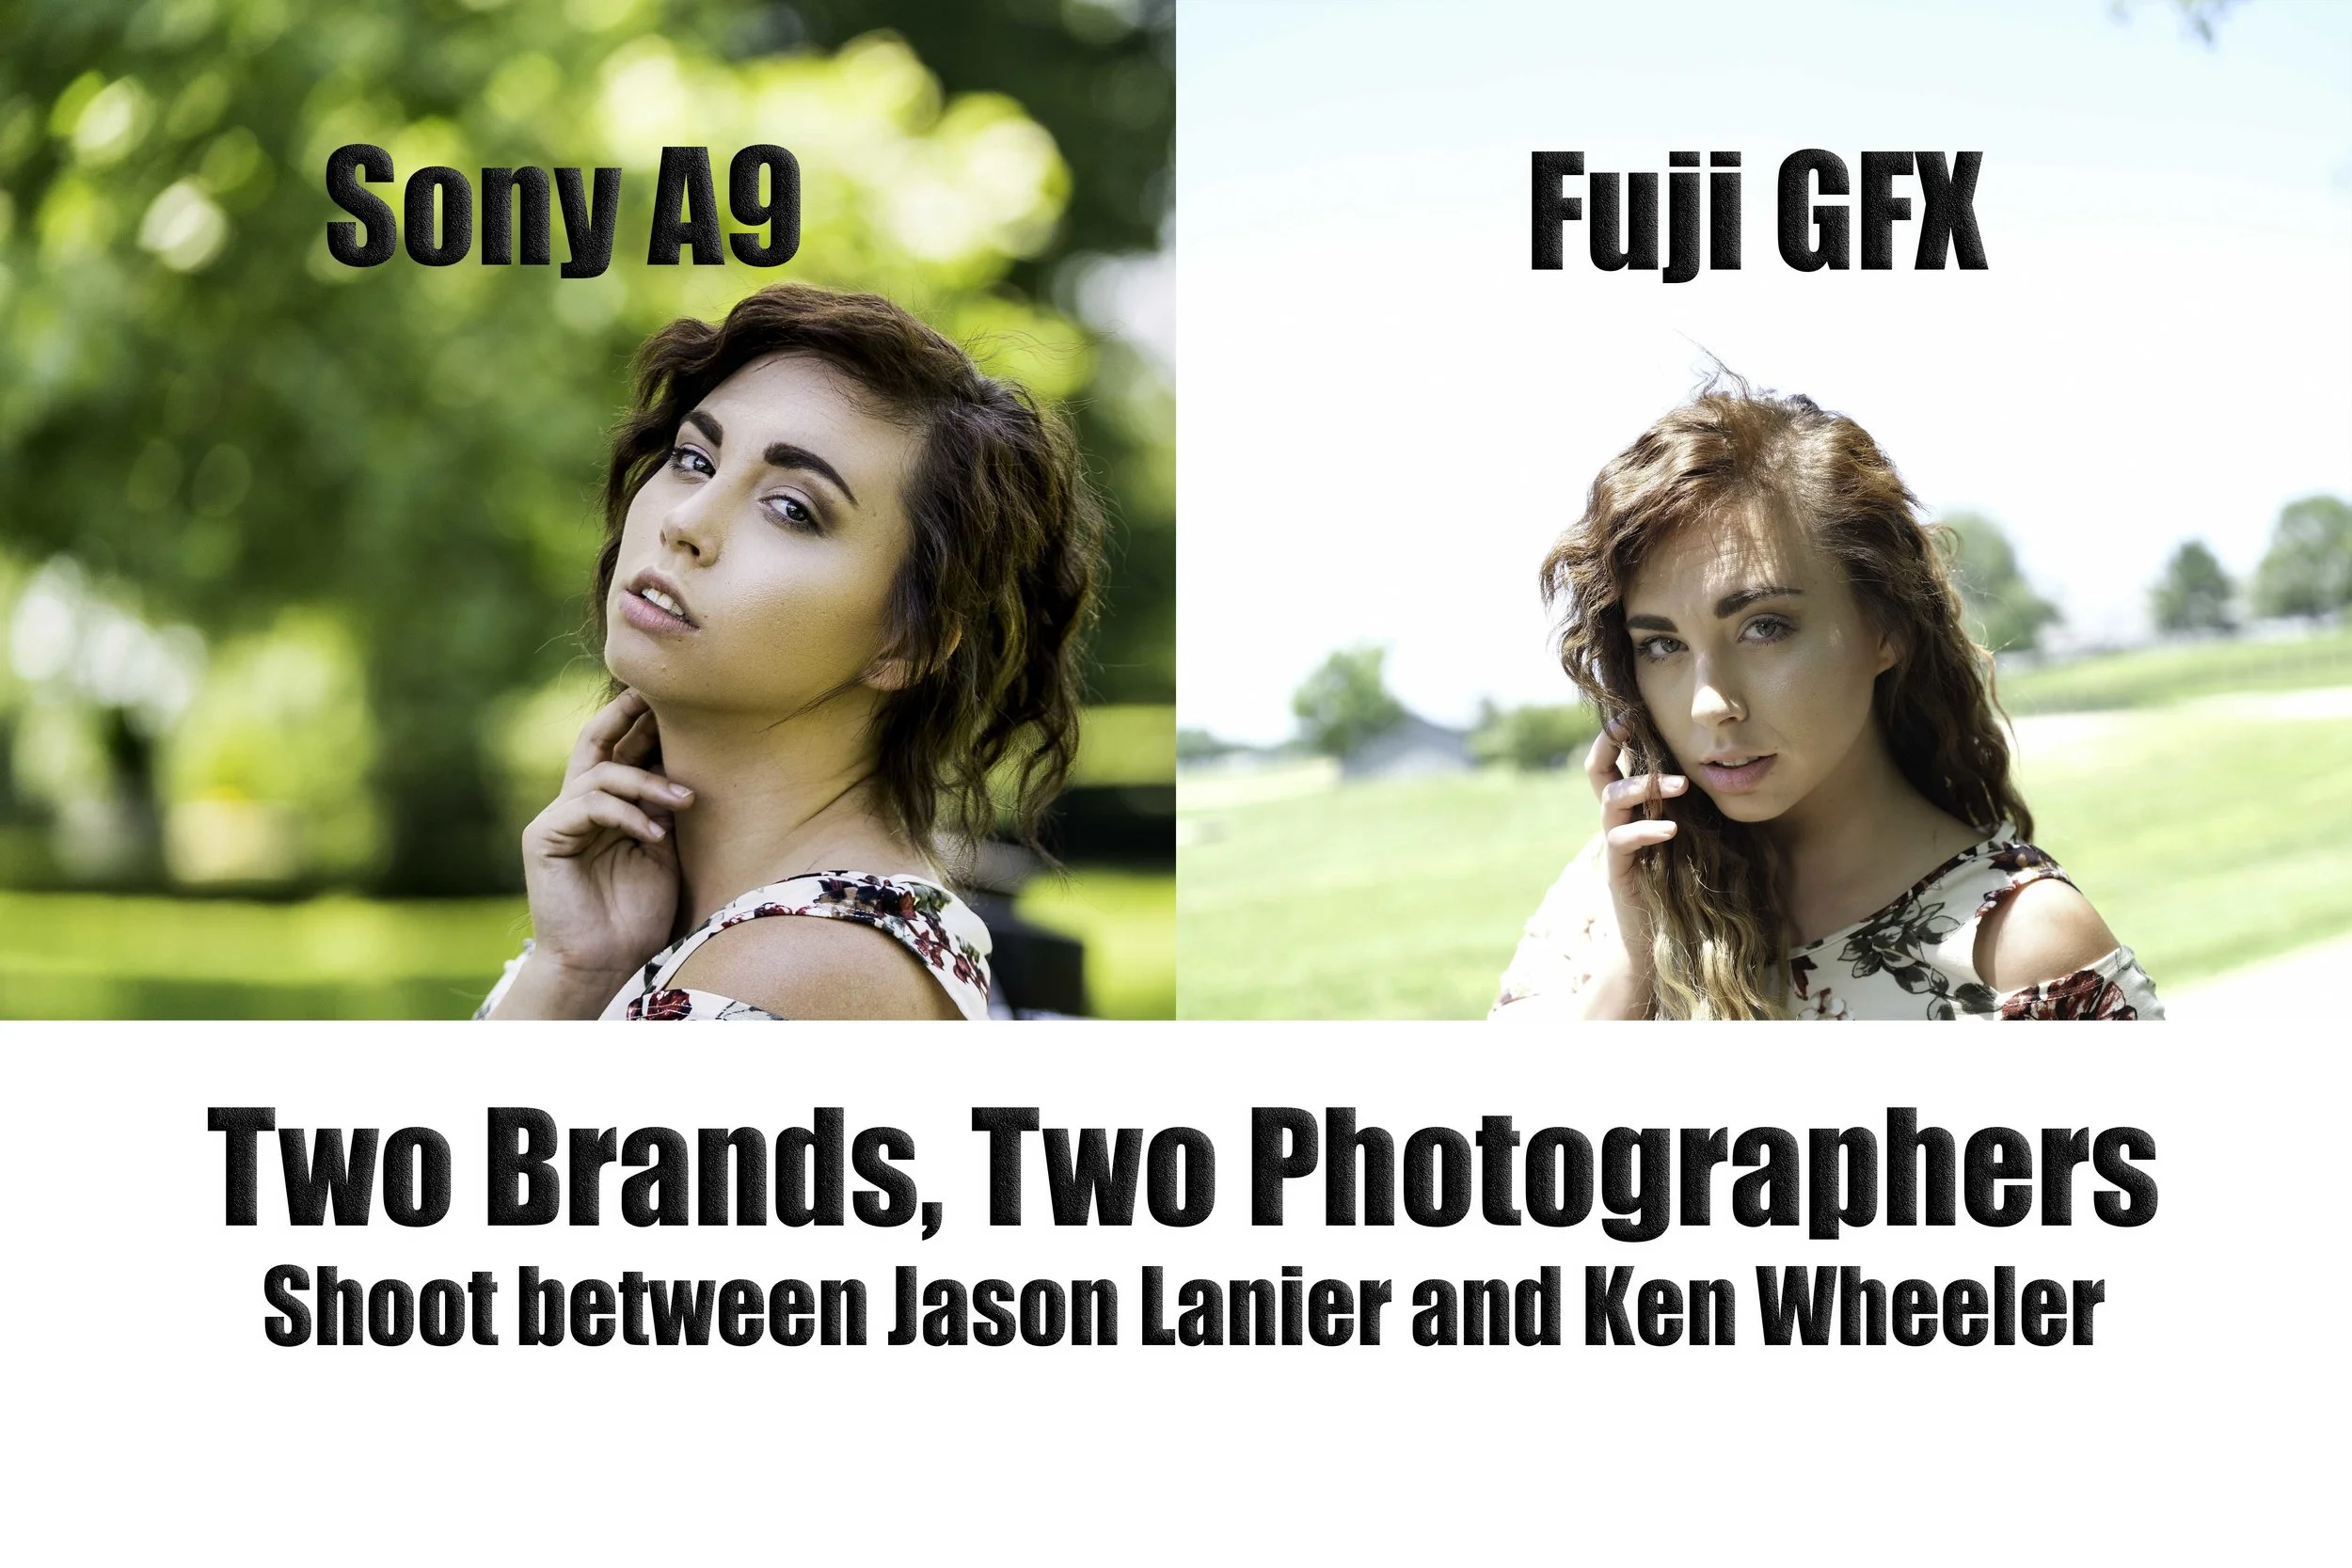
Jason Lanier 6/12/17 Jason Lanier 6/12/17 The Shoot between Jason Lanier and Ken Wheeler the Angry Photographer using the Sony A9 and the Fuji GFX Read More
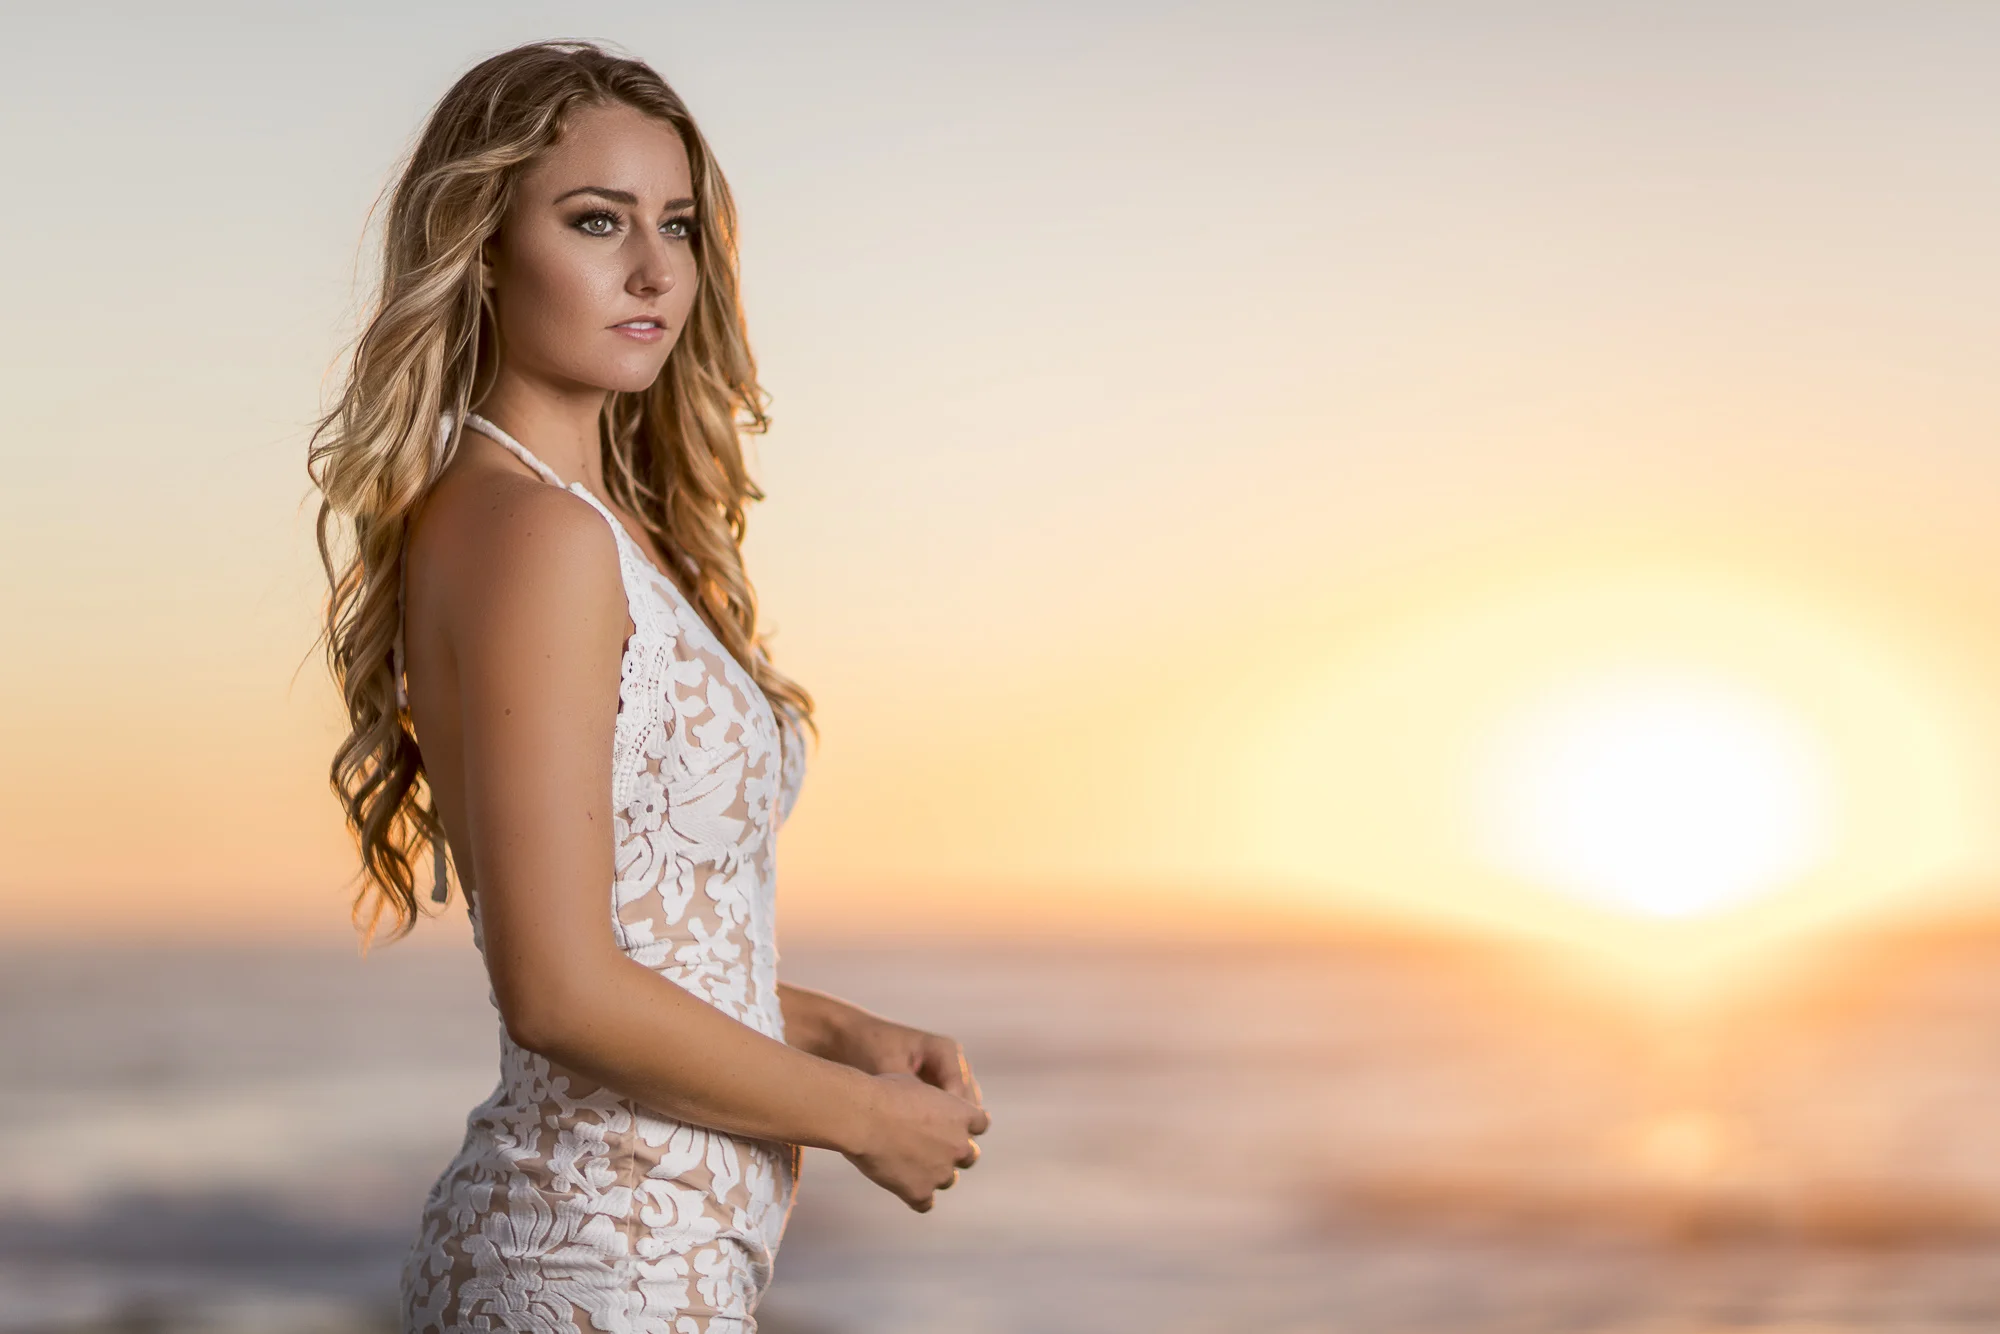
Jason Lanier 5/27/17 Jason Lanier 5/27/17 Sony A9 vs. the Sony A7Rii Landscape Shoot Resolution Challenge by Jason Lanier Read More
Jason Lanier 3/19/17 Jason Lanier 3/19/17 Portraits of a Cuban Tobacco Farmer using the Sony FE 100mm STF and 70-200mm G Master Lenses by Jason Lanier Read More
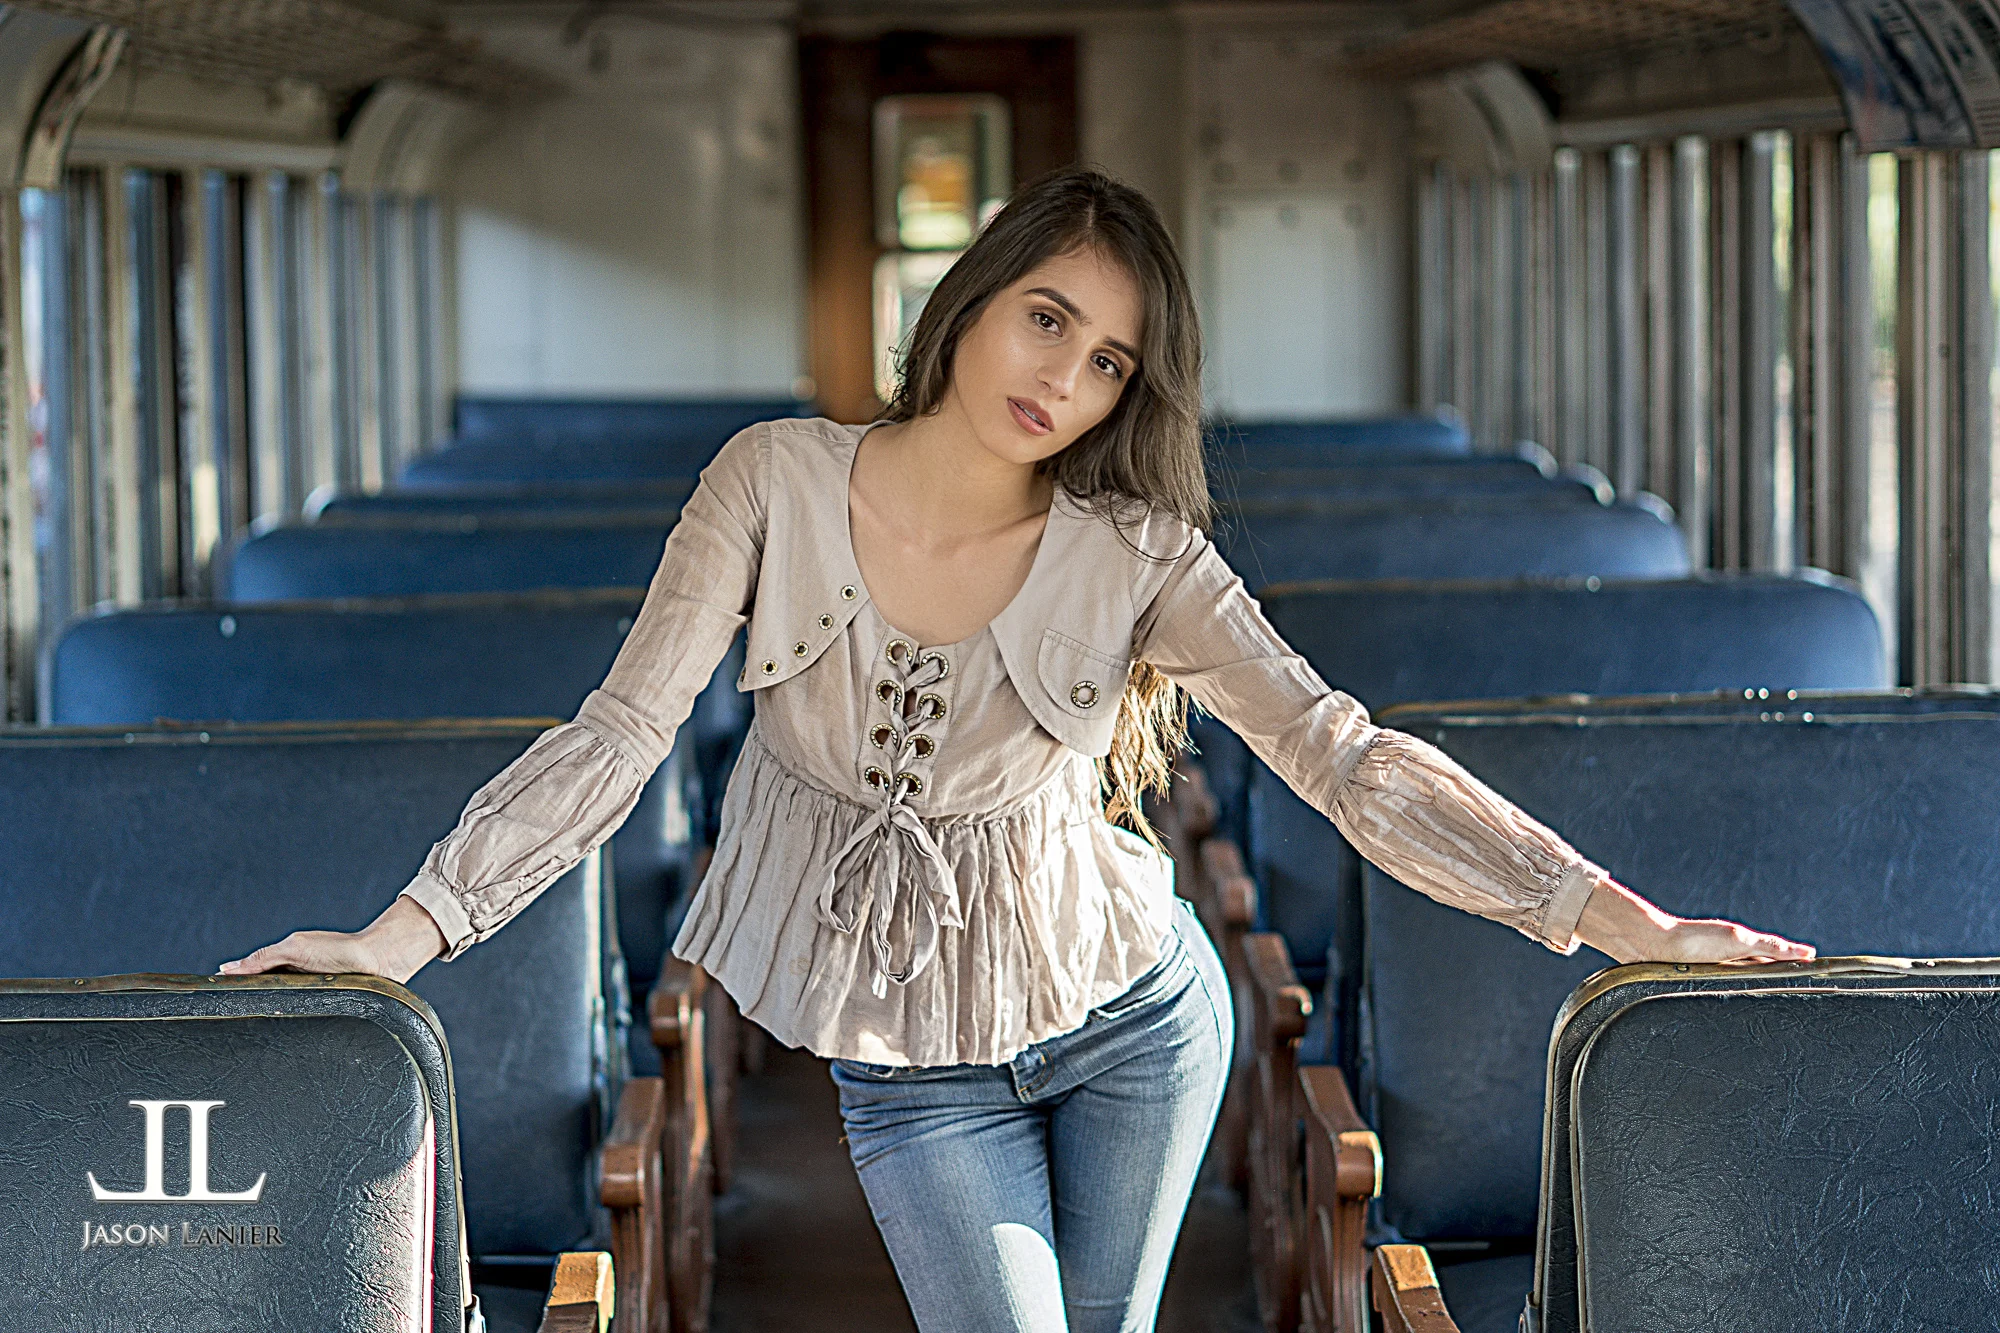
Jason Lanier 3/3/17 Jason Lanier 3/3/17 CHEAP Lens Challenge- Shooting the Sony FE 50mm with the Sony A6500 in a train Read More
Jason Lanier 3/2/17 Jason Lanier 3/2/17 Sony FE 100mm STF Auto Focus lens- my rain shoot at Balboa Park in San Diego Read More
Jason Lanier 2/22/17 Jason Lanier 2/22/17 Salvation Mountain- My First Shoot with the Sony FE 85mm f/1.8 on the Sony A6500 Read More
Jason Lanier 1/28/17 Jason Lanier 1/28/17 Inauguration Day Riots, Fake News, Burning Cars and more for Donald Trump's Inauguration Read More
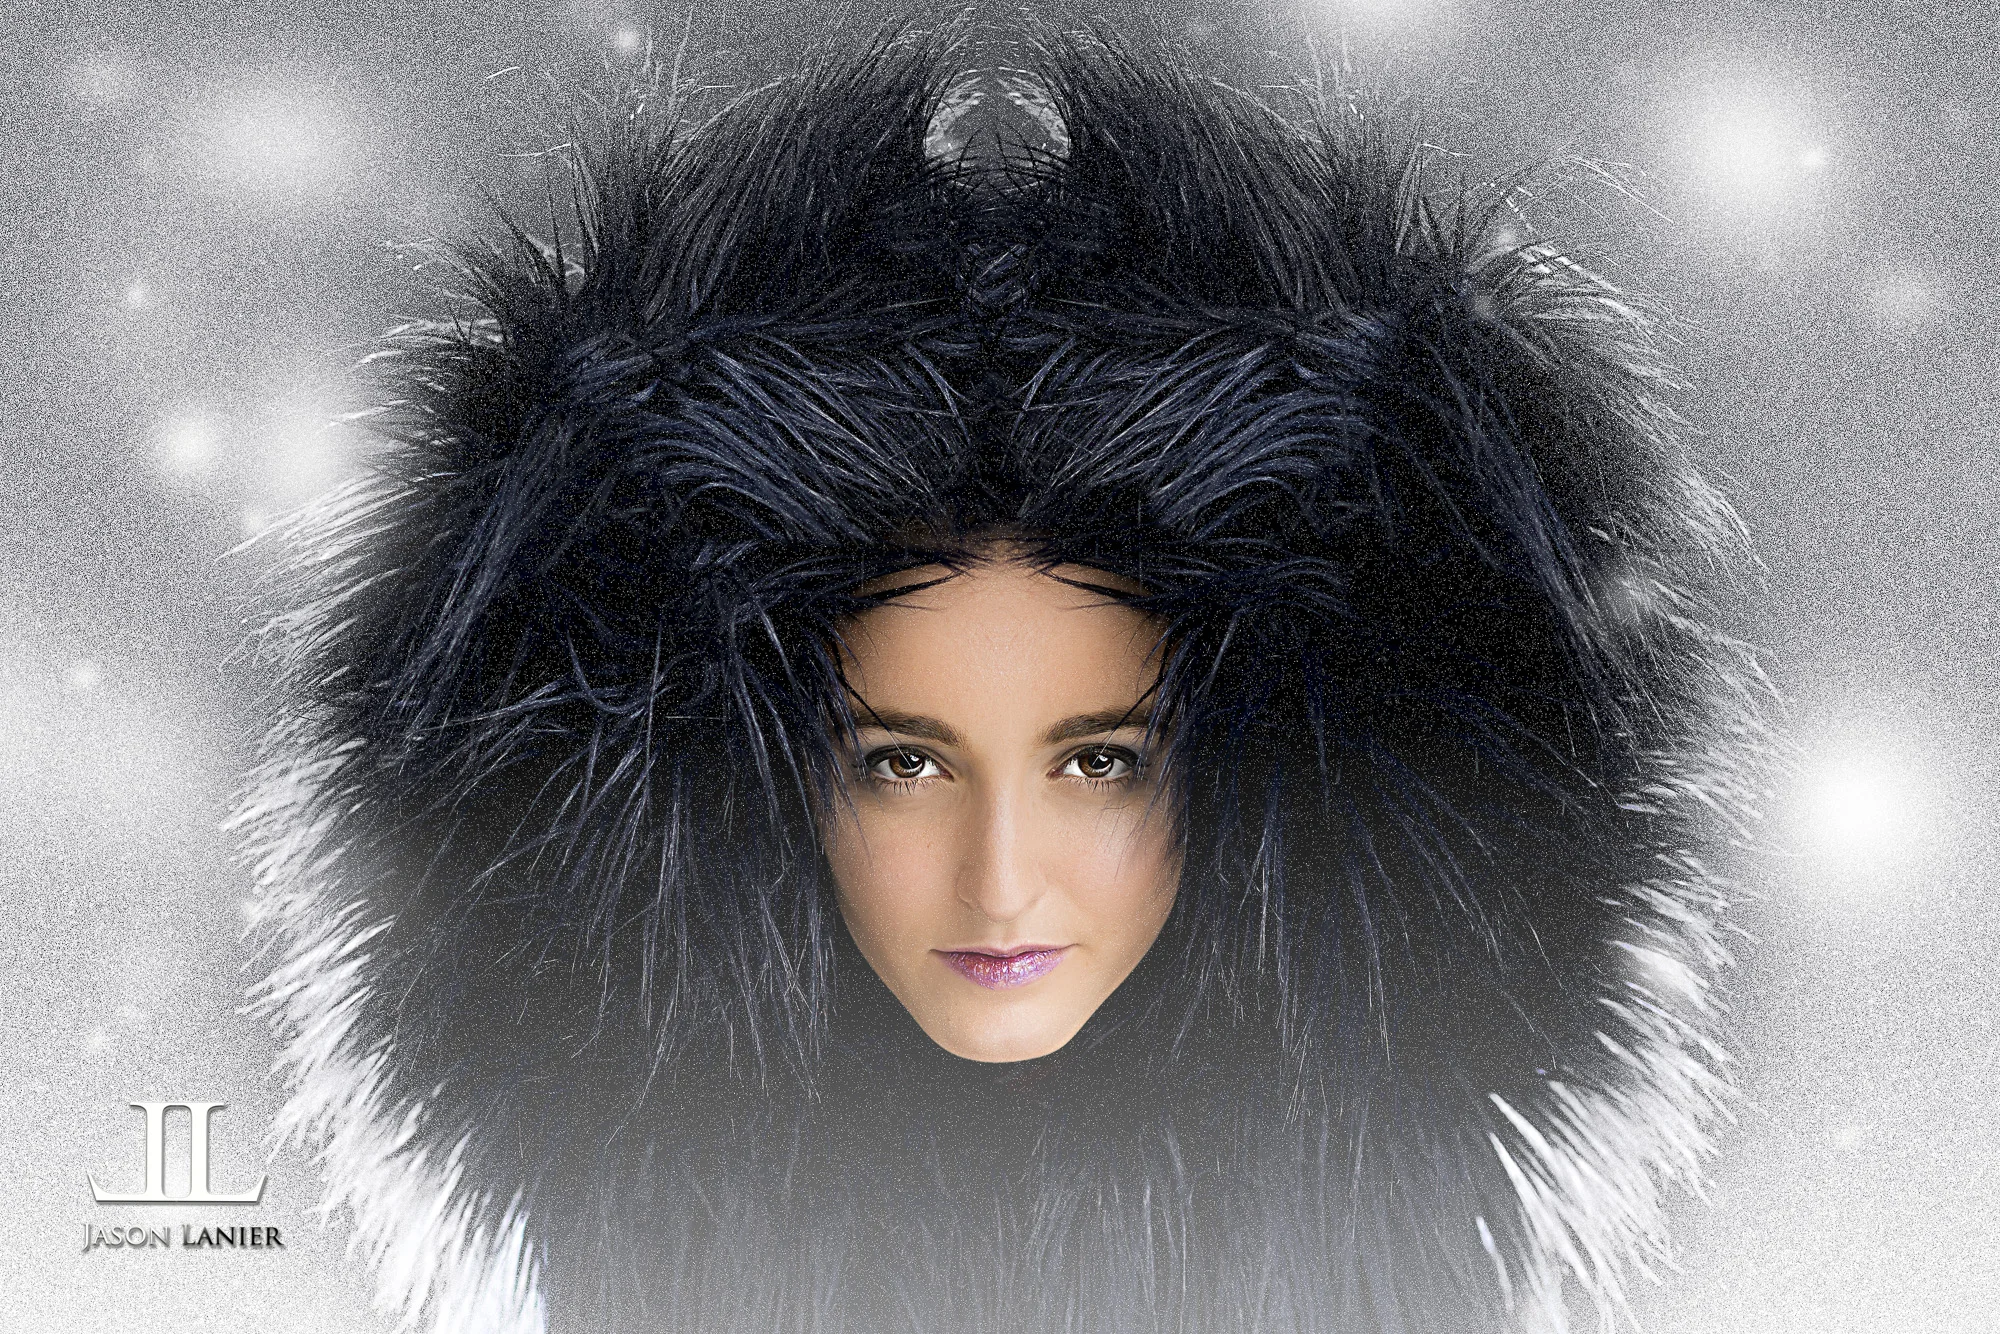
Jason Lanier 1/13/17 Jason Lanier 1/13/17 Snow Queen- studio shoot using the Broncolor MobiLED, Rotolight Neo and the Westcott Eyelighter Read More
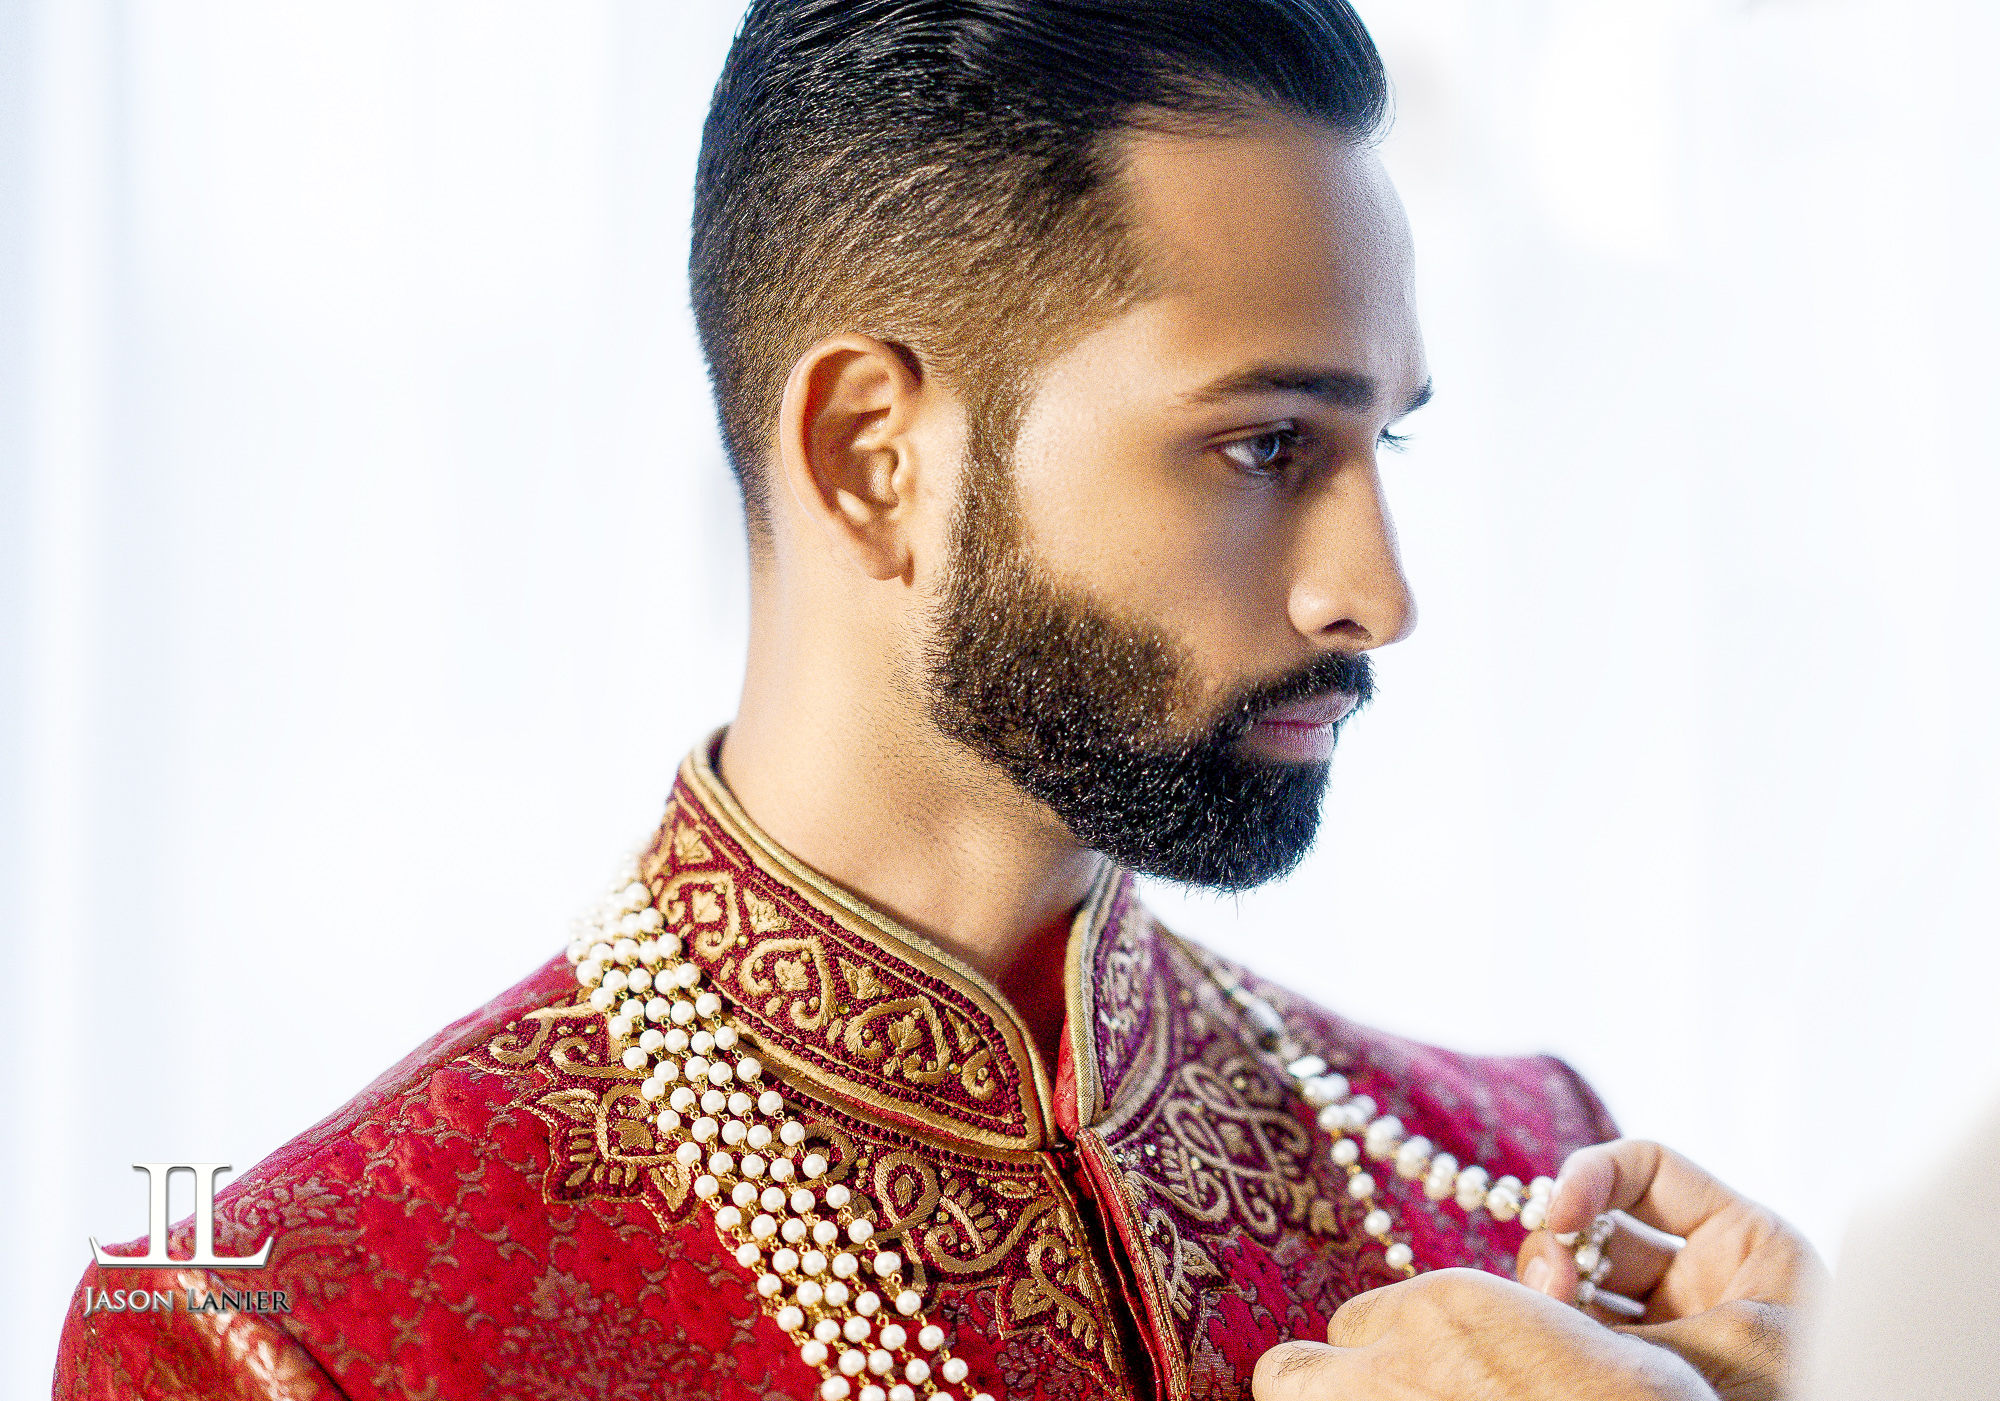
Jason Lanier 1/2/17 Jason Lanier 1/2/17 Groom Getting Ready and Groom Portraits at a REAL Indian Wedding Workshop Read More
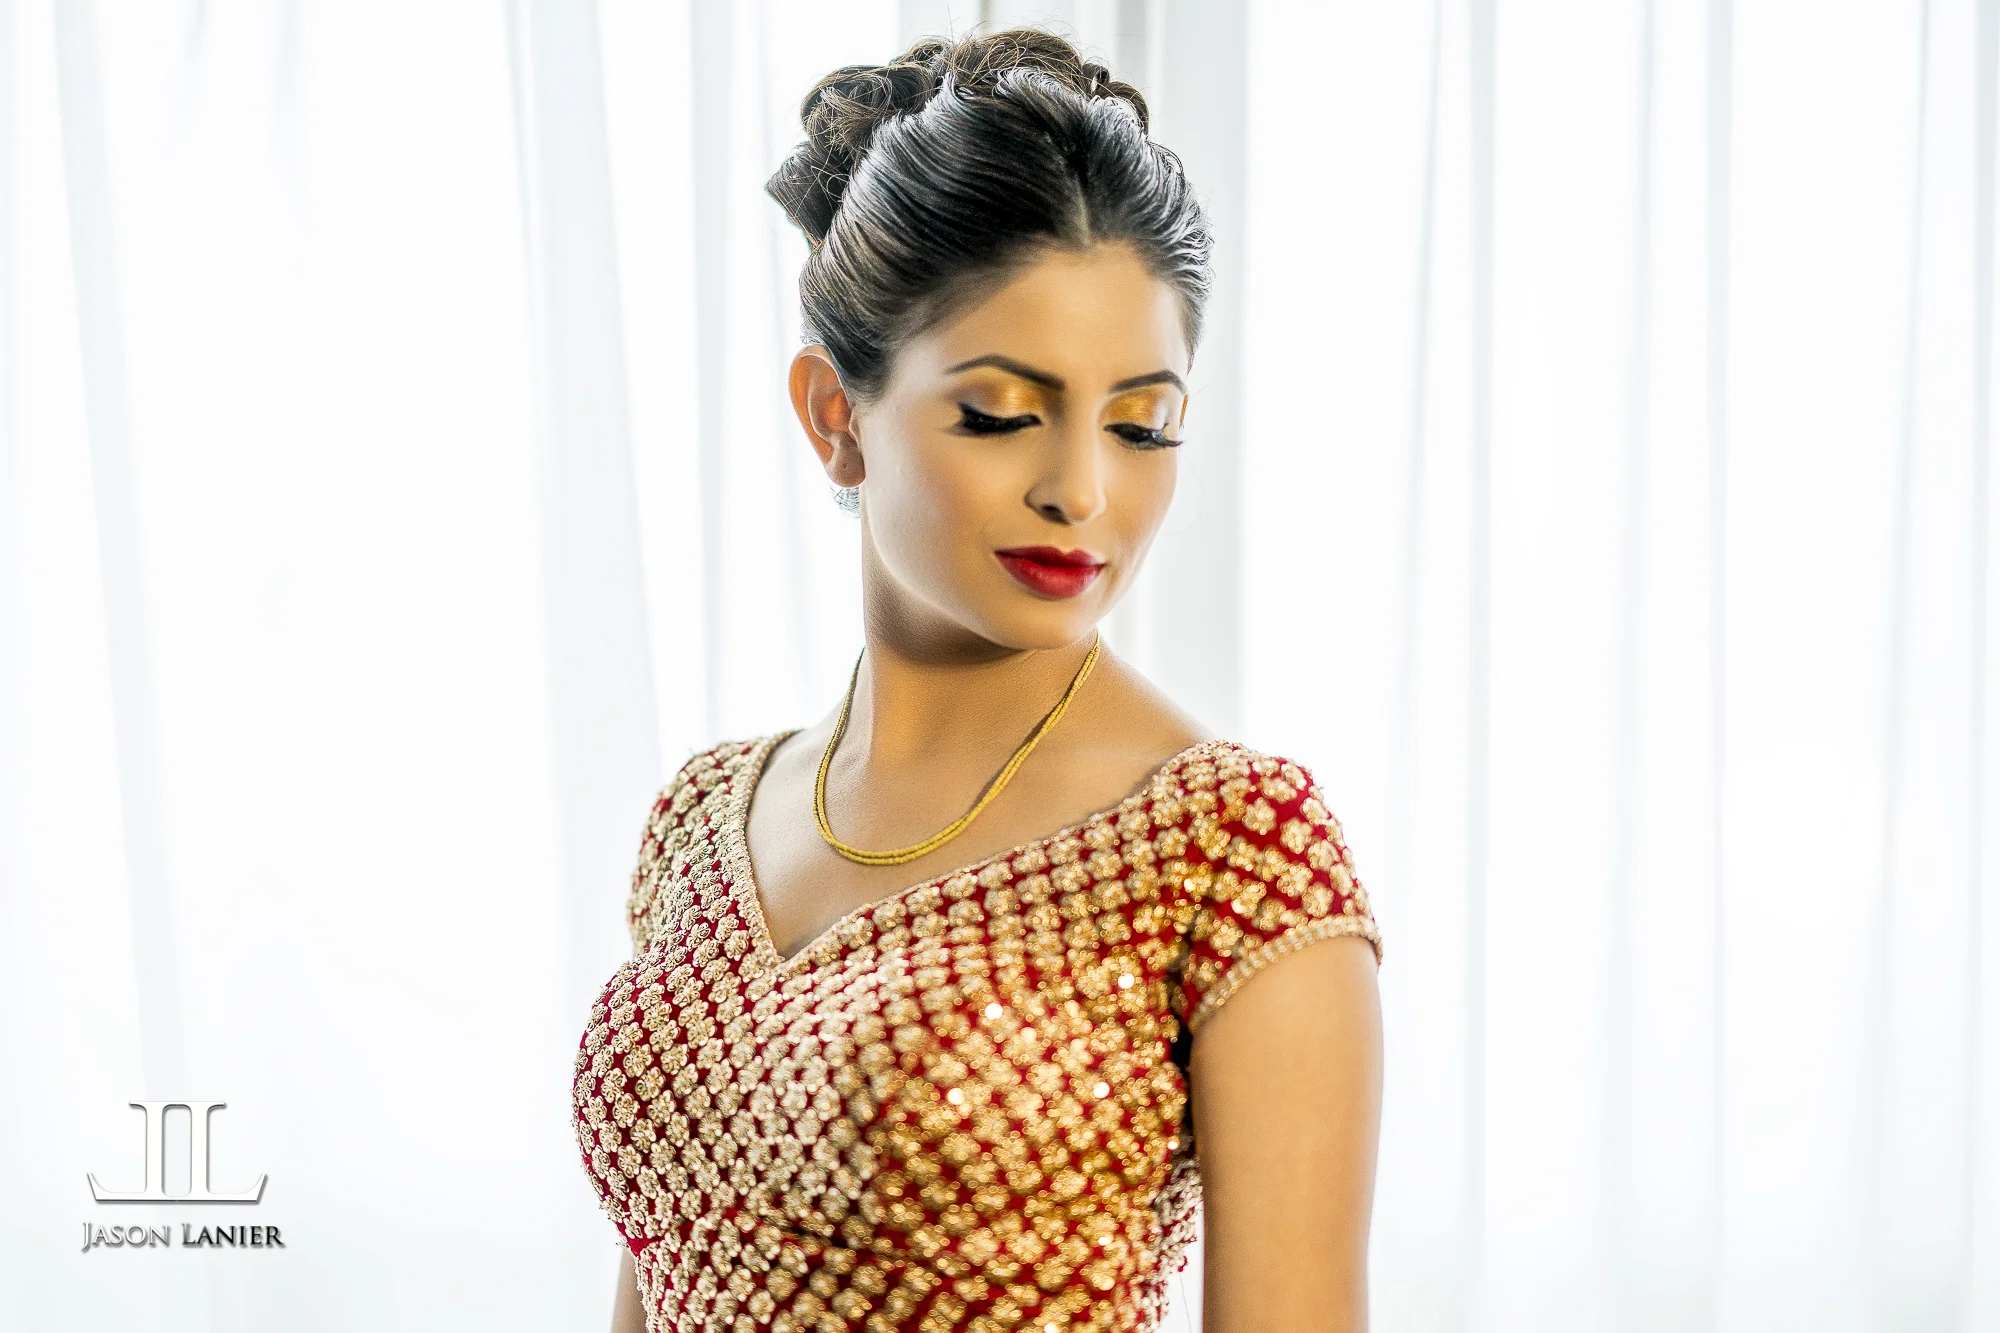
Jason Lanier 12/31/16 Jason Lanier 12/31/16 Real Indian Wedding Workshop- Bride Getting Ready at the Crowne Plaza Cherry Hill, New Jersey Read More
Jason Lanier 12/23/16 Jason Lanier 12/23/16 How I Pose and Shoot Men- a Groom Shoot in the Maui Rainforest in Hawaii Read More
Jason Lanier 12/19/16 Jason Lanier 12/19/16 Using the Sigma MC-11 Adapter with Sigma and Canon Lenses Read More
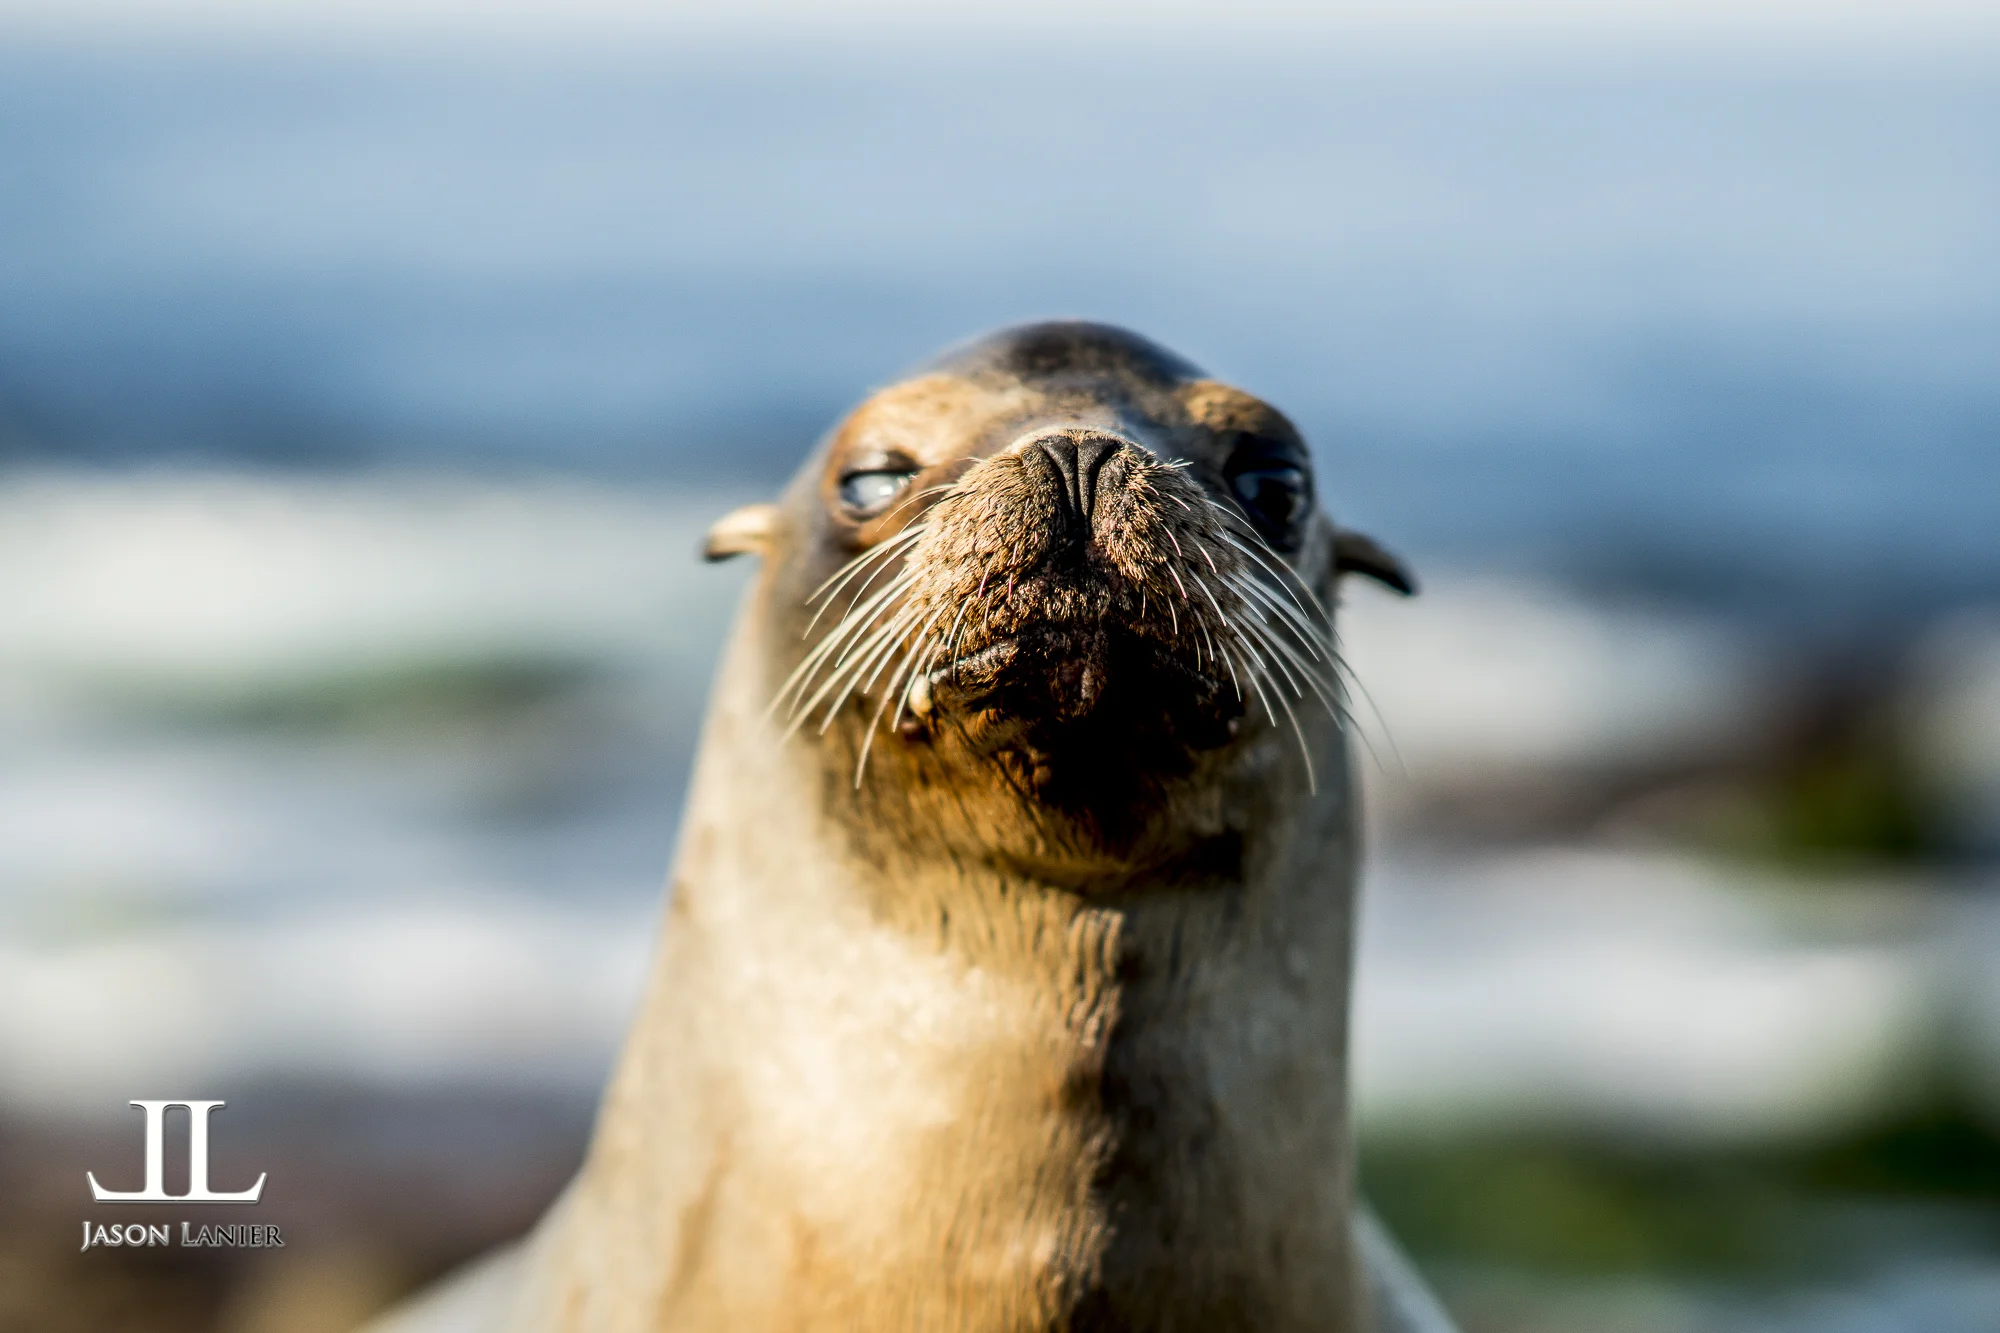
Jason Lanier 12/9/16 Jason Lanier 12/9/16 First Shoot with RAW files on the Sony A6500 with wild ocean seals in La Jolla, California Read More
Jason Lanier 12/7/16 Jason Lanier 12/7/16 Using Manual Focus for Fast Action Shots to get Amazing Results using the Sony A7Rii and Canon 200mm f/1.8 Read More
Jason Lanier 12/3/16 Jason Lanier 12/3/16 What Pro Photographers Images Look Like Raw, Unedited or with Lightroom Edits Only Read More