Viewing entries tagged
sony mirrorless

Bodypaint Shoot at the Jupiter Dungeon with Jason Lanier

1 Comment

Bodypaint Shoot at the Jupiter Dungeon with Jason Lanier

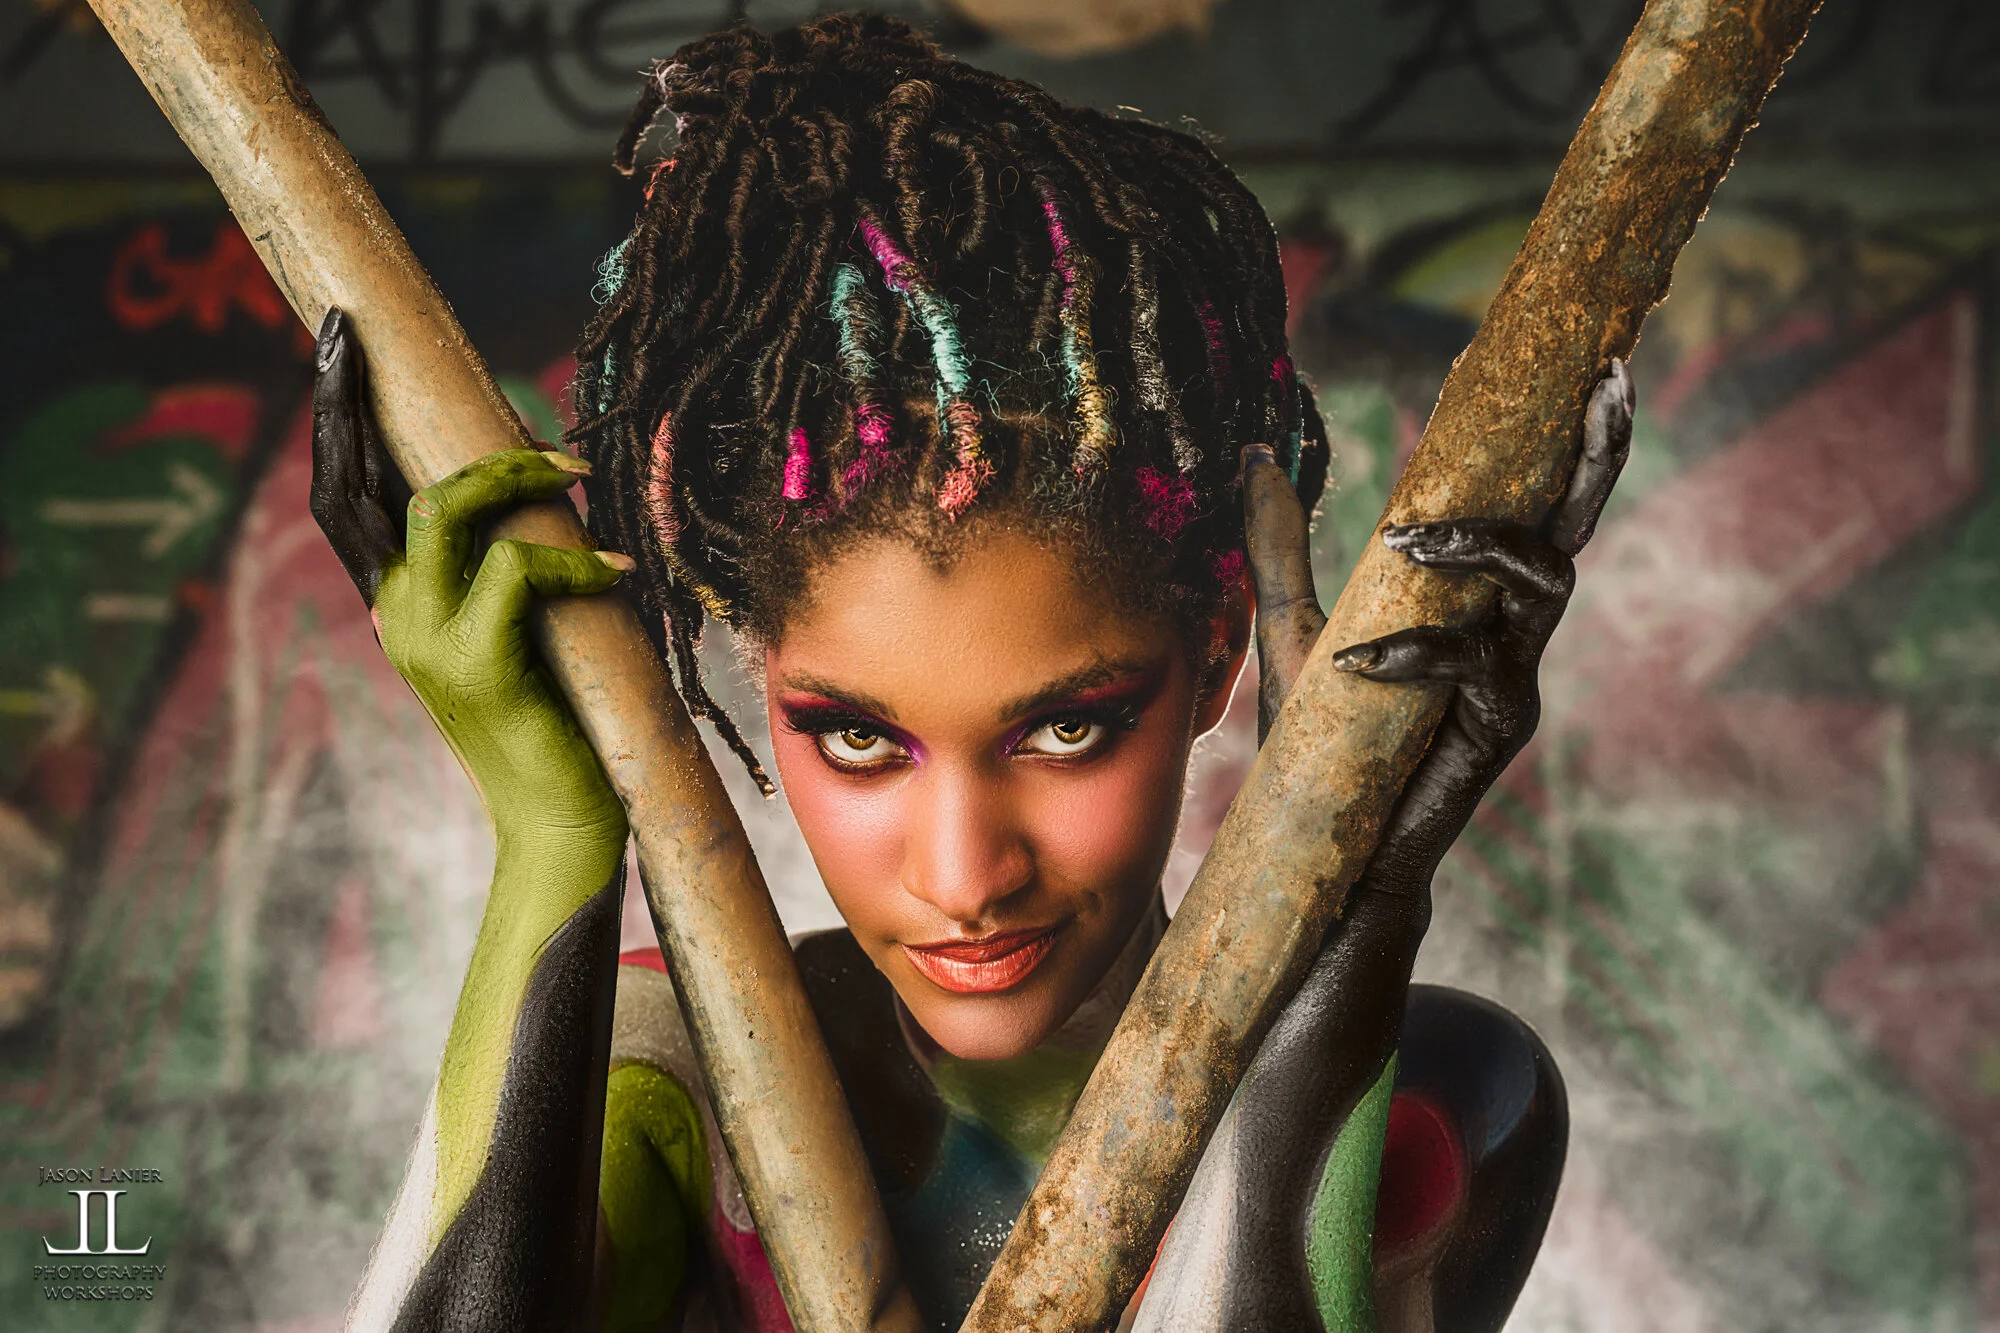
Wanna see how to make a body paint shoot into something more than a typical sexy shoot? Wanna tell a story? Create mood and atmosphere? Join award winning photographer Jason Lanier for his body paint shoot done at the abandoned Jupiter Dungeon in Florida where he uses lighting and smoke to create an out of this world shoot experience!

To watch the video from this shoot please click below now!

This was a shoot using the Sony A9 with the 50mm Sony Zeiss and 20mm Sigma Art lenses. The atmospheric haze that you’ll see in the video was purchased on Amazon. The Jupiter Dungeon is an abandoned parking garage that was never finished due to the developers running out of money. It’s a really cool place to shoot.

To see the gallery of images created at this shoot please click below.

—Gear used in the video:

**Sony A9- https://bhpho.to/35PyHQX

**Sony Zeiss 50mm- https://bhpho.to/2Wl7OjY

**Links to Social Media**

Photographer:

Jason Lanier *Website- www.jasonlanier.com

*Podcast- www.jasonlanier.com/podcast

*Instagram- www.instagram.com/jasonlanierphotography

*Facebook- www.facebook.com/groups/jasonlanierworkshops

*Twitter- www.twitter.com/jlanierphoto

Model: Jamaican Red (Danni)

*Instagram: www.instagram.com/jamaicanred_

Crew: Anthony Schick, Zach Smith

www.instagram.com/anthonyschickphotography

www.instagram.com/zsmithphoto

We thank you for watching and invite you to watch a few more videos while you're here. Don't forget to click on subscribe and notifications so you're updated every time a new video is released!

Thanks!

Jason Lanier Photography

1 Comment

Shooting the Canon 300mm f/2.8 lens on the Sony A7Riii using the Metabones Mark 5 Adapter by Jason Lanier

6 Comments

Shooting the Canon 300mm f/2.8 lens on the Sony A7Riii using the Metabones Mark 5 Adapter by Jason Lanier

WOW! This was a FUN SHOOT! While I usually spend the vast majority of my time teaching and not shooting at my workshops, I’ve learned to do a demo shoot at every workshop to help my students understand exactly what I’m teaching. I’ve also received feedback over the years that for some of my students who are visual learners, the demo session of the workshop is invaluable to their learning experience.

The other thing that’s so much fun at my workshops is when I have fellow photographers who are attending bring lenses that I haven’t had the chance to use before. At my Houston workshop in December 2018 a photographer named Jose brought the Canon 300mm f/2.8. I was thrilled to be able to borrow it and see how it worked with my Sony A7Riii using the Metabones Mark 5 Adapter.

As an early adopter to the Sony Mirrorless system, I am very accustomed to using Canon lenses on my Sony bodies to be able to supplement the Sony lens lineup that was lacking when I first switched over. I currently own 7 Canon L lenses and have used the 400mm f/2.8 and the Canon 200mm f/1.8 on my Sony bodies….BUT, the 300mm f/2.8 was one I hadn’t gotten my hands on yet.

Until Houston.

Jose was so kind to let me borrow the lens and his Metabones Mark 5 Adapter. In the past I’ve always used the Metabones Mark 4 Adapter or the Sigma MC11 Adapter. To answer the easy question for those reading this and wondering…did I notice a difference using the Metabones Mark 5 over the others? No. So if you’re like me, you don’t need to rush out and spend money on it unless you currently don’t have an adapter.

But, back to the lens.

Yes, it’s heavy.

Yes, it requires an adapter to use.

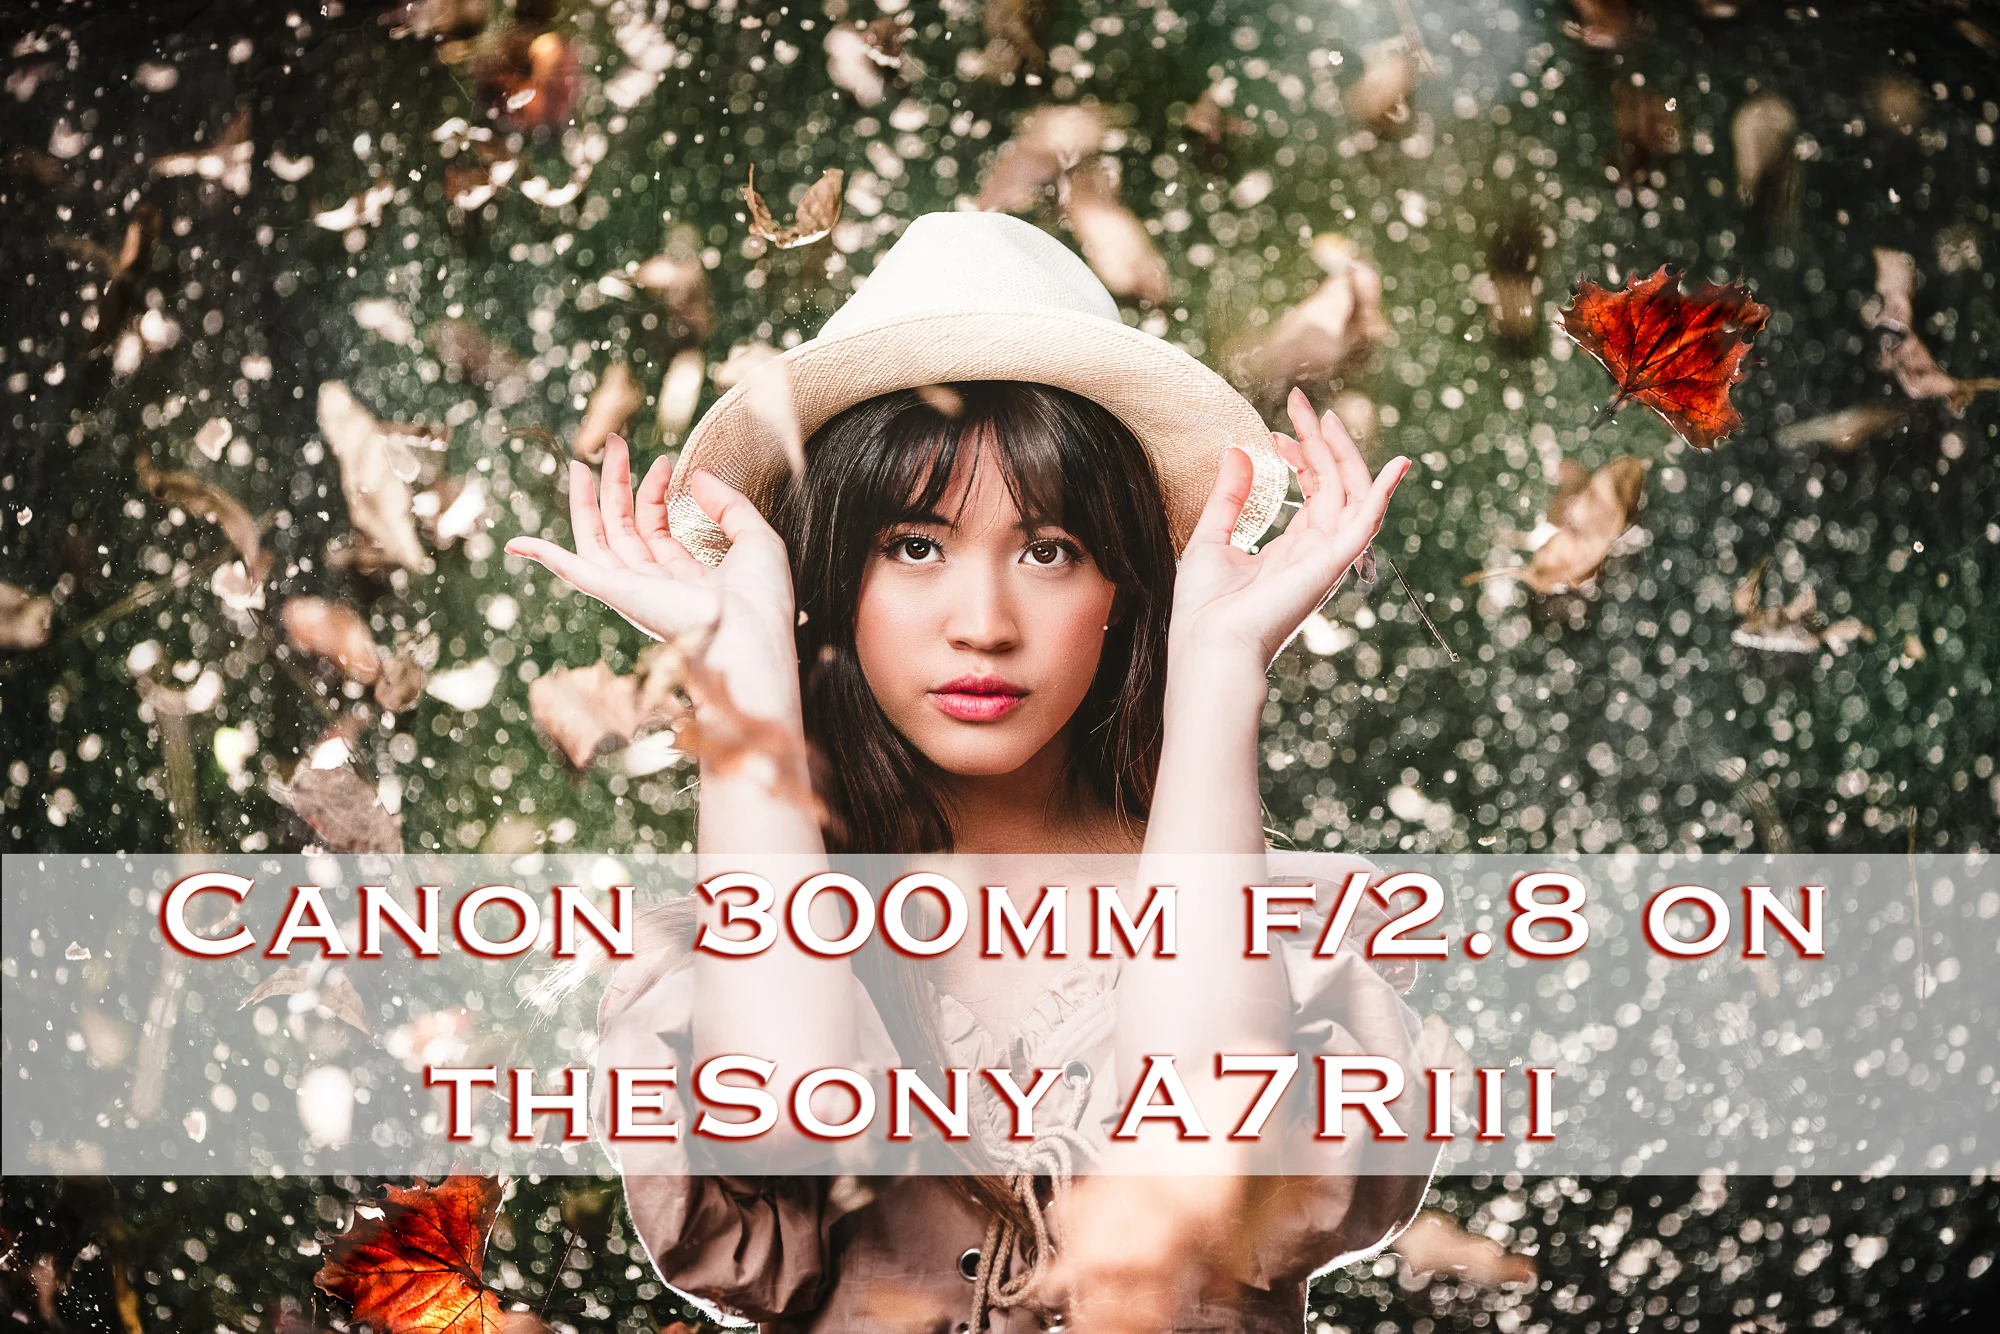
But yes, it delivers some pretty stellar results. Check out the shots below from the shoot:

As you’ll see when you watch the video I tested this lens in a variety of ways. First I shot with it just doing portraits as most people would use it.

Then I decided to up the ante and added the Westcott Eyelighter to the equation with the Godox AD600 Pro light that I was using inside of the Westcott Rapid Box XXL.

And THEN I decided to add some ambience to the background of the shots by asking the photographers there to throw sand and leaves behind the model (@macanoniii). You’ll also see that I added a rim light to the back of the shot by having a photographer hold the light behind the model to illuminate not just the model, but also all of the particles flying in the air.

Throughout the shoot I used different focusing modes to be able to adequately acquire focus. Did the lens acquire focus as fast and reliably as using the Sony 400mm f/2.8 lens? No. It didn’t.

Is it more than usable in most circumstances if you have the lens and want to use it on a Sony? Yes.

I switched to manual focus and had the lens situated on my model for the last set of shots when a lot of stuff was flying in the air because I didn’t want the lens to hunt for focus and miss the eyes of my subject.

I hope this helps!

If you have any questions about the lens or how it performed make sure to notate it in the comment section below.

Thanks again for being here and if you like what you see, make sure to check out some more of our posts and videos!

If you’d like to join us at a workshop please visit www.jasonlanier.com/register.

We also do a podcast called Jason Lanier Unfiltered that you can find on iTunes, Spotify and more.

Thanks again for stopping by!

Jason

6 Comments

My First Shoot Ever using the Sony A7Riii- shooting in Raw at a Penthouse in NYC

4 Comments

My First Shoot Ever using the Sony A7Riii- shooting in Raw at a Penthouse in NYC

In late October 2017 Sony announced a camera that should be a big seller for them, the Sony A7Riii.  The predecessor to the A7Riii, was the A7Rii, a very popular and widely acclaimed camera.

While in town in New York City for the PhotoPlus Expo I was able to get my hands on the new Sony A7Riii with the brand new 24-105mm FE lens that was announced at the same time as the A7Rii and give it a go for a night.  I had my Photographer's Unite Event planned at a Penthouse in Manhattan and I used the opportunity to put on a live shooting demonstration in front of the crowd as they got to witness my first shoot ever with this camera.  Below is a video of the shoot:

But most of you are probably here to see the images that came out of the camera right?  Well, they are posted below.  All of the images were shot in raw, developed using Capture One, and enhanced using Photoshop.  I'll post the images by the lens that was used to capture them.  Settings for all the images are included in the video:

Images captured using the 85mm Sony G Master

Images captured using the Sony Zeiss 35mm f/1.4:

---Gear used for the shoot---

**Sony A7riii-  https://bhpho.to/2ztvVDo

**Sony 24-105 G lens- https://bhpho.to/2zs27qp

**Sony 85mm G Master-  https://bhpho.to/2A2V83D

**Sony 35mm Zeiss-  https://bhpho.to/2zsIUoP

To save money and get FREE shipping on Rotolight products please visit:

**Rotolight Neo- www.jasonlanier.com/rotolight

Below is a link to the models in the video:

*Maddi- www.instagram.com/lalunetta

*Jade- https://www.instagram.com/jade.gallowayy/

*Alyssa-  https://www.instagram.com/aly_182/

I thank you for watching and invite you to stick around and watch a few more while you're here. We have plenty more videos coming with the Sony A7Riii and will also devote an entire playlist to that camera, so make sure to check that out as well.

Don't forget to click on subscribe and notifications on my Youtube Channel www.youtube.com/jasonlanierpros so you're updated every time a new video is released.  Thanks for being here!!!

Jason

4 Comments

Sony A9 vs. the Sony A7Rii Landscape Shoot Resolution Challenge by Jason Lanier

9 Comments

Sony A9 vs. the Sony A7Rii Landscape Shoot Resolution Challenge by Jason Lanier

So many people know I absolutely LOVE my Sony A7Rii.  It's been my go to camera for the past 2 years and I absolutely love the beast.  When Sony came out with the A9, I was one of the first photographers to be able to play with the camera.  Given it's speed and many features, I pegged it as the ultimate sports and wedding photography camera in the Sony lineup.  And I assumed I'd continue to use my A7Rii for landscape, architecture and portraits.

But just to make sure, I decided to do a quick little shootout comparison of the two cameras while at Crater Lake National Park in Oregon.  I was there during a family vacation and that place is just breath taking.  Being that I was just there with the family and had no film crew etc. I had to make sure with filming a video using just a monopod and my ThinkTank backpack...and the use of my trusty son Michael as an Assistant.

I did the shoot using two different lenses.  The Sony Zeiss 16-35 f/4 and the Sony G Master f/2.8 70-200mm.  Both are favorite lenses of mine and I thought they'd give the viewers a good variety of shots and focal lengths to look at.  I also did some cropping in on both images to show how both cameras render an image when zoomed WAY IN!

I won't render a final judgment here.  Why?  I don't want to sway opinions too much....:) . I'll just let the results speak for themselves and let you guys decide what you want to do.  I'll just say the results surprised me, and I'll be more comfortable in just taking the A9 everywhere with me than I would've been before doing the test...the resulting images from the shoot are below:

Sony A7Rii

Images are as follows: 16mm, 16mm, 35mm, 70mm, 100mm, 200mm

Sony A9

Images are as follows: 16mm, 16mm, 35mm, 70mm, 100mm, 200mm

Here are the crop comparisons as shown in the video

*16mm SUPER cropped in:  A7Rii on left, A9 on the right

*35mm Cropped in- A7Rii on the left, A9 on the right

*70mm Cropped in- A7Rii on the left, A9 on the right

*100mm Cropped in- A7Rii on the left, A9 on the right

*200mm Cropped in- A7Rii on the left, A9 on the right

I thank you for taking the time to visit my blog and watch my videos.  I appreciate every single person who takes the time to give me a read or a view.  Thanks guys!  I hope this helps...:)

Jason

9 Comments

CHEAP Lens Challenge- Shooting the Sony FE 50mm with the Sony A6500 in a train

16 Comments

CHEAP Lens Challenge- Shooting the Sony FE 50mm with the Sony A6500 in a train

I'm blessed....I'll admit it.  I work hard for what I've achieved, but I'm very grateful and humbled that I get to shoot with some of the best lenses in the world.  I've shot with Zeiss, Sony G Master, Sony Zeiss and many more.  I've also shot with nearly all of the Canon L lenses and many Nikon lenses to boot.

So one comment and/or request that I get quite frequently is, "Can you do some videos or shoots with some cheap stuff that the rest of us can afford?  We love seeing your shoots but I'll never be able to afford that stuff."

Fair enough.

I remember the days of saving up income for good amounts of time to be able to afford gear.  I REALLY DO.  Those days aren't too far in my past.  So I decided to start adding (yes I bought them), some cheaper lens options into my gear arsenal so I can represent and reflect all of the photographers that follow my work and my Youtube Channel.

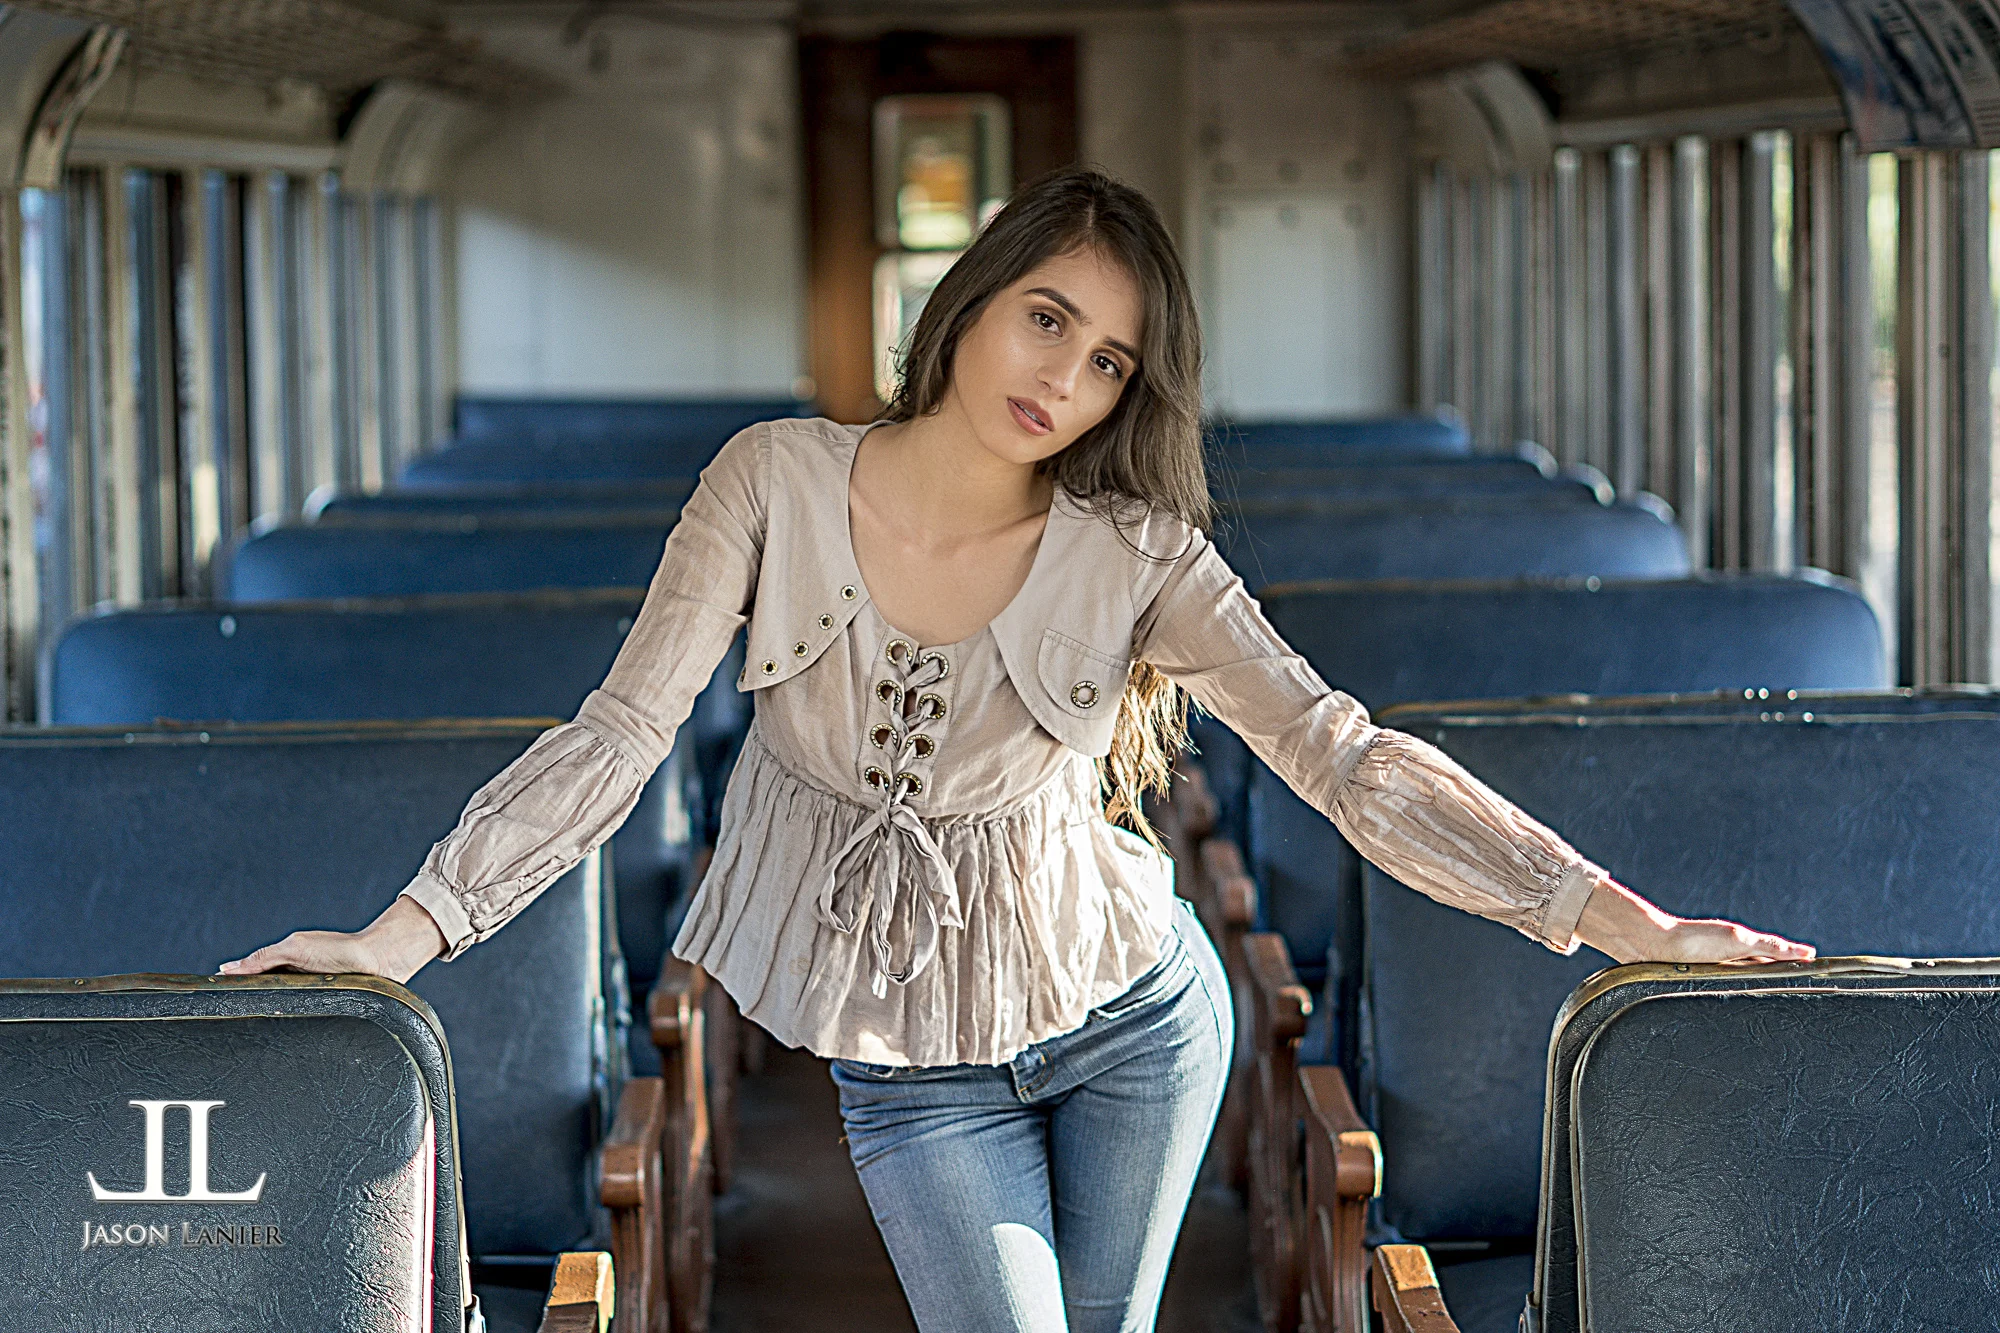
So recently I did a shoot using the Sony FE 50mm with the Sony A6500 inside of an old train. The shoot was quick as we had only 15 minutes to complete it.  I think that's a good thing because it shows you what was able to be created without an elaborate setup or time that could honestly make the lens look better than it is.

**Links to Gear:

*A6500-  

*50mm FE lens-  

*DJI Osmo-  

*Westcott Rapid Box XL-  

If you haven't already please take a moment to check out the video that we rolled that will show the focus tests, the shots using natural and artificial light and more.  The video explains much more than I can properly articulate here in a blog post, so I kindly invite you to watch it now.  

For those who have already watched it you'll know that for $200, I think it's a pretty sweet little lens that is a welcome budget friendly addition to the Sony mirrorless lens lineup.  Below are the shots taken at the shoot.  All of them have been edited using Lightroom and Photoshop.  I hope you enjoy...:)


The model is the beautiful Cassandra Caballero.  Please let me know what questions you have...and thank you for watching!!

Jason

16 Comments

Salvation Mountain-  My First Shoot with the Sony FE 85mm f/1.8 on the Sony A6500

7 Comments

Salvation Mountain- My First Shoot with the Sony FE 85mm f/1.8 on the Sony A6500

So thanks to the kindness of Sony, I was able to borrow the Sony FE 85mm f/1.8 lens prior to it being released to the public.  So I asked my followers what they wanted me to do with the lens and one of the most frequent requests was that I slap that puppy on my A6500 and show the world what the images looked like.

So I booked my crew and a model and we headed out into the middle of nowhere....literally.  We went out to Salvation Mountain which is somewhere between Mexico and Palm Springs out in Niland, California.  It is a CRAZY place!!

We did a number of shoots earlier in the day and as the sun was getting close to setting I threw the lens on my A6500 and did a quick shoot.  I wanted the shoot to be something similar to the time frame I'd have when shooting for 10-15 minutes at a wedding...like the couple shoot after the ceremony just to show people what can be done in a short amount of time.

Lighting wasn't necessarily optimal, but I wanted to show what could be done in less than ideal situations.  I used the Flashpoint Xplor 600 monolight with the Westcott Rapid Box XXL as a modifier.  Below are some of the shots from the shoot.  All of the images taken were shot wide open at f/1.8.

We hope you enjoy the shoot.  Please let us know what you think and what questions you have. We certainly have high hopes for this lens and the performance of it paired with this camera is quite a combination!!

**Links to Gear:

*Sony A6500-  

*Sony 85mm f/1.8 lens-  

Thanks!

Jason

7 Comments

Groom Getting Ready and Groom Portraits at a REAL Indian Wedding Workshop

2 Comments

Groom Getting Ready and Groom Portraits at a REAL Indian Wedding Workshop

Many times so much emphasis at a wedding is placed upon the Bride.  While the Bride is certainly an extremely important person, we of course can't forget the groom right?  This shoot comes from my REAL Indian Wedding Workshop in Cherryhill, New Jersey with Akshar and Arti Patel.  In case you haven't seen Part 1 which includes my images taken of the bride Arti, you can find a link to them by clicking below:

http://www.jasonlanier.com/blog/real-indian-wedding-workshop-bride-getting-ready-at-the-crowne-plaza-cherry-hill-new-jersey

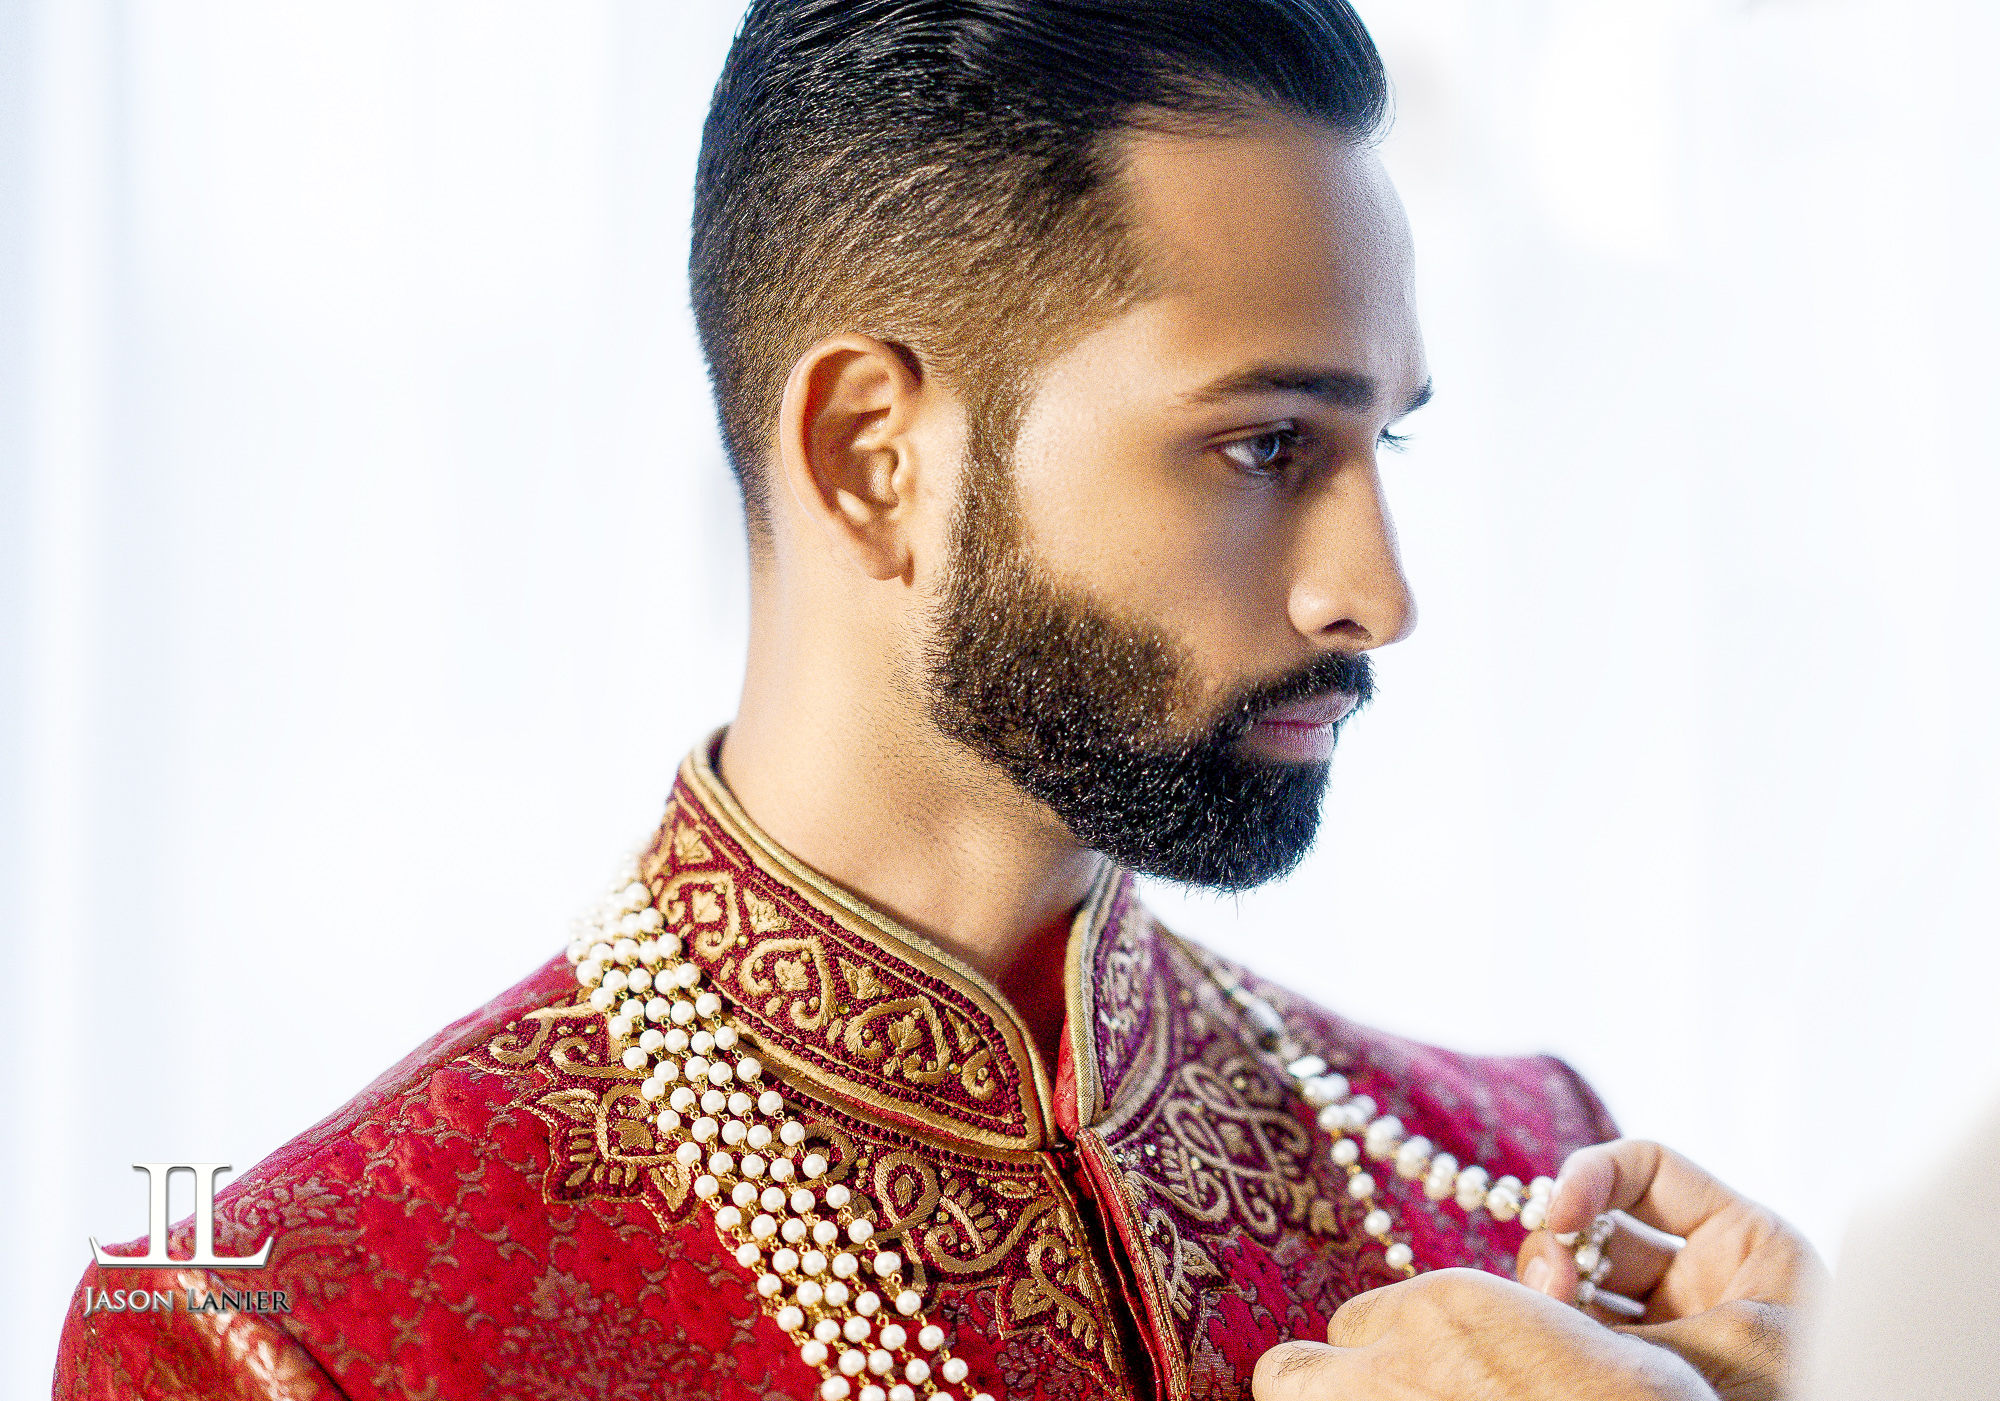
We went into the Groom's room and took the following shots that are included in the video as shown above.  It's important to capture the groom in a dignified and flattering manner which you can do by blending a style of photojournalism with light yet deliberate posing methods.  In other words, direct the shoot but don't overly pose the shoot.  Below are images taken of the Getting Ready portion:

After the getting ready portion we prepared for the First Look.  While waiting for the bride to arrive for the shoot I took a few minutes and did some groom portraits with Akshar as well.  All of these images were taken with lighting from the Rotolight Neo.  Below are the portraits of the groom taken at the ceremony site:


**Links to Gear:

*Sony A7Rii-  

*Sony 85mm G Master-  

*Sony Zeiss 35mm-  

*Rotolight Neo-  

Don't forget to subscribe to my Youtube Channel and my blog to get updated whenever we release new content!

Thanks,

Jason

2 Comments

First Shoot with RAW files on the Sony A6500 with wild ocean seals in La Jolla, California

3 Comments

First Shoot with RAW files on the Sony A6500 with wild ocean seals in La Jolla, California

I was very fortunate to be provided a loaner Sony A6500 from Sony for two days in late November.  The news came quick that I'd be able to use it so I called my Assistant Brenda asking her to organize a shoot as quickly as she could.

She organized a group of models and crew to meet down in La Jolla, California which is an absolutely beautiful area.  To be specific we went down to the area called the La Jolla Cove where not only is the coast line beautiful like many areas in Southern California, but you'll also be able to interact with some amazing wildlife.

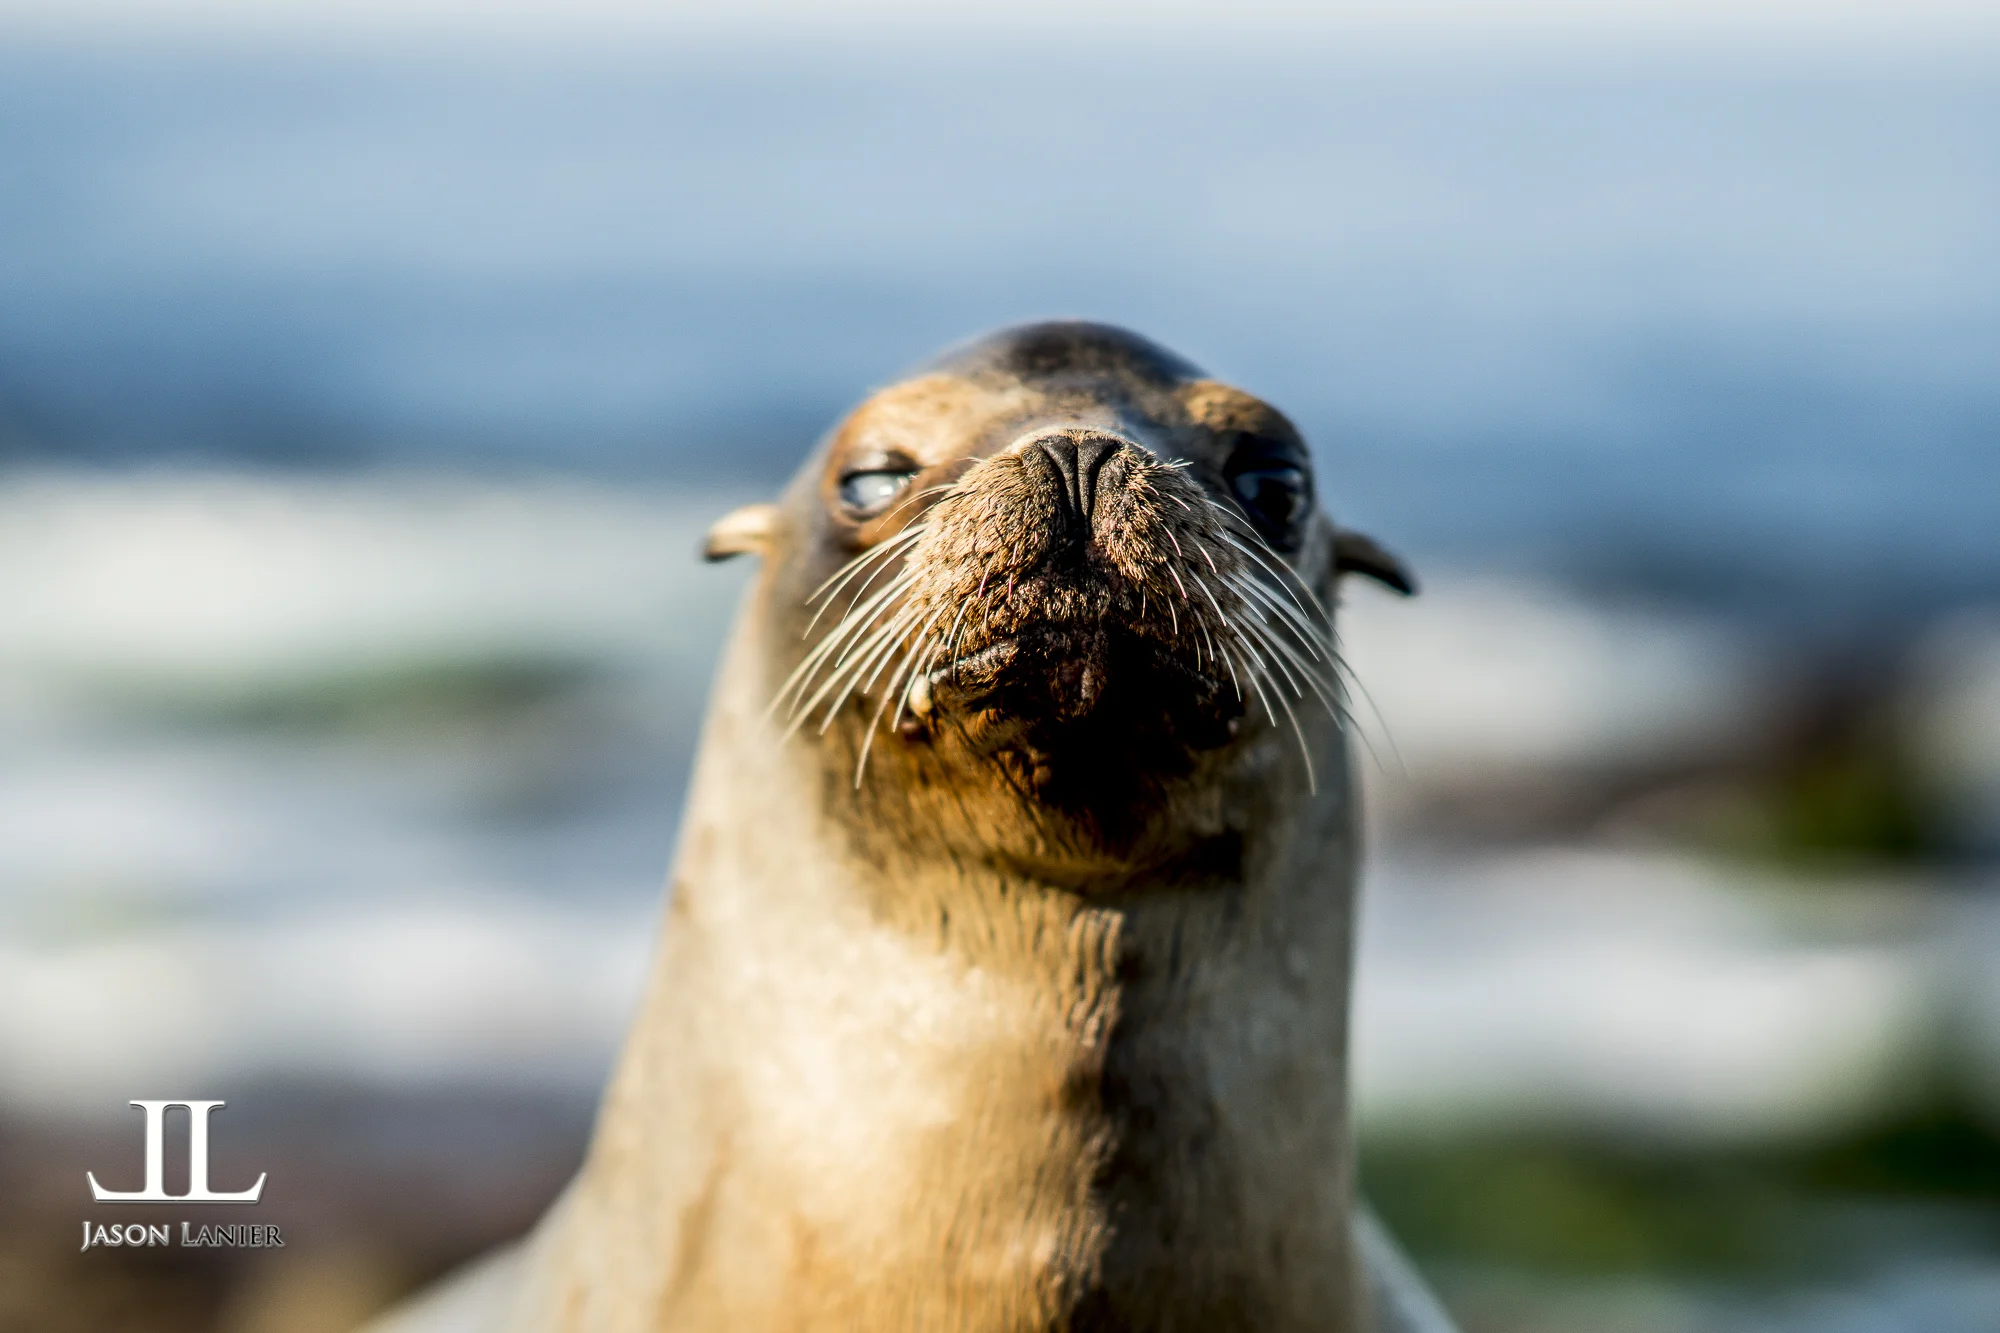
So we went to set up the shoot on the rocks where the ocean meets the land and while setting up we were visited by an amazing seal.  The amazing creature came right out of the ocean, crawled up onto the rocks and started posing for me.  Now he didn't know he was posing....but he sure did a great job of letting me take his picture.

At the moment when he came up we weren't even fully set up and ready to shoot.  I'd just pulled the A6500 out of the box and had put in a card.  My mic was also not even tucked in but luckily it was on.  I told my videographer Jason Coccio to start rolling the minute I saw him.  So while my plans were to shoot a model for my first set with the A6500, it ended up being a beautiful seal.

Since I was planning on doing a model fashion shoot I had the Sony 85mm G Master on the camera, not a traditional wildlife lens.  But I decided to go with it and shoot the seal in a similar manner to how I'd shoot a model portrait session.  I could have easily stopped down and shot it at f/2,8 or even more narrow, but I accepted the challenge to shoot it wide open at f/1.4.

Navigating around slippery rocks wasn't the easiest thing to do with a loaner camera and a $2,000 portrait lens, but it did result in some pretty awesome shots.  The first thing I noticed was just how FAST the camera focuses.  People say it's the same sensor as the A6300, but all I know is it tracks and finds focus faster....which is saying a lot because the A6300 is already fast. The seal gave me the very unique opportunity to really test the tracking because a seals head moves up and down and side to side like a rocking boat.  It is NOT easy to track.  Luckily the A6500 did a great job of finding and keeping focus.

Below are some shots taken with the A6500 and the 85mm G Master:

I then quickly placed the Sony 90mm macro lens on my camera and tried to get some detail shots of the seal.  Again, focus was achieved very quickly which enabled me to get some great shots.  

Below are shots taken with the Sony A6500 and the 90mm macro lens

So after shooting for about 15 minutes with the seal, it became sick of doing a photoshoot and meandered up the rocks to join the other seals that were there.  It was a great shoot and we quickly moved on from it to shooting with the models.

My initial thoughts from my first shoot with the A6500 was that it performed remarkably well. The buffer in Raw was significantly better than any other Sony camera I've ever used.  The auto focus was faster and it responded well in so many ways.  I even filmed some footage of the seal with the camera and noticed the benefit of having the IBIS on the camera. 

Below are some links to gear if you'd like to add one of these to your gear bag.

*Sony A6500-  

*85mm G Master Lens-  

*90mm macro lens- 

Thanks!

Jason

3 Comments

Using the Sony A6500 with Canon Lenses- is this the best Sony Mirrorless for Adapted Lenses?

7 Comments

Using the Sony A6500 with Canon Lenses- is this the best Sony Mirrorless for Adapted Lenses?

So after I had a little bit of time to test the A6500 with native Sony lenses and quickly determined that it was the fastest Sony Mirrorless I've used for auto focus (yes, both full frame and crop sensor) I decided to try it with a Canon lens and the Sigma MC-11 Adapter.

Now recently I've released review videos using the A7Rii with the Metabones Mark 4 and Sigma MC-11 adapters with Canon mount lenses.  To date the A7Rii and the A6300 have been the best camera bodies for using these lenses....well, not any more.

The A6500 is a special camera for auto focus guys and gals.  I'm telling you.  IT IS.  I noticed it the second I picked it up and started shooting with it.  But my review and video for the native lenses will come a little later.  This is about Canon adapted lenses.

Previously as shown in the review videos the coverage on adapted lenses extends to just about the middle 60% of the sensor.  I was sincerely shocked to find that the Sigma MC-11 Adapter with the Canon 50mm f/1.2 lens covered the ENTIRE sensor.  Top to bottom, left to right.  THE WHOLE DAMN THING.

SHOCKED.  It honestly shoots like native glass and I'm not kidding.  Don't believe me?  Watch the video where I reel off 115 consecutive images in Hi+ continuous mode shooting WIDE OPEN at f/1.2 and every shot is in focus.  It is RIDICULOUS!!!!

More tests to come, so make sure to check back for more videos and reviews!!

The images below were taken with the A6500 using the Canon 50mm with the Sigma MC-11 Adapter.  All were taken in cameras as jpegs as currently (as of the time of writing this review) there is no profile available to import Raw files on the A6500.

7 Comments

Commercial Photography Photo Shoot and Workshop for Mia Bella Couture by Jason Lanier

Comment

Commercial Photography Photo Shoot and Workshop for Mia Bella Couture by Jason Lanier

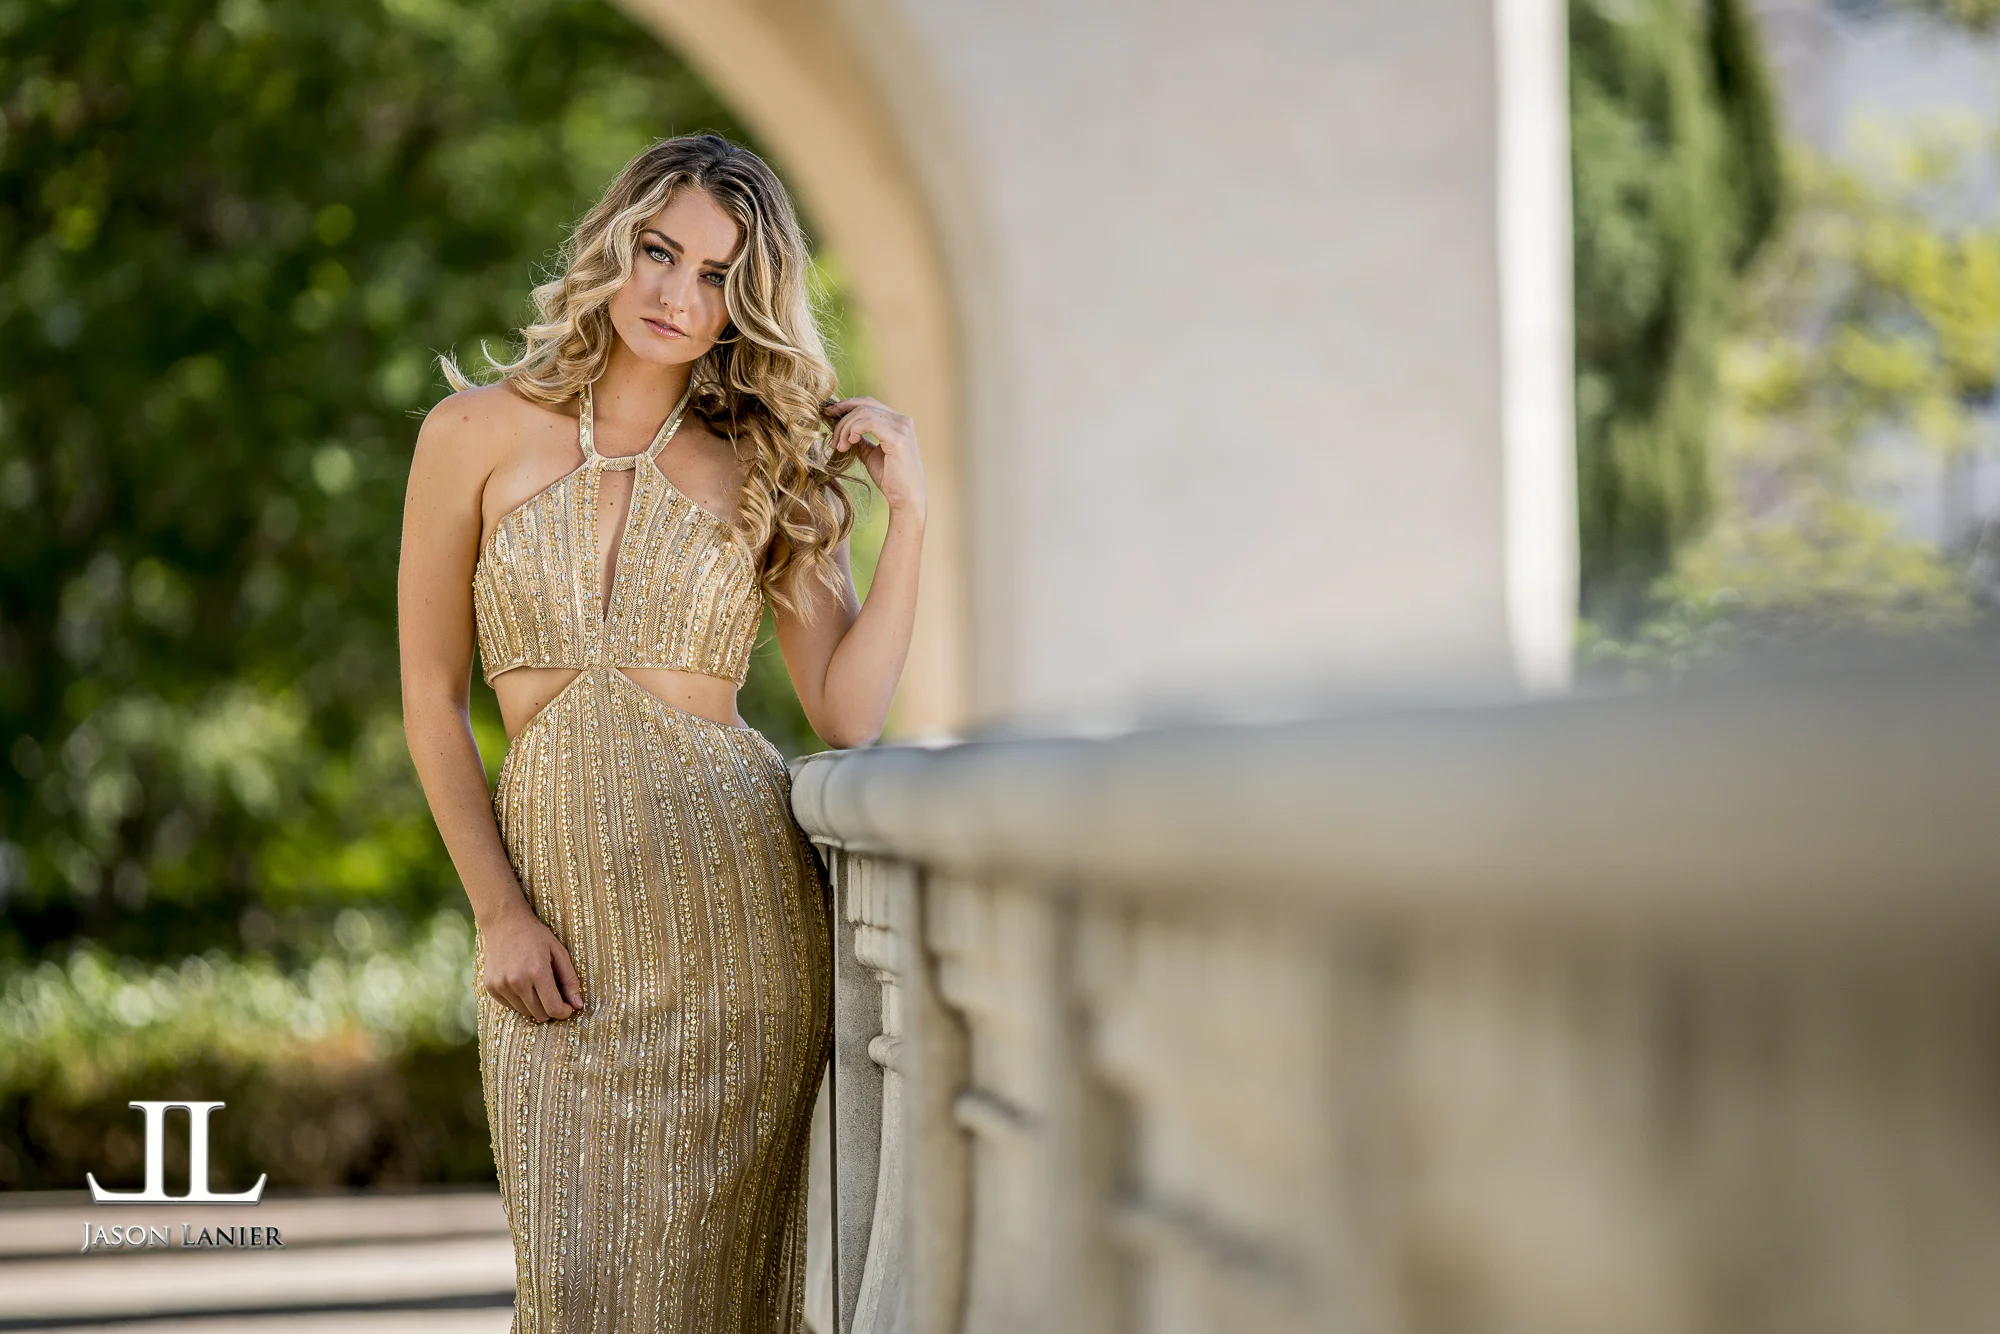
Recently I had the opportunity to do a commercial photo shoot for a beautiful gown company called Mia Bella Couture.  When they first contacted me to do the shoot they knew that I sometimes allowed some of my followers to attend my shoots as part of a workshop and asked if I'd be interested in doing so with them.  I thought it would work out well so we booked the shoot.

When we got to the shoot down in San Diego it was truly awesome.  This is a shoot that you truly have to watch the video to see how we handled it.  We started off the day at 11am and my clients wanted to shoot in a specific location that was beautiful, but given the time of the day it was not ideal for lighting.  So we had to bring out a ton of diffusers and reflectors to make the lighting work.

This shoot was done using the Flasphpoint Xplor600 with a bunch of different gear that is showcased in the video.  This is just Part 1 of the shoot as we crammed so much into one day that I needed to break up the videos to show it all.

A big thank you to the beautiful models Lauren Lebouef and Tiffany Brock as well as Daryl Rene for the amazing work with Hair and Make Up.

I hope you all enjoy the video and I can't wait to share the other parts of the shoot with you as well.  Beautiful gowns, gorgeous models, and my team all came together to make it a tremendous shoot.  

**Links to Gear:

*Sony A7Rii- 

*Canon 200mm f/2.8- 

*Metabones Mark 4 Adapter- 

*Flashpoint Xplor600- 

*Westcott Rapid Box XL- 

*Westcott 8x8 Scrim Jim- 

Below are some images from the shoot taken with my Sony A7Rii and the Canon 200mm f/2.8 lens using the Metabones Mark 4 Adapter.  Stay tuned for Part 2!!!

Comment