


Shooting the Zeiss Batis 40mm inside of a rain studio
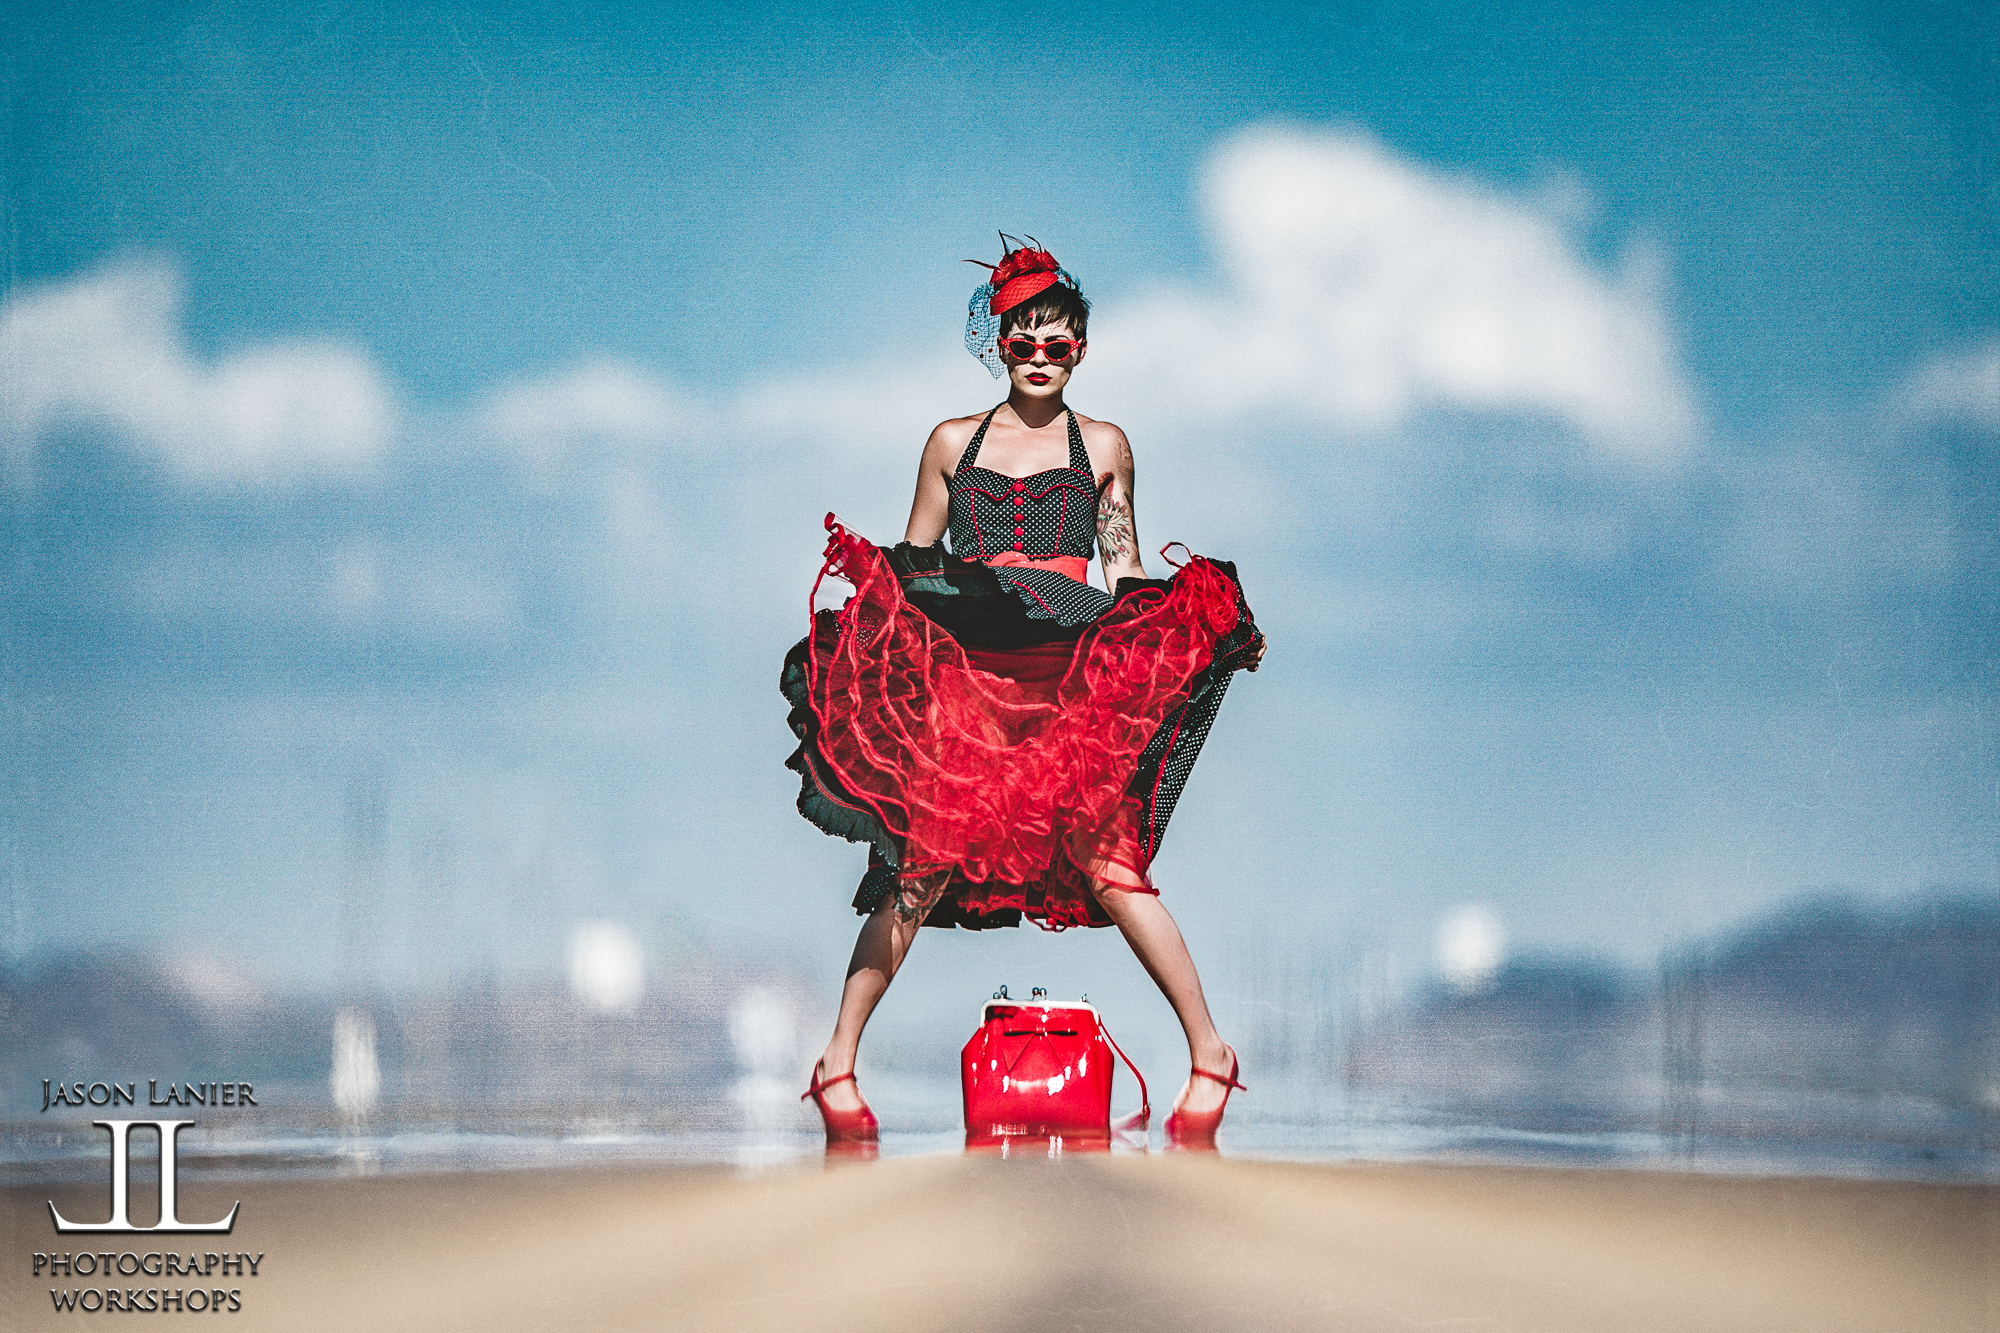
Jason Lanier photographs Siray Kong at FD Photo Studio’s rain studio. Jason provides posing tips and lighting tips in this video. Tune in to see how he does it! Thank you


Jason Lanier photographs Siray Kong at FD Photo Studio’s rain studio. Jason provides posing tips and lighting tips in this video. Tune in to see how he does it! Thank you