


Uncovering Covid-19- Freedom: Being Arrested, and Going to Jail During a Global Pandemic
Freedom- How is Covid 19 Changing our Laws and and Freedom? In this documentary film we travel the United States to try and discover how our freedoms are being impacted by the outbreak of the Covid 19 Pandemic.
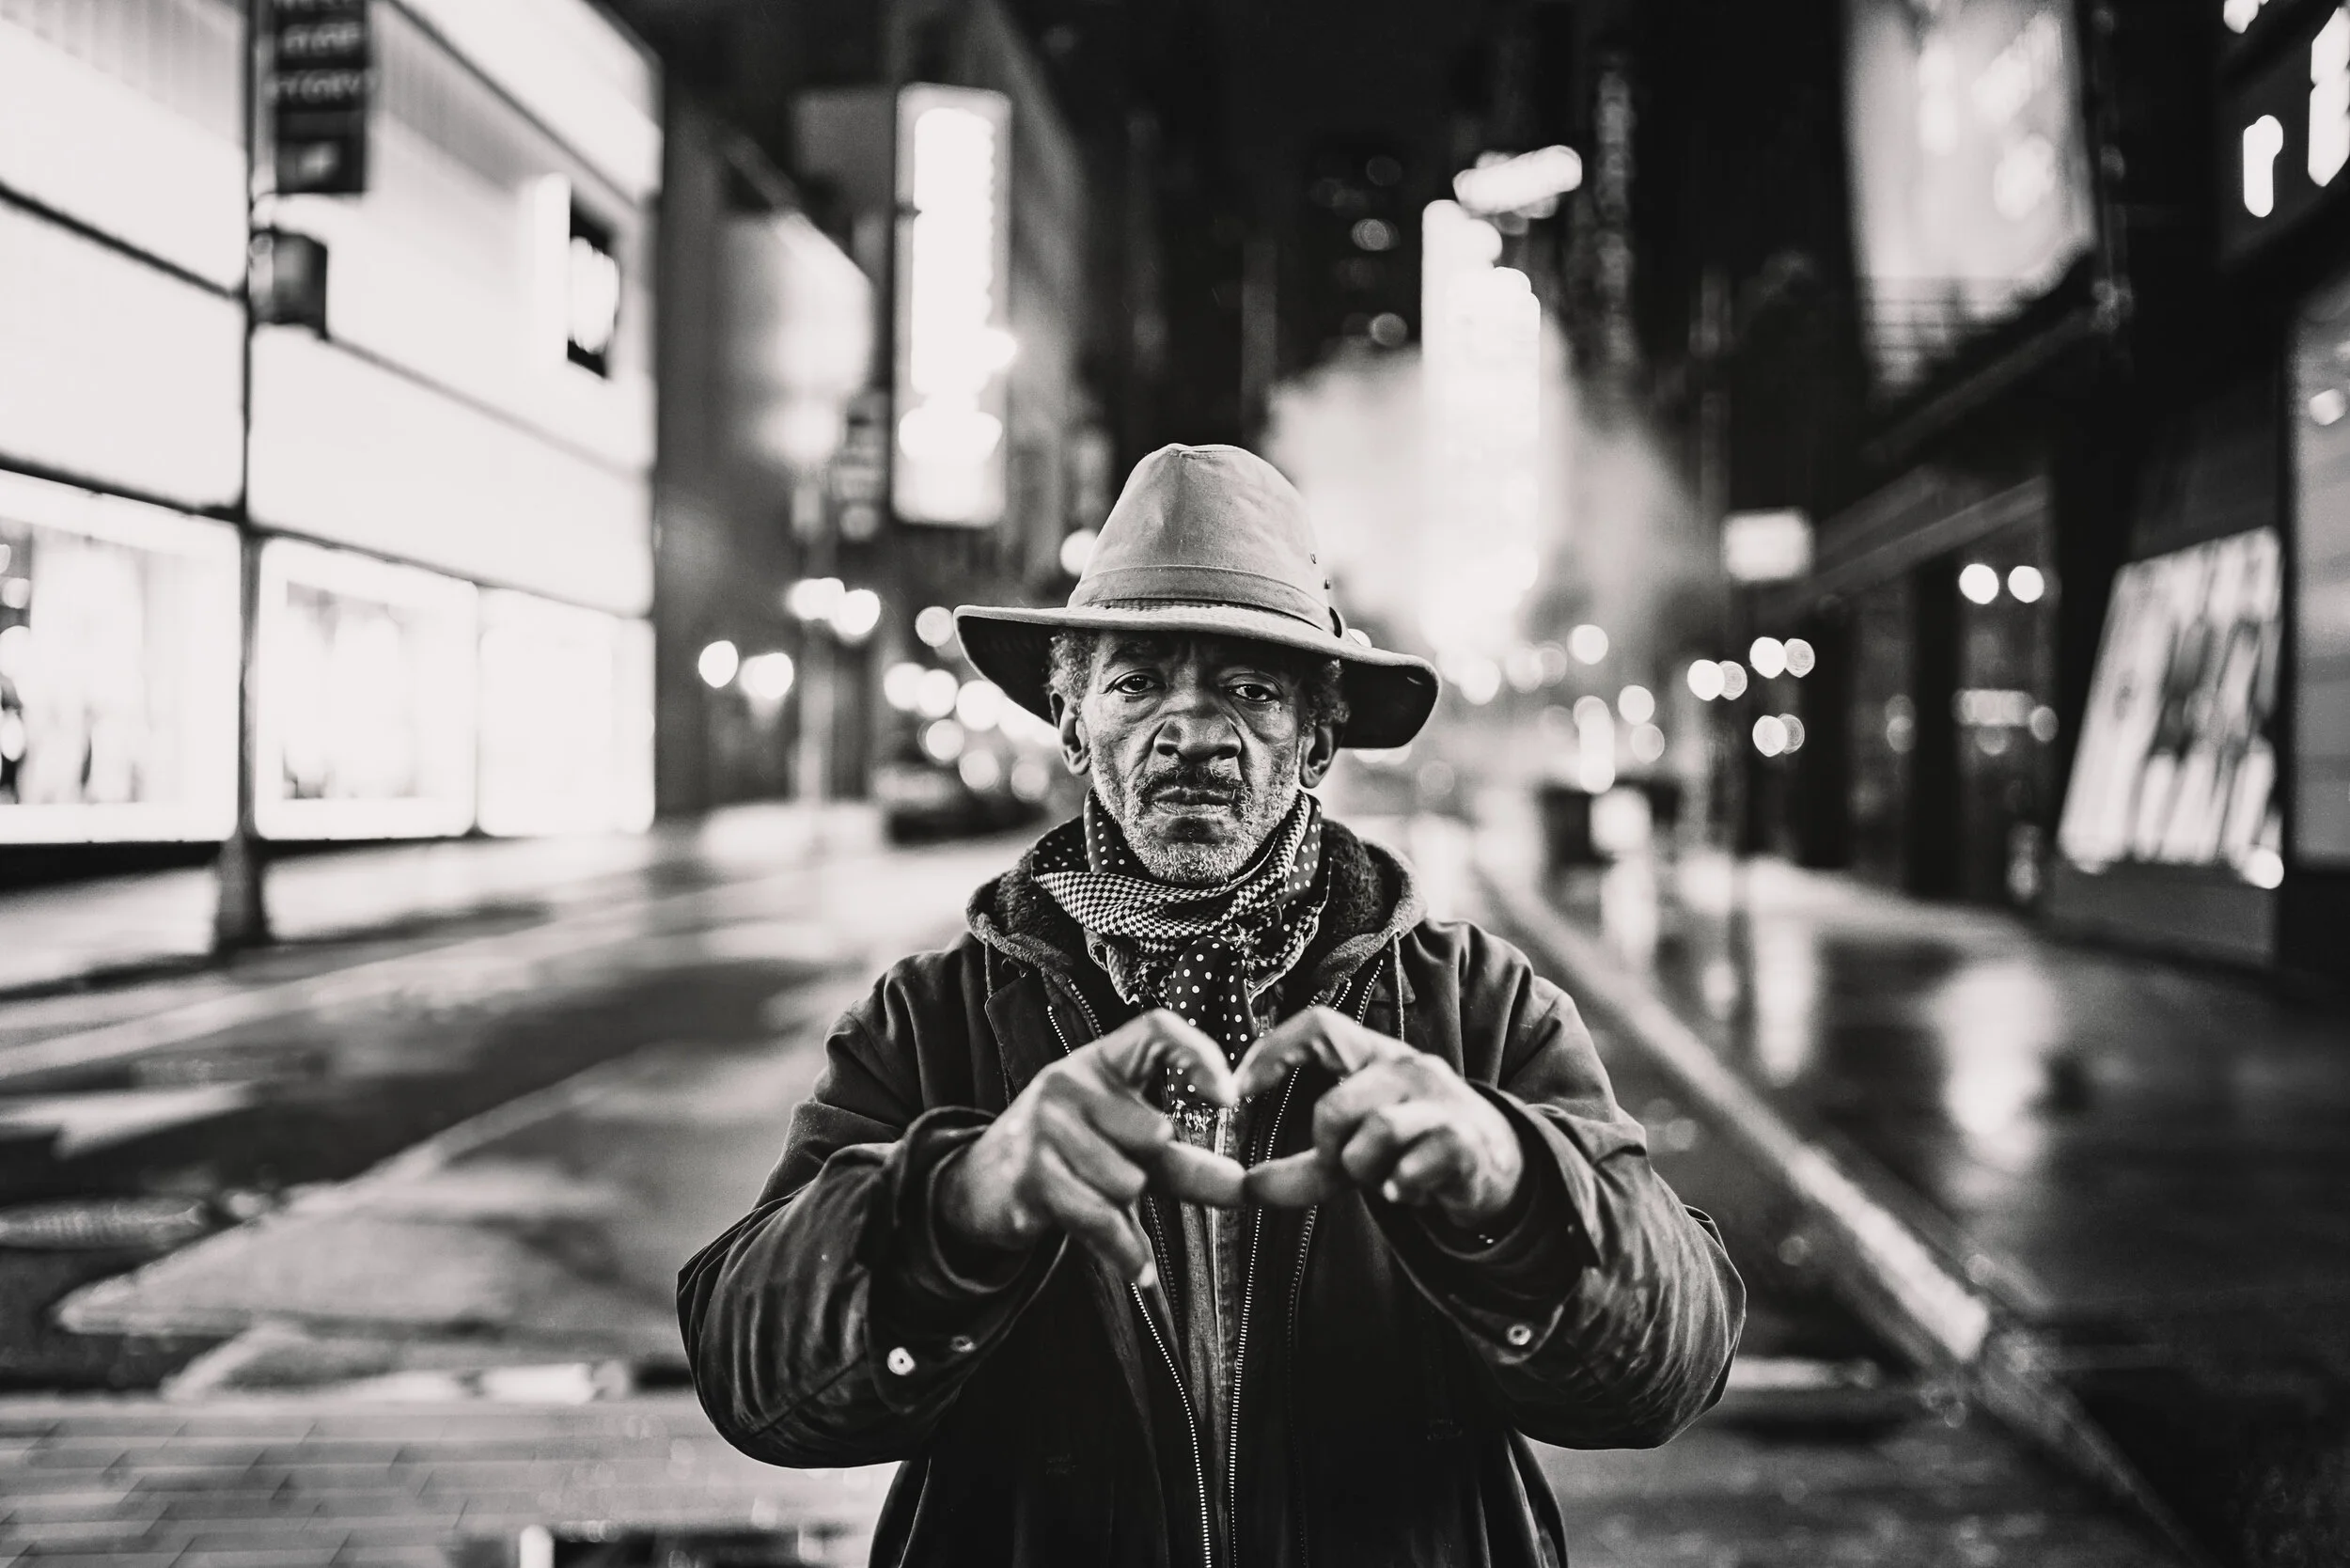
Uncovering Covid-19- How New York City has handled the Subway, the Homeless, and the Pandemic
Jason Lanier and Emily Rinaldo explores the depths of the NYC transit system and may have potentially found one of the leading causes to the spread of the coronavirus in NYC.

Jason Lanier Photography Homework Assignment #2
Jason Lanier demonstrates a natural light shoot indoors. He uses flat soda diluted with water to make a pretend tea. Jason’s quarantine homework assignment number two shows how you can make really pretty portraits at your home using natural light. Have fun!
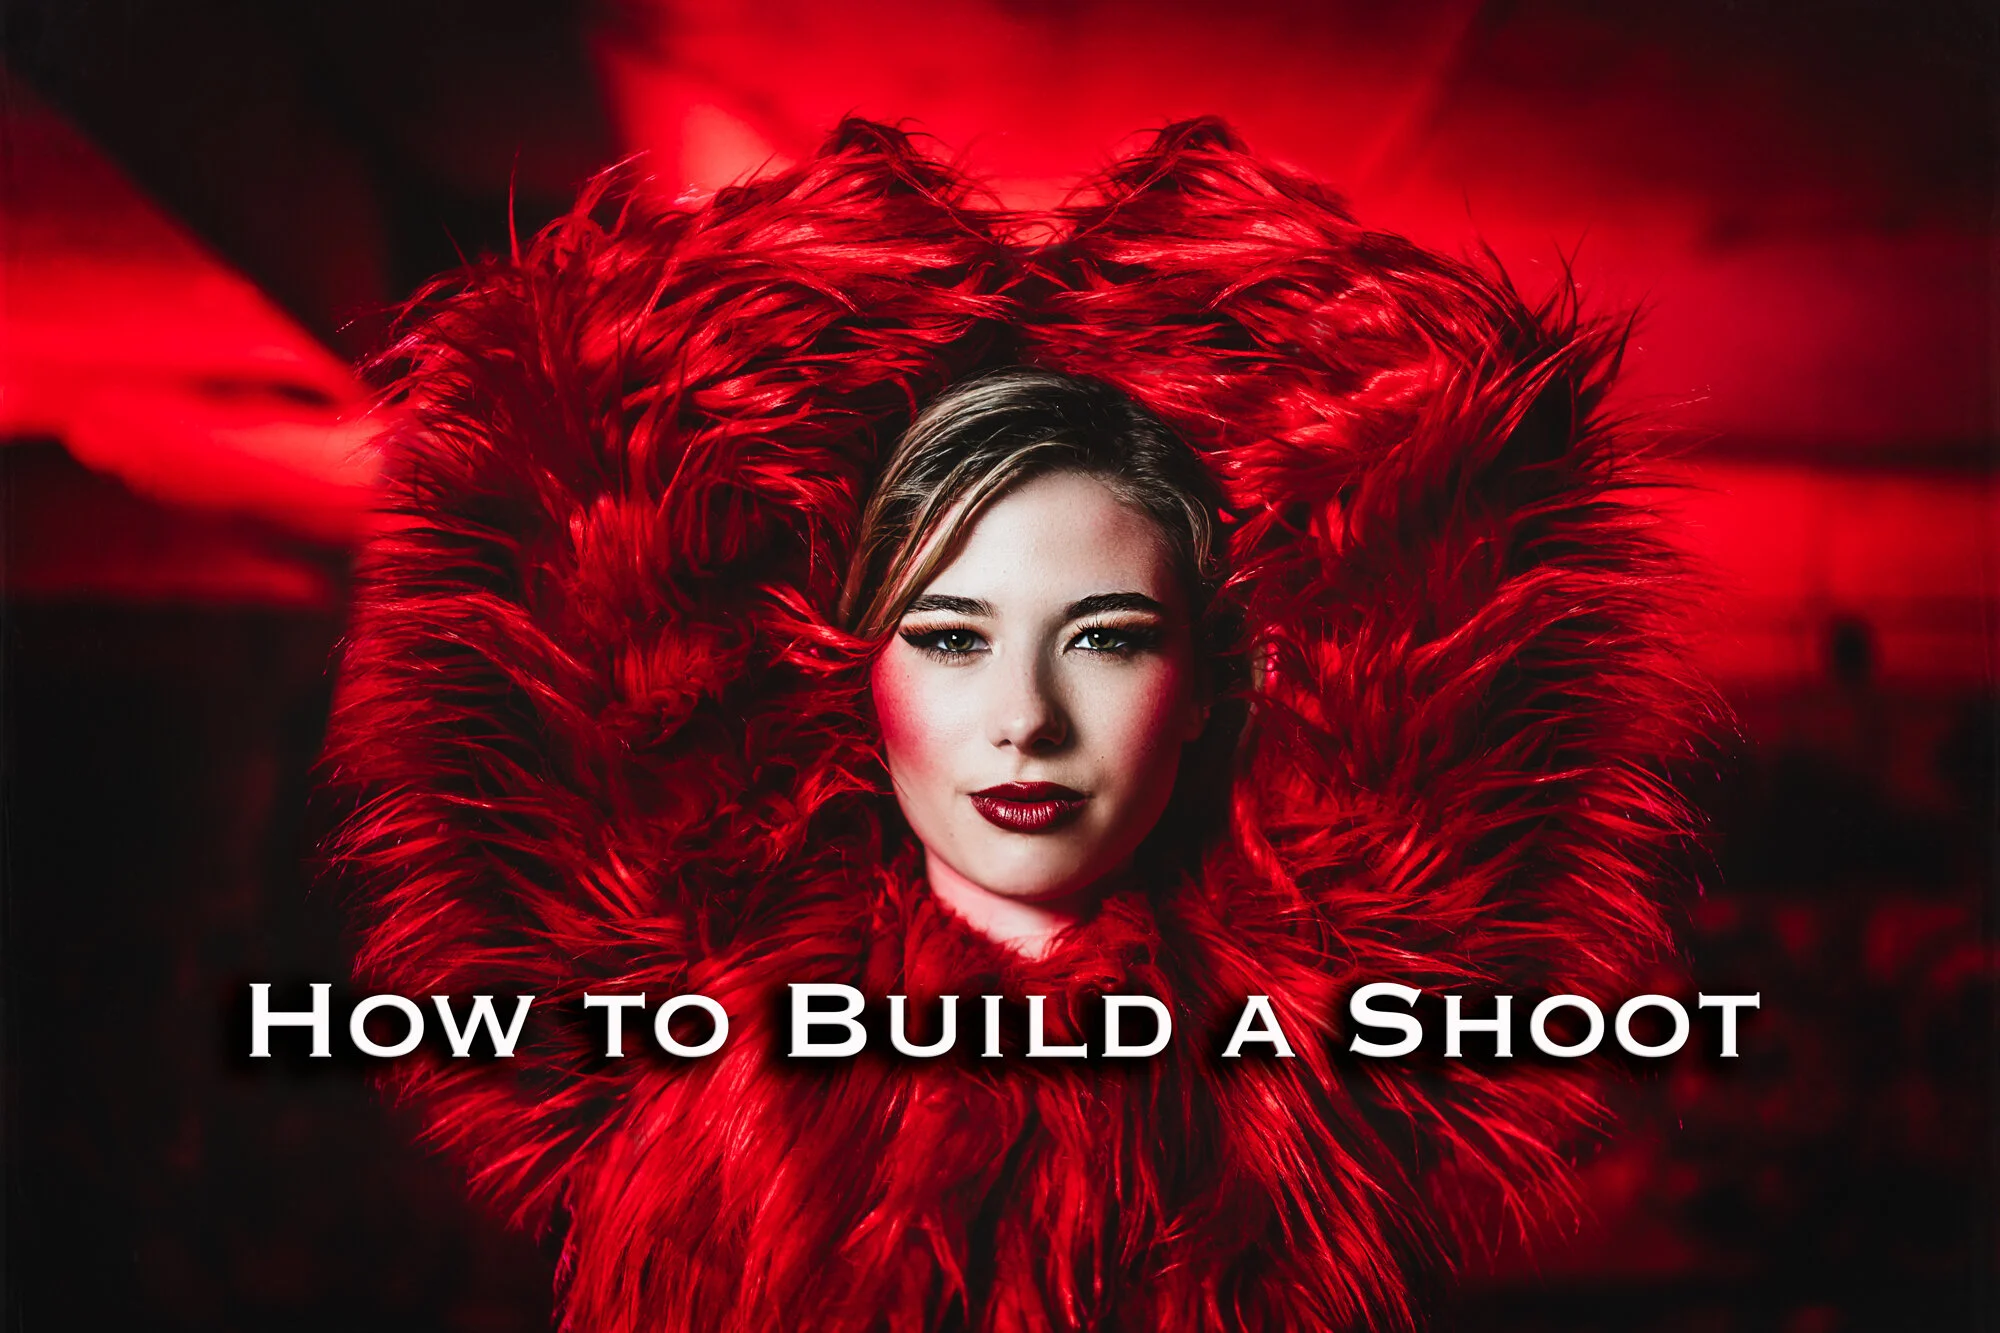
Becoming a Profitable Photographer by Being Able to Shoot in Any Scenario- Jason Lanier Workshop
Jason Lanier uses the Godox Ad600 Pro and Ad200 Pro to create stunning imagery in the Rain during his workshop in New York City.

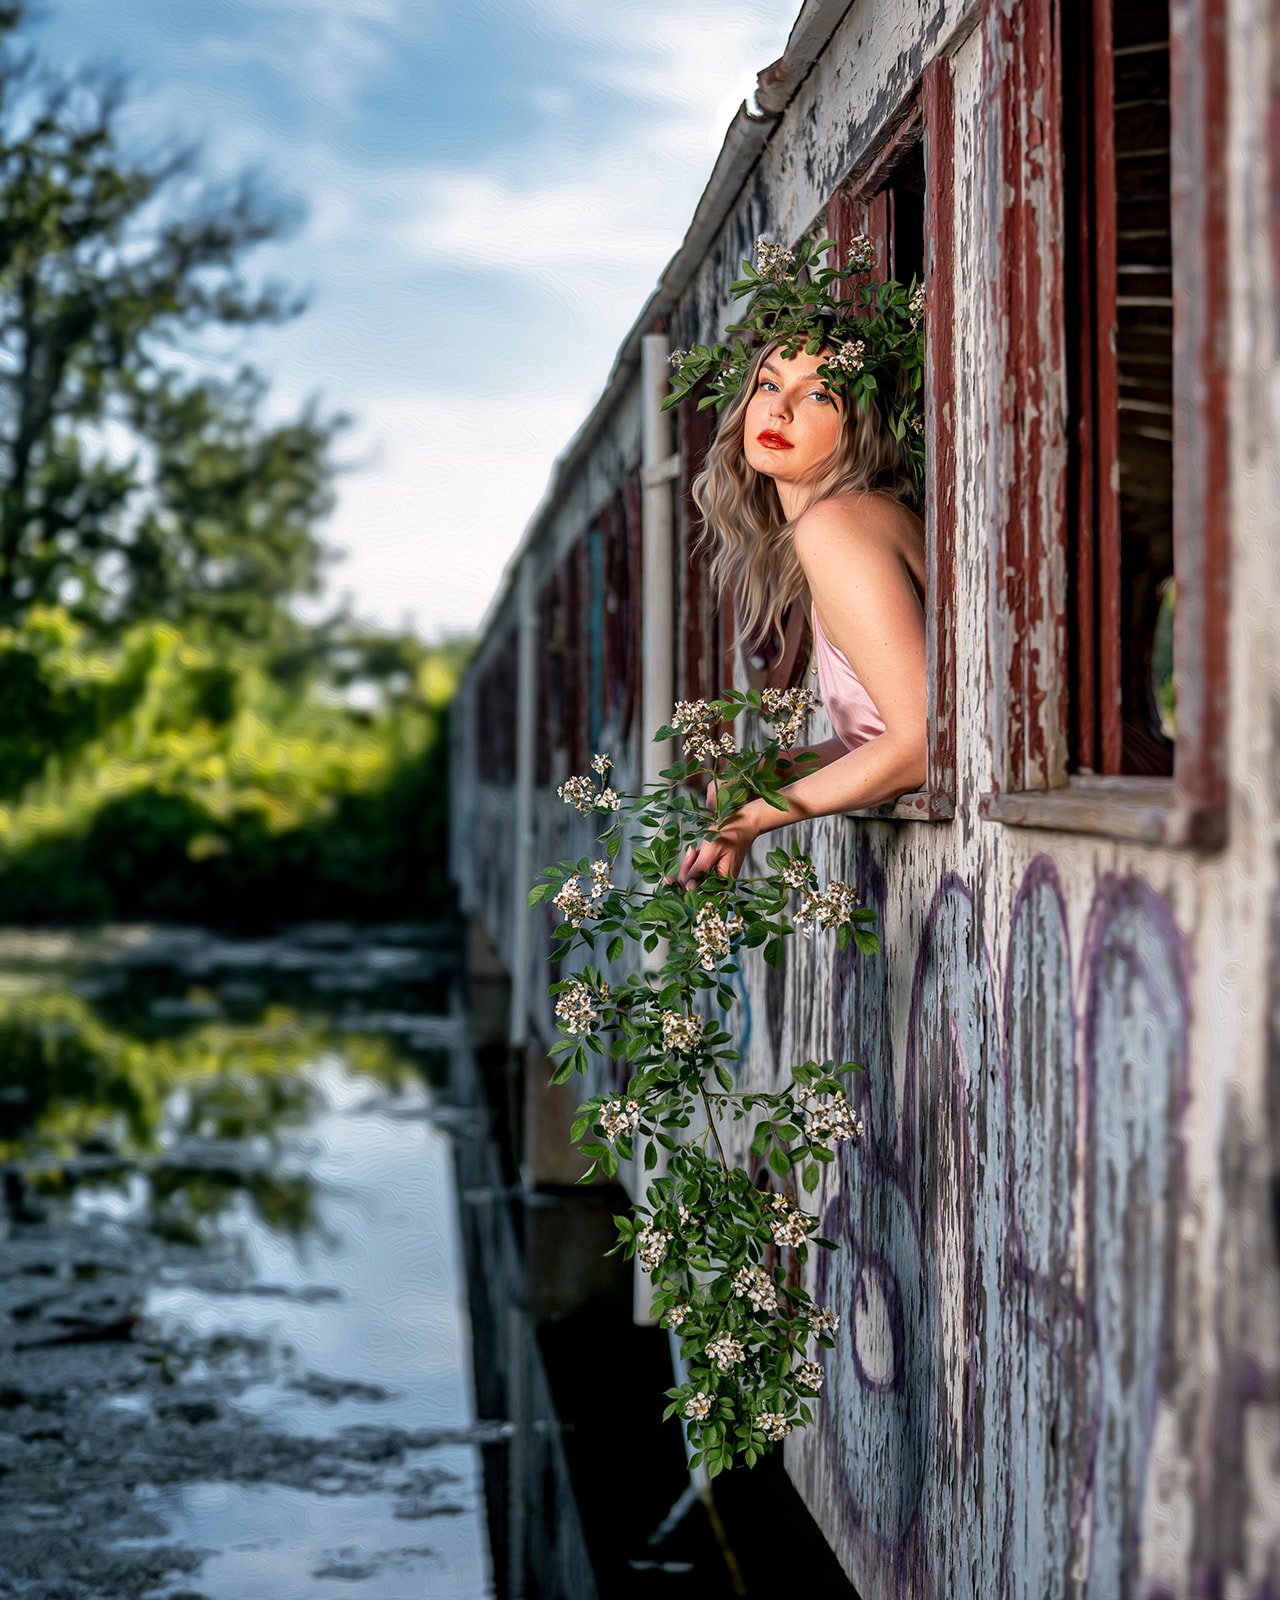
Abandoned Coco Palms- Coco Wedding in Kauai, Hawaii by Jason Lanier
Jason Lanier photographs Emily Rinaldo in an abandoned hotel in Kauai, Hawaii using the Sony A7Riii and Godox Ad600 Pro modified by the Westcott Rapidbox XXL. Jason shot this with the Sony Zeiss 50 mm f/ 1.4 lens and Sigma Art 20 mm f/ 1.4 lens. Let us know what you think in the comments below. Thanks for viewing!

Jason Lanier's Real Wedding Workshop- Kauai, Hawaii (October, 2019)
Join Jason Lanier as he photographs a bride and groom in Kauai, Hawaii. Throughout this shoot Jason utilized natural light, strobe and LED. Take a look at some of the shots and let us know what you think in the comments below! Thanks for tuning in.
Jason Lanier Photography Flickr Models Gallery
For more portraits and wedding photography by Jason Lanier follow the links in the blog and you will be directed to the galleries on Flickr. Thanks so much for checking out the work.
Jason Lanier Photography Inspiration Pinterest Boards: Models, Urbex, Landscapes, Wildlife, Wedding, Photojournalism, and more!
Are you interested in photography boards? Visit the blog and follow the links to be directed to several Jason Lanier Photography Pinterest Boards. These photography boards showcase models, weddings, photojournalism, landscapes, urbex, wildlife from all over the world. Let us know if you like the boards in the comments below. Thanks so much!
How to Set your White Balance for GREAT TONES in Natural and Artificial Light using Rotolight Aeos by Jason Lanier
Join Jason Lanier and Emily Rinaldo at Lava Rock Beach in Maui, Hawaii. In this post, Jason demonstrates how to set your white balance using a grey card, the Sony A7Riii and the Rotolight Aeos. Share your thoughts in the comments below! Thank you for tuning in.

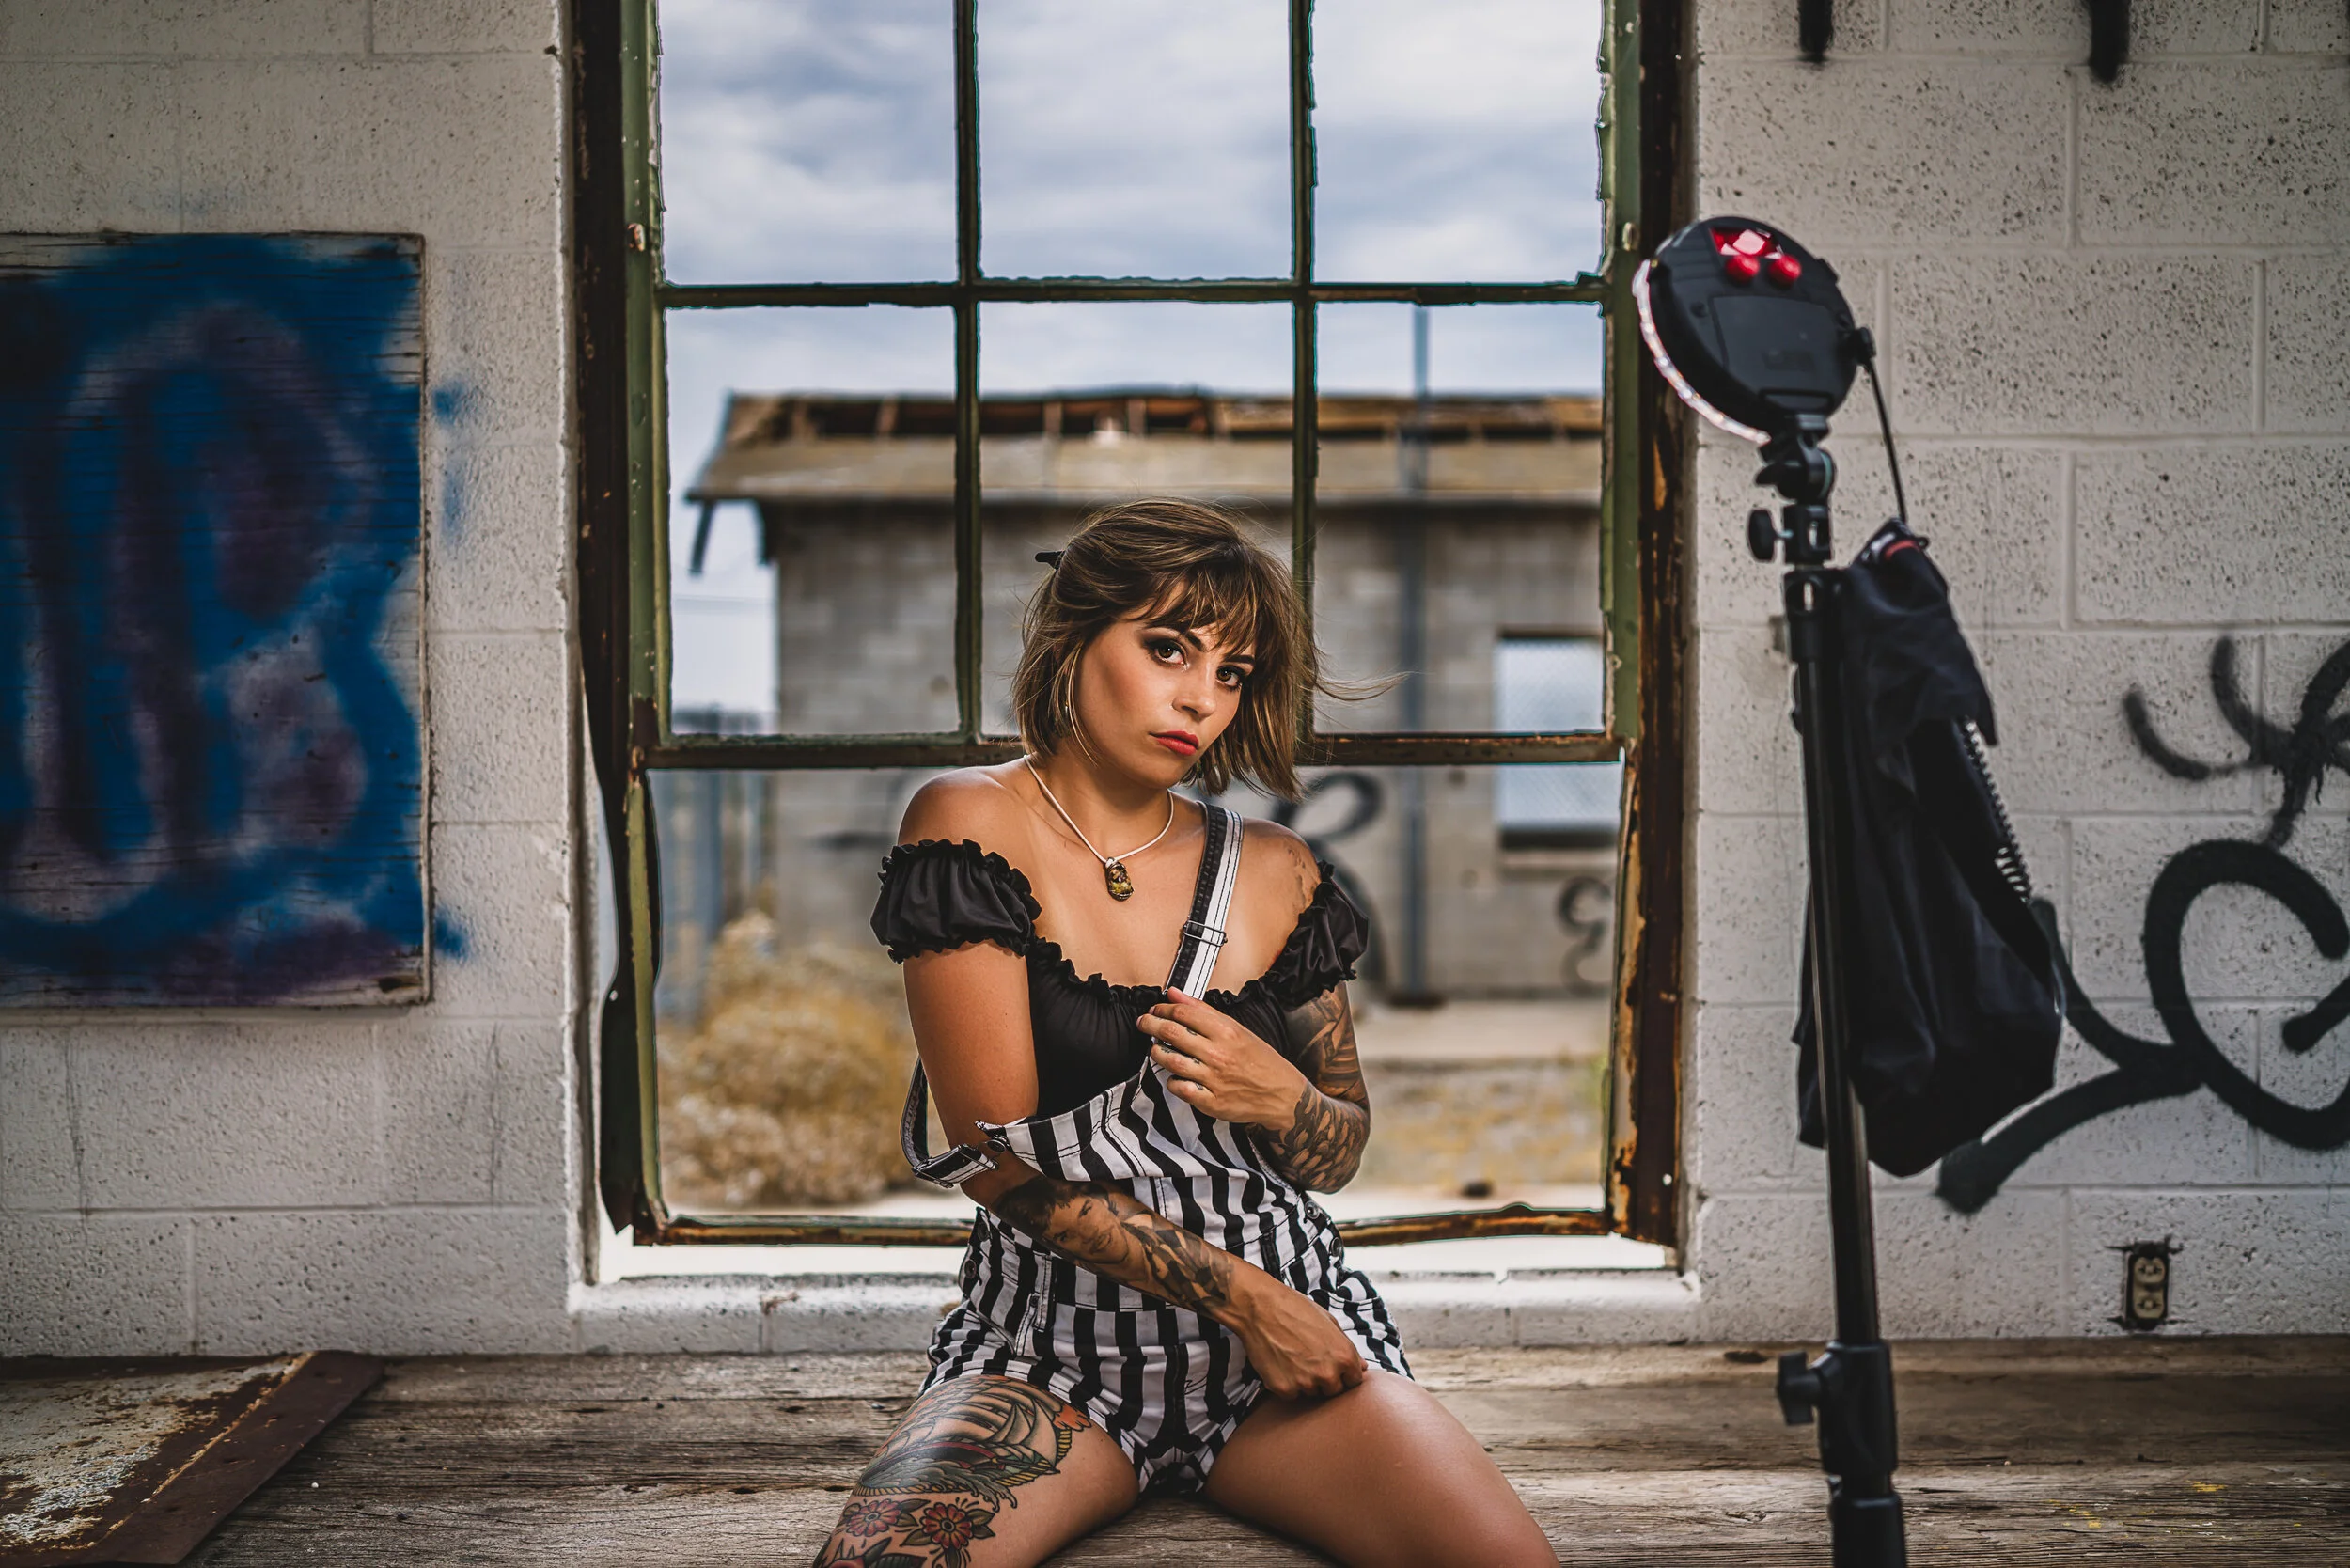
Securing a Photography Light with a SEATBELT? Jason Lanier at the Koloa Sugar Mill using the Sony A7Riii and Godox AD600 Pro
Join Jason Lanier and Emily Rinaldo at an abandoned sugar mill used in scenes from Fast & Furious: Hobbs and Shaw. In this post, Jason completes a five-minute challenge using the Sony A7Riii, Godox AD 600 Pro, and 48” Westcott Rapidbox XXL with a little out of the box thinking approach!! Tune in to see what Jason does and let us know what you think in the comments below. Thanks for watching.

Jason Lanier’s Real Wedding, Helicopter Excursion Workshop in Anchorage Alaska (June 2019).
Jason Lanier, bride, groom and crew charter 3 helicopters to three different glaciers to capture timeless, unique, bold, creative and elegant wedding photography. Oh, and Jason also married the couple! Check out the blog to read more. Let us know what you think!

Photographing the Aurora Borealis- Ten Tips to Get GREAT Shots of the Northern Lights by Jason Lanier
Jason Lanier and Emily Rinaldo photograph and witness one of Earth’s most gorgeous phenomenons, the Aurora Borealis in Kiruna, Sweden for the very first time!!
