abandoned, urban exploration Jason Lanier 7/17/25 abandoned, urban exploration Jason Lanier 7/17/25 Exploring Abandoned Places as a Photographer Read More Jason Lanier 9/4/19 Jason Lanier 9/4/19 The Shoot that FRIED my Godox AD600 Pro Battery- Sony A7iii by Jason Lanier Read More Jason Lanier 3/29/19 Jason Lanier 3/29/19 The Canon Project Part #1- Natural Light Shoot at Death Valley with the Canon EOS R Mirrorless using the RF 24-105mm lens by Jason Lanier Read More Jason Lanier 12/15/18 Jason Lanier 12/15/18 Feathering Your Lighting- How to shoot your flash from the ground up by Jason Lanier Read More Jason Lanier 1/13/17 Jason Lanier 1/13/17 Snow Queen- studio shoot using the Broncolor MobiLED, Rotolight Neo and the Westcott Eyelighter Read More Jason Lanier 12/19/16 Jason Lanier 12/19/16 Using the Sigma MC-11 Adapter with Sigma and Canon Lenses Read More Jason Lanier 12/9/16 Jason Lanier 12/9/16 First Shoot with RAW files on the Sony A6500 with wild ocean seals in La Jolla, California Read More
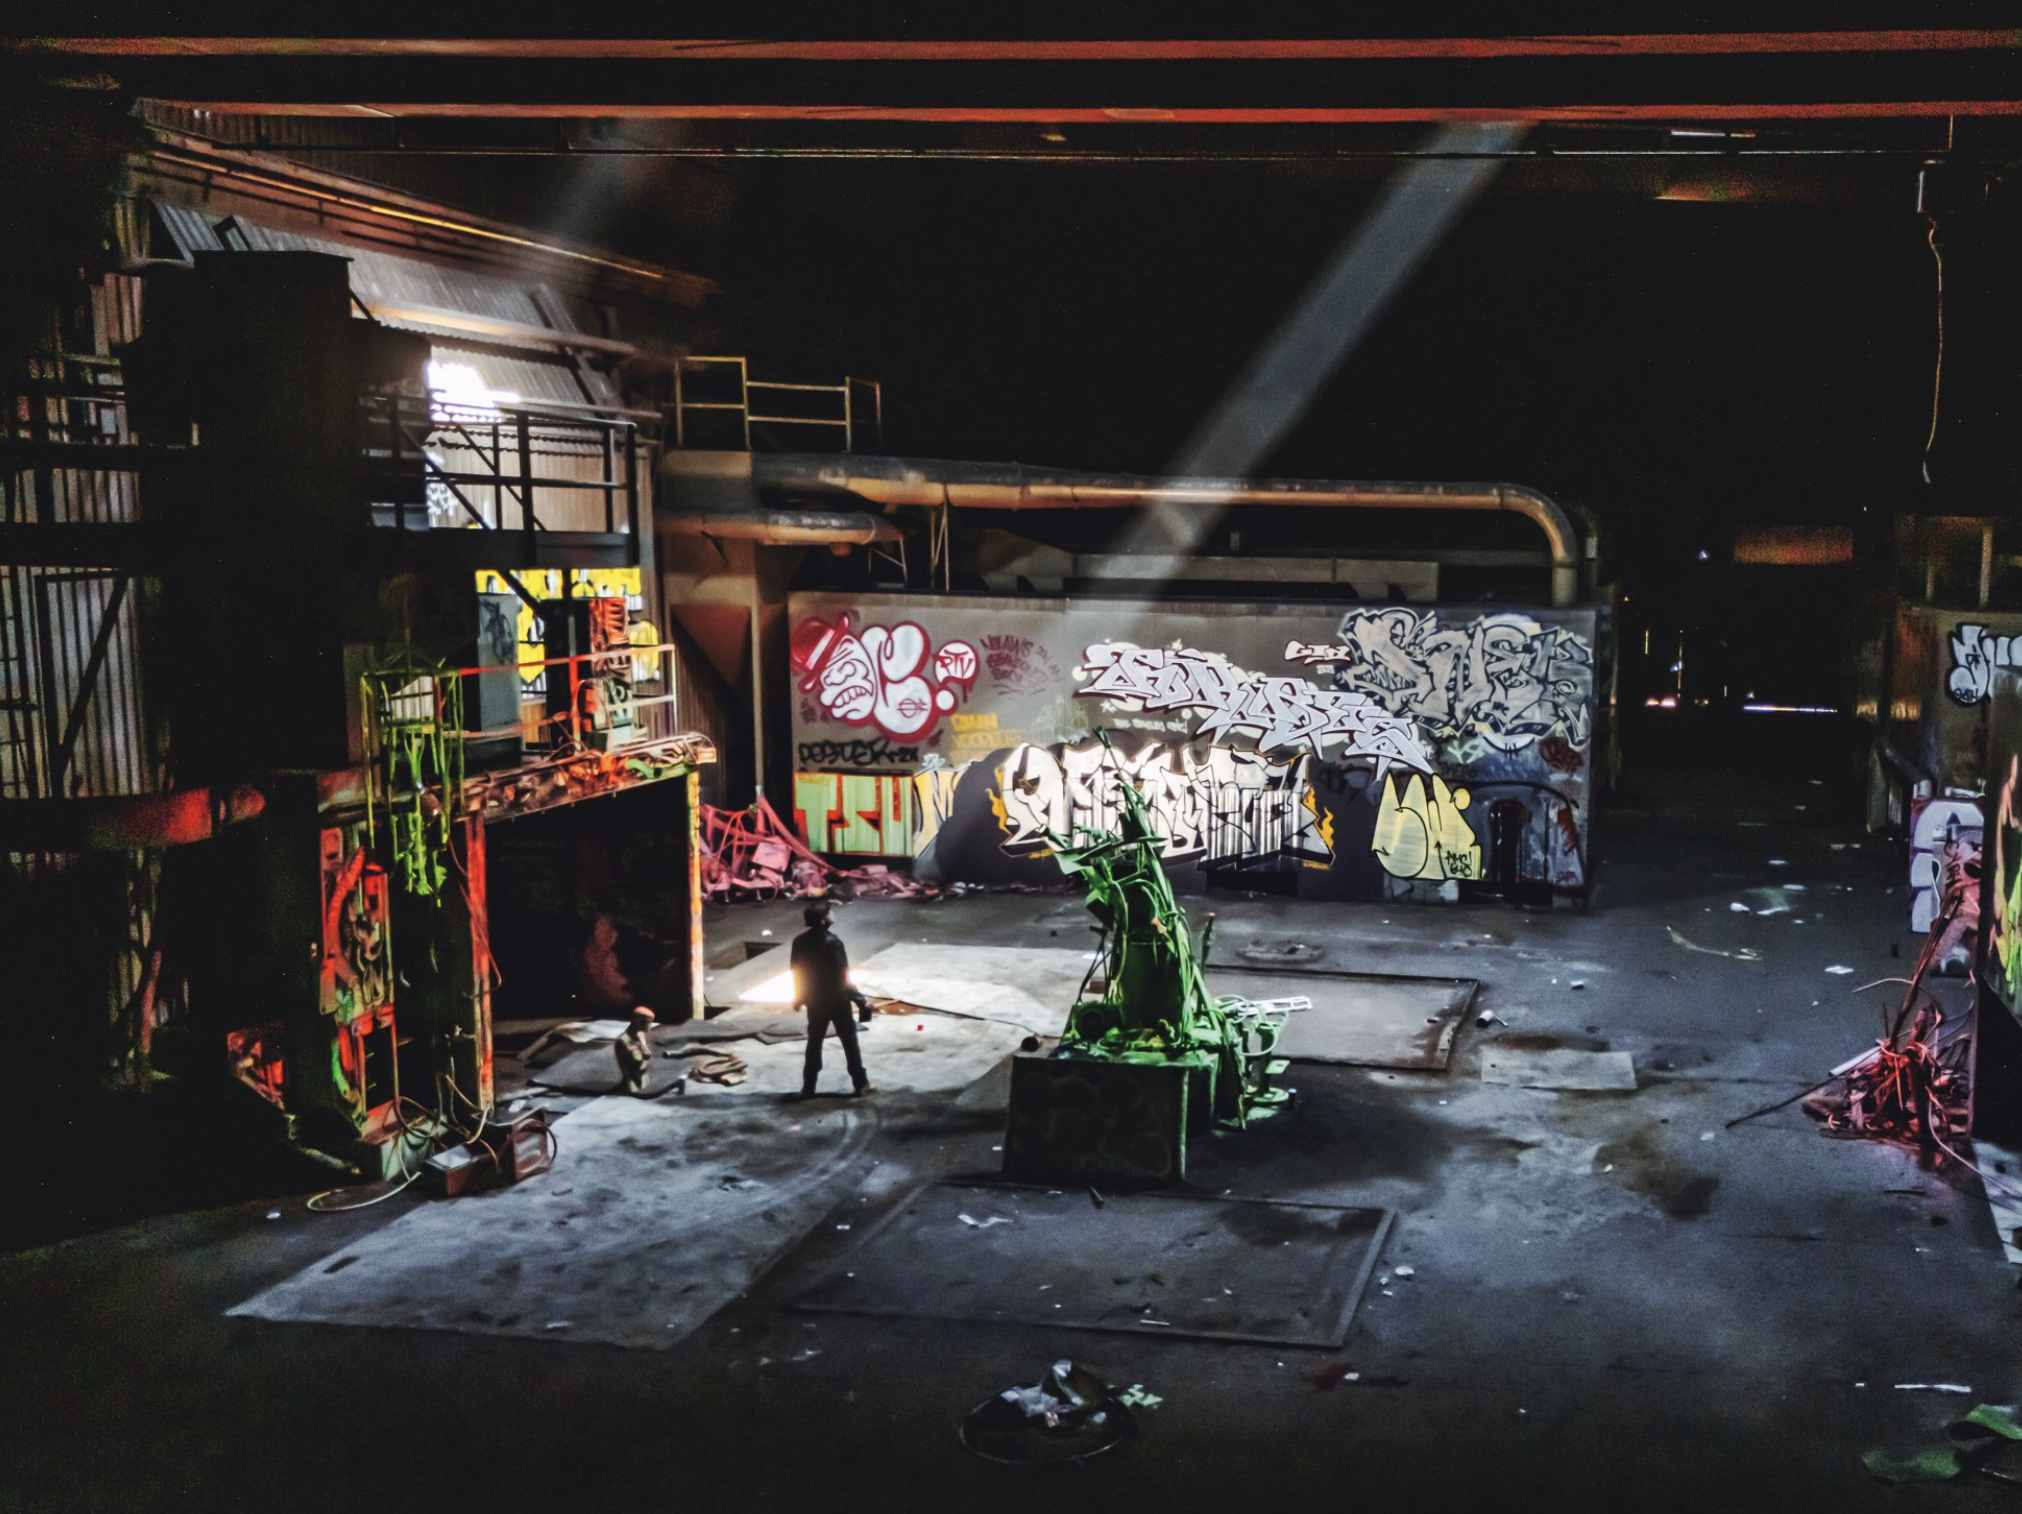
abandoned, urban exploration Jason Lanier 7/17/25 abandoned, urban exploration Jason Lanier 7/17/25 Exploring Abandoned Places as a Photographer Read More
Jason Lanier 9/4/19 Jason Lanier 9/4/19 The Shoot that FRIED my Godox AD600 Pro Battery- Sony A7iii by Jason Lanier Read More
Jason Lanier 3/29/19 Jason Lanier 3/29/19 The Canon Project Part #1- Natural Light Shoot at Death Valley with the Canon EOS R Mirrorless using the RF 24-105mm lens by Jason Lanier Read More
Jason Lanier 12/15/18 Jason Lanier 12/15/18 Feathering Your Lighting- How to shoot your flash from the ground up by Jason Lanier Read More
Jason Lanier 1/13/17 Jason Lanier 1/13/17 Snow Queen- studio shoot using the Broncolor MobiLED, Rotolight Neo and the Westcott Eyelighter Read More
Jason Lanier 12/19/16 Jason Lanier 12/19/16 Using the Sigma MC-11 Adapter with Sigma and Canon Lenses Read More
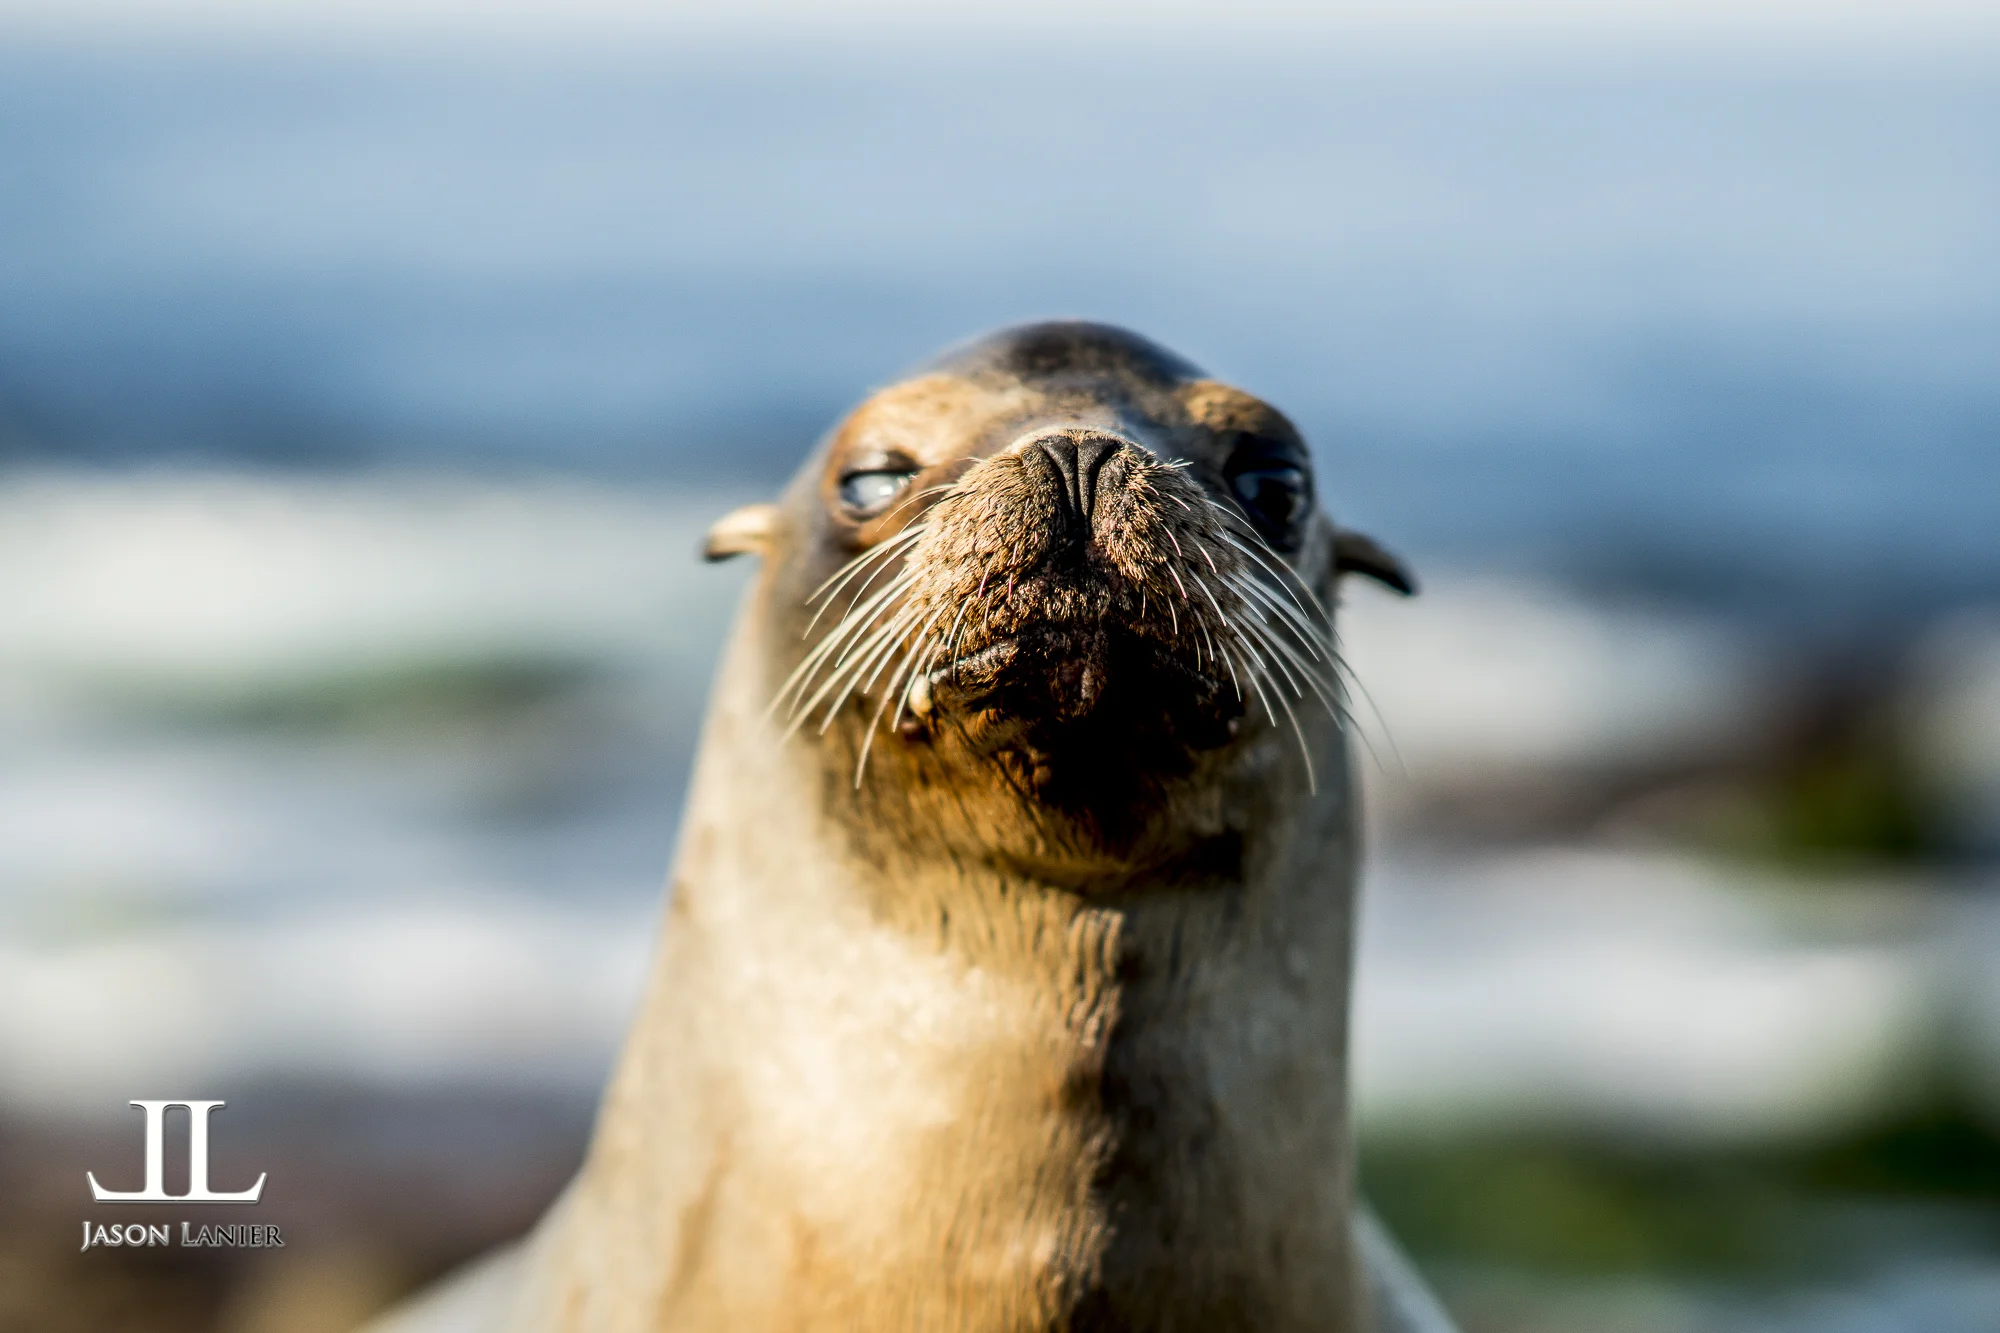
Jason Lanier 12/9/16 Jason Lanier 12/9/16 First Shoot with RAW files on the Sony A6500 with wild ocean seals in La Jolla, California Read More